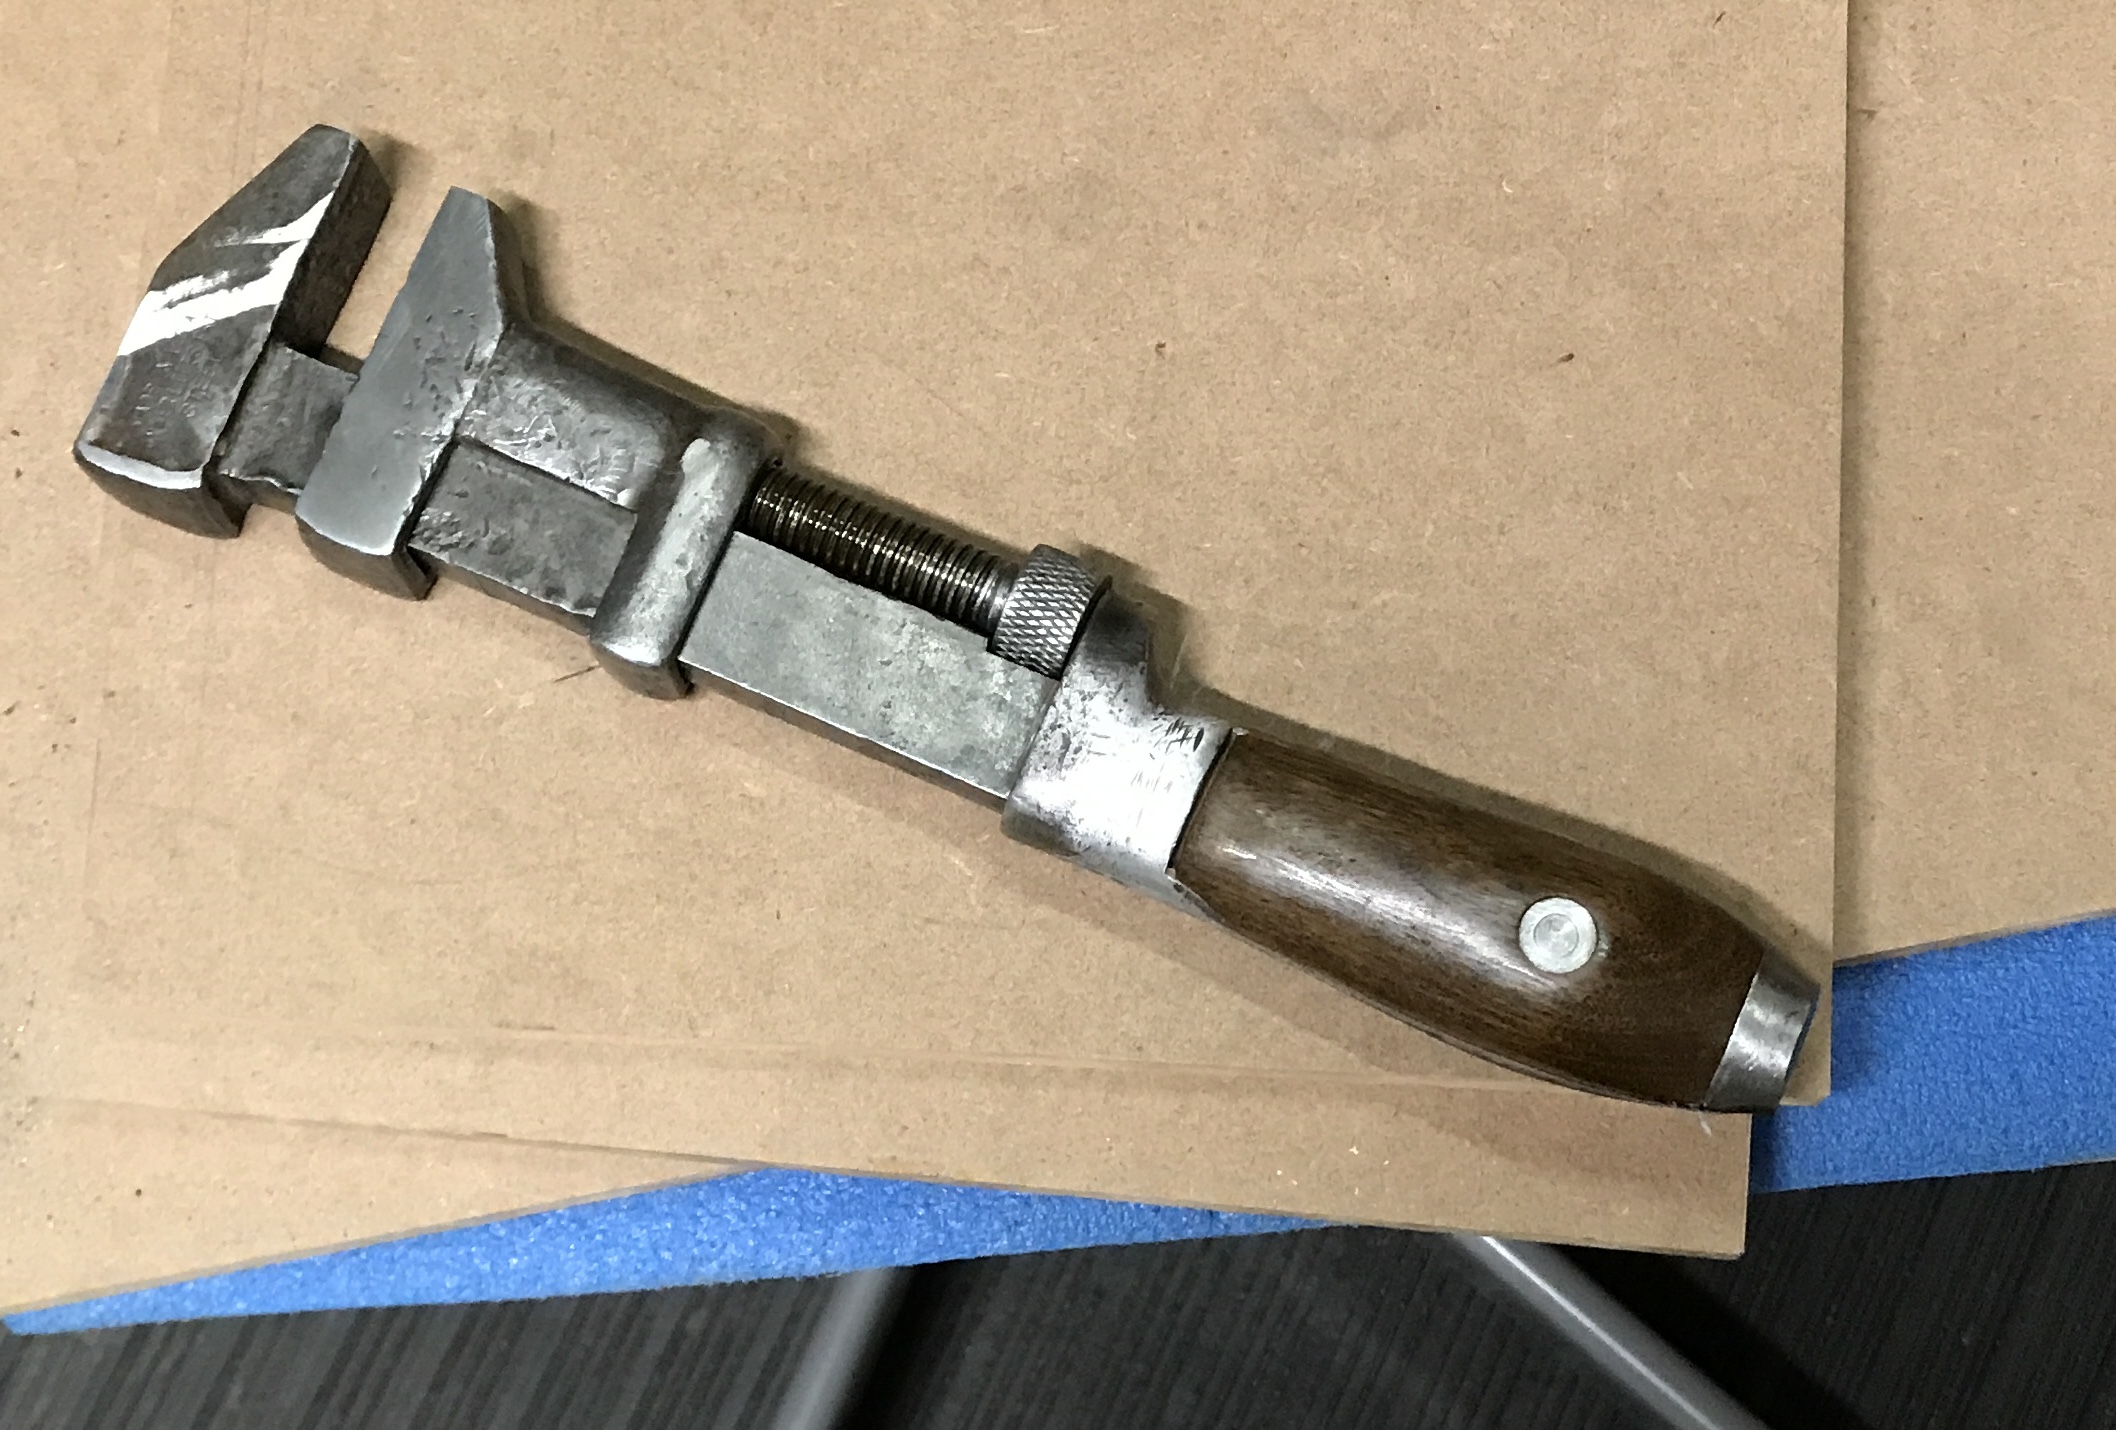
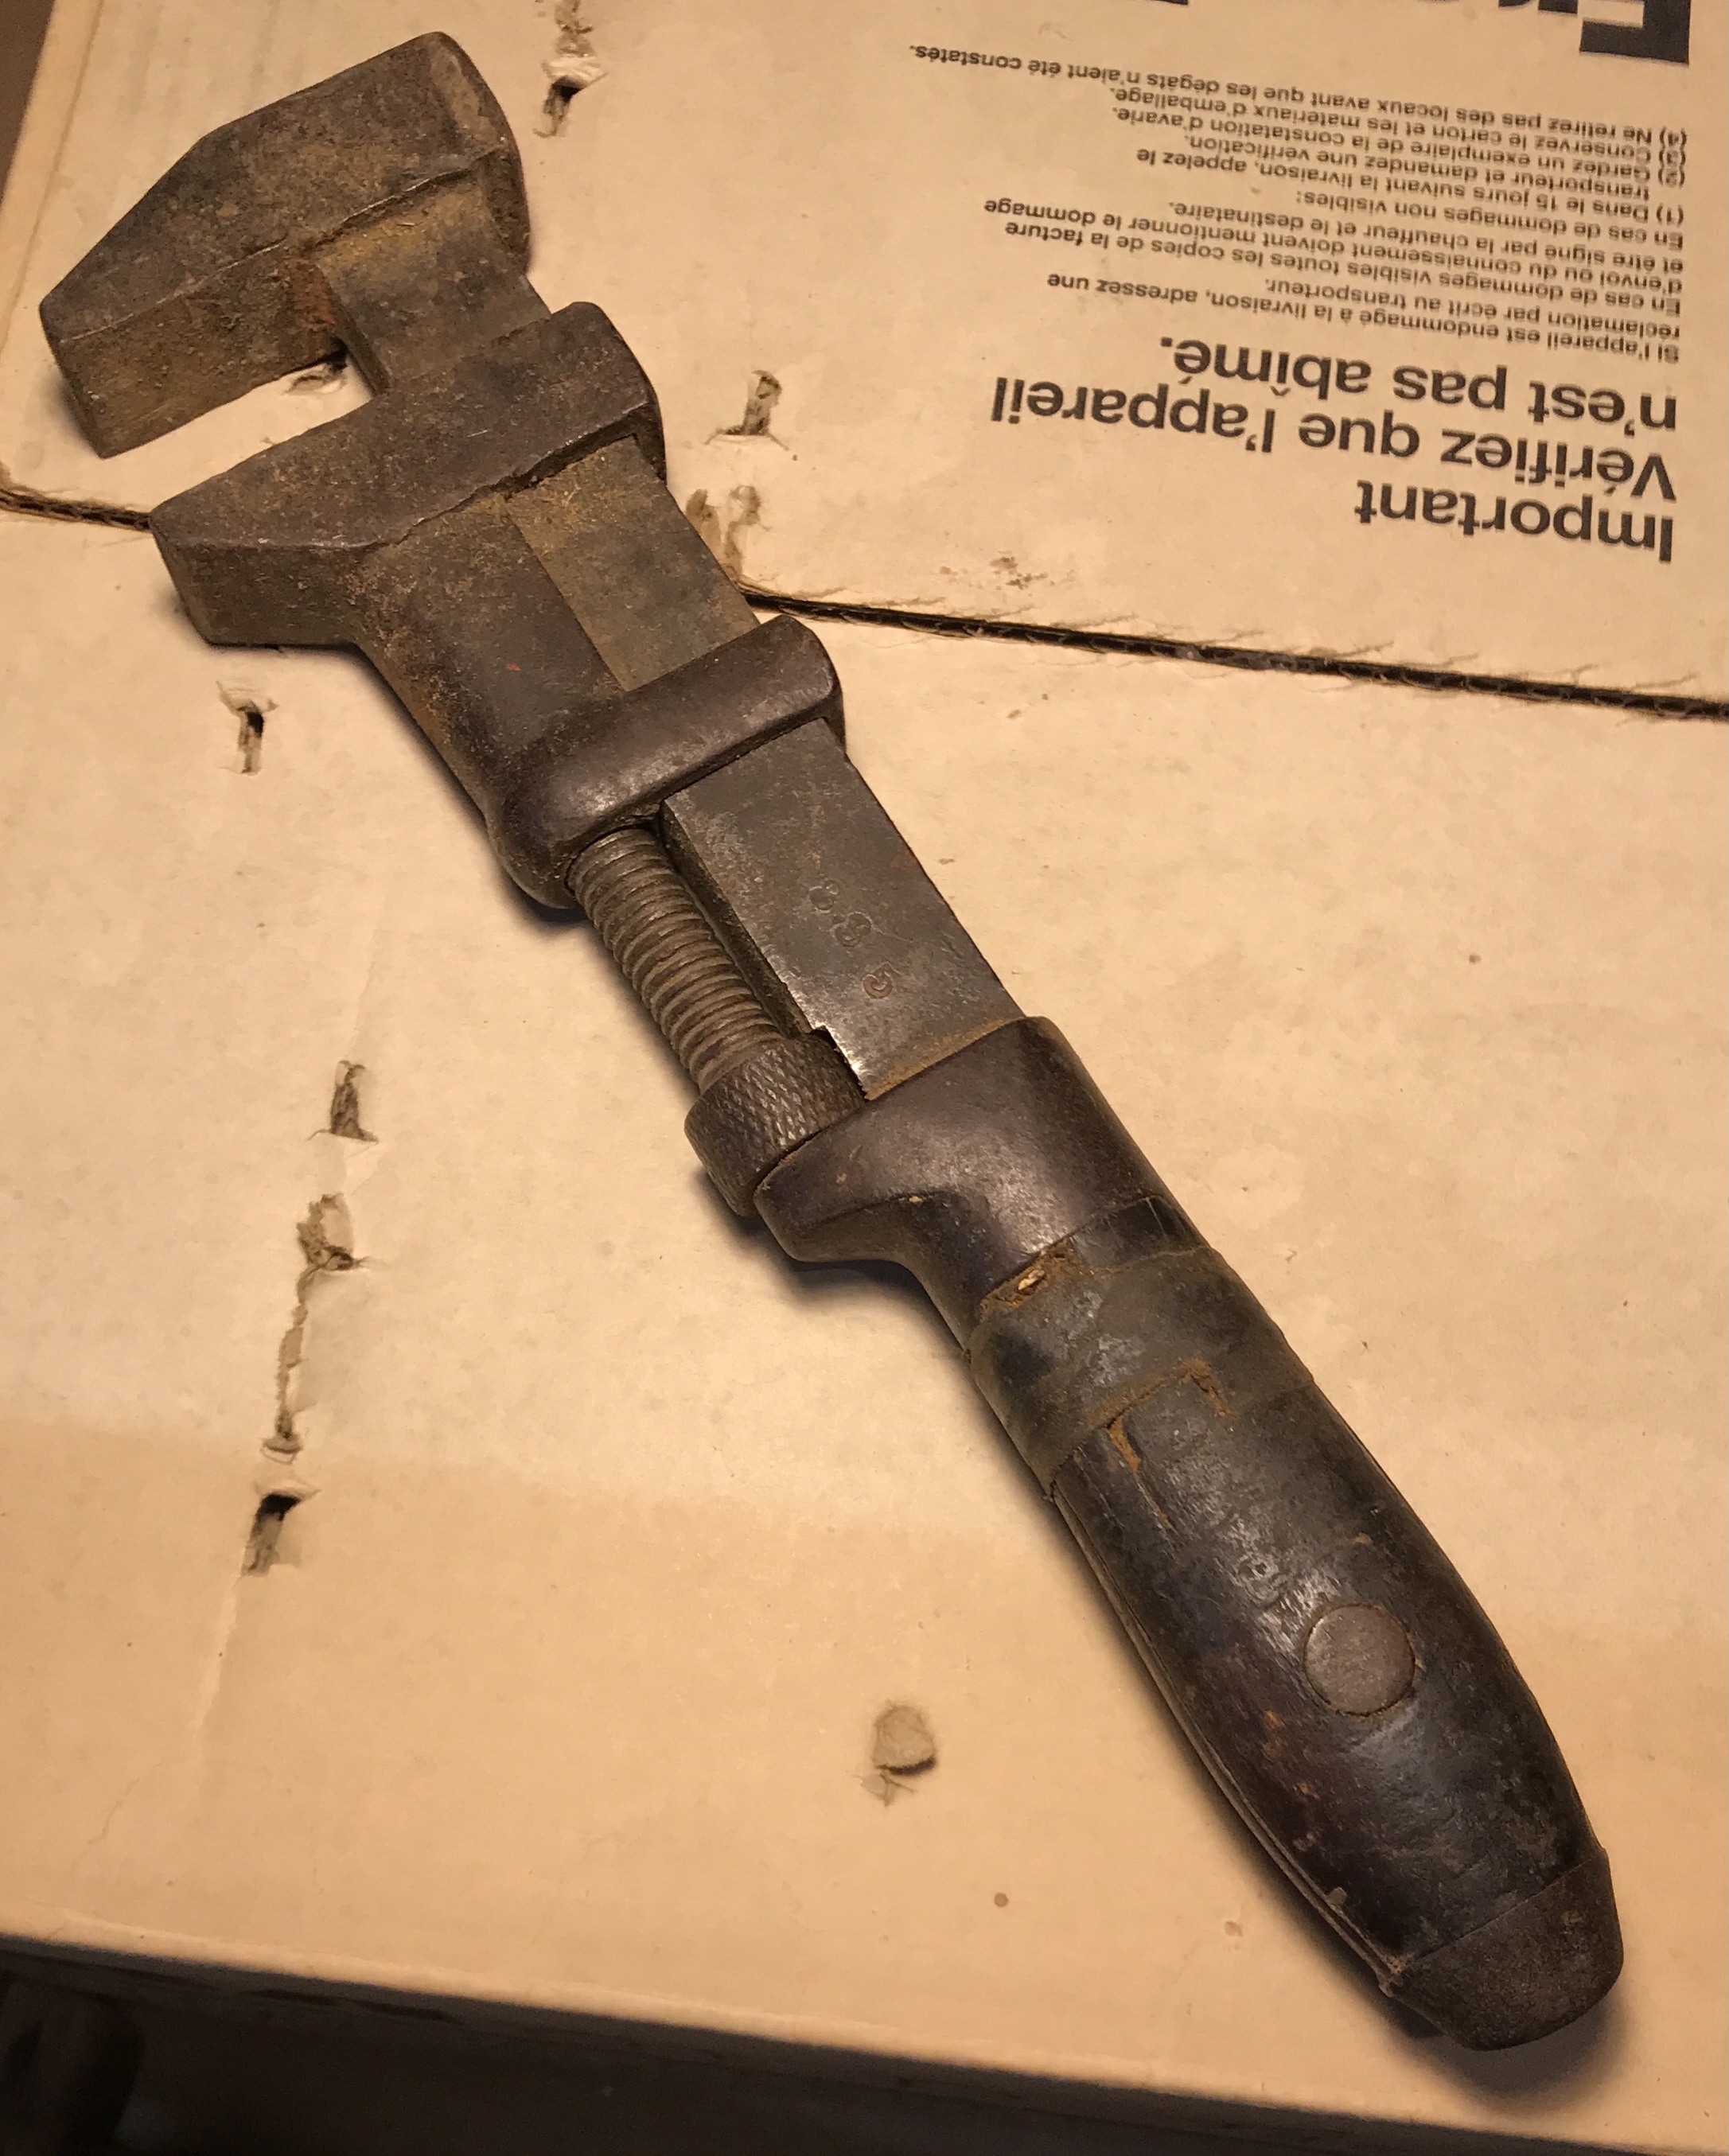
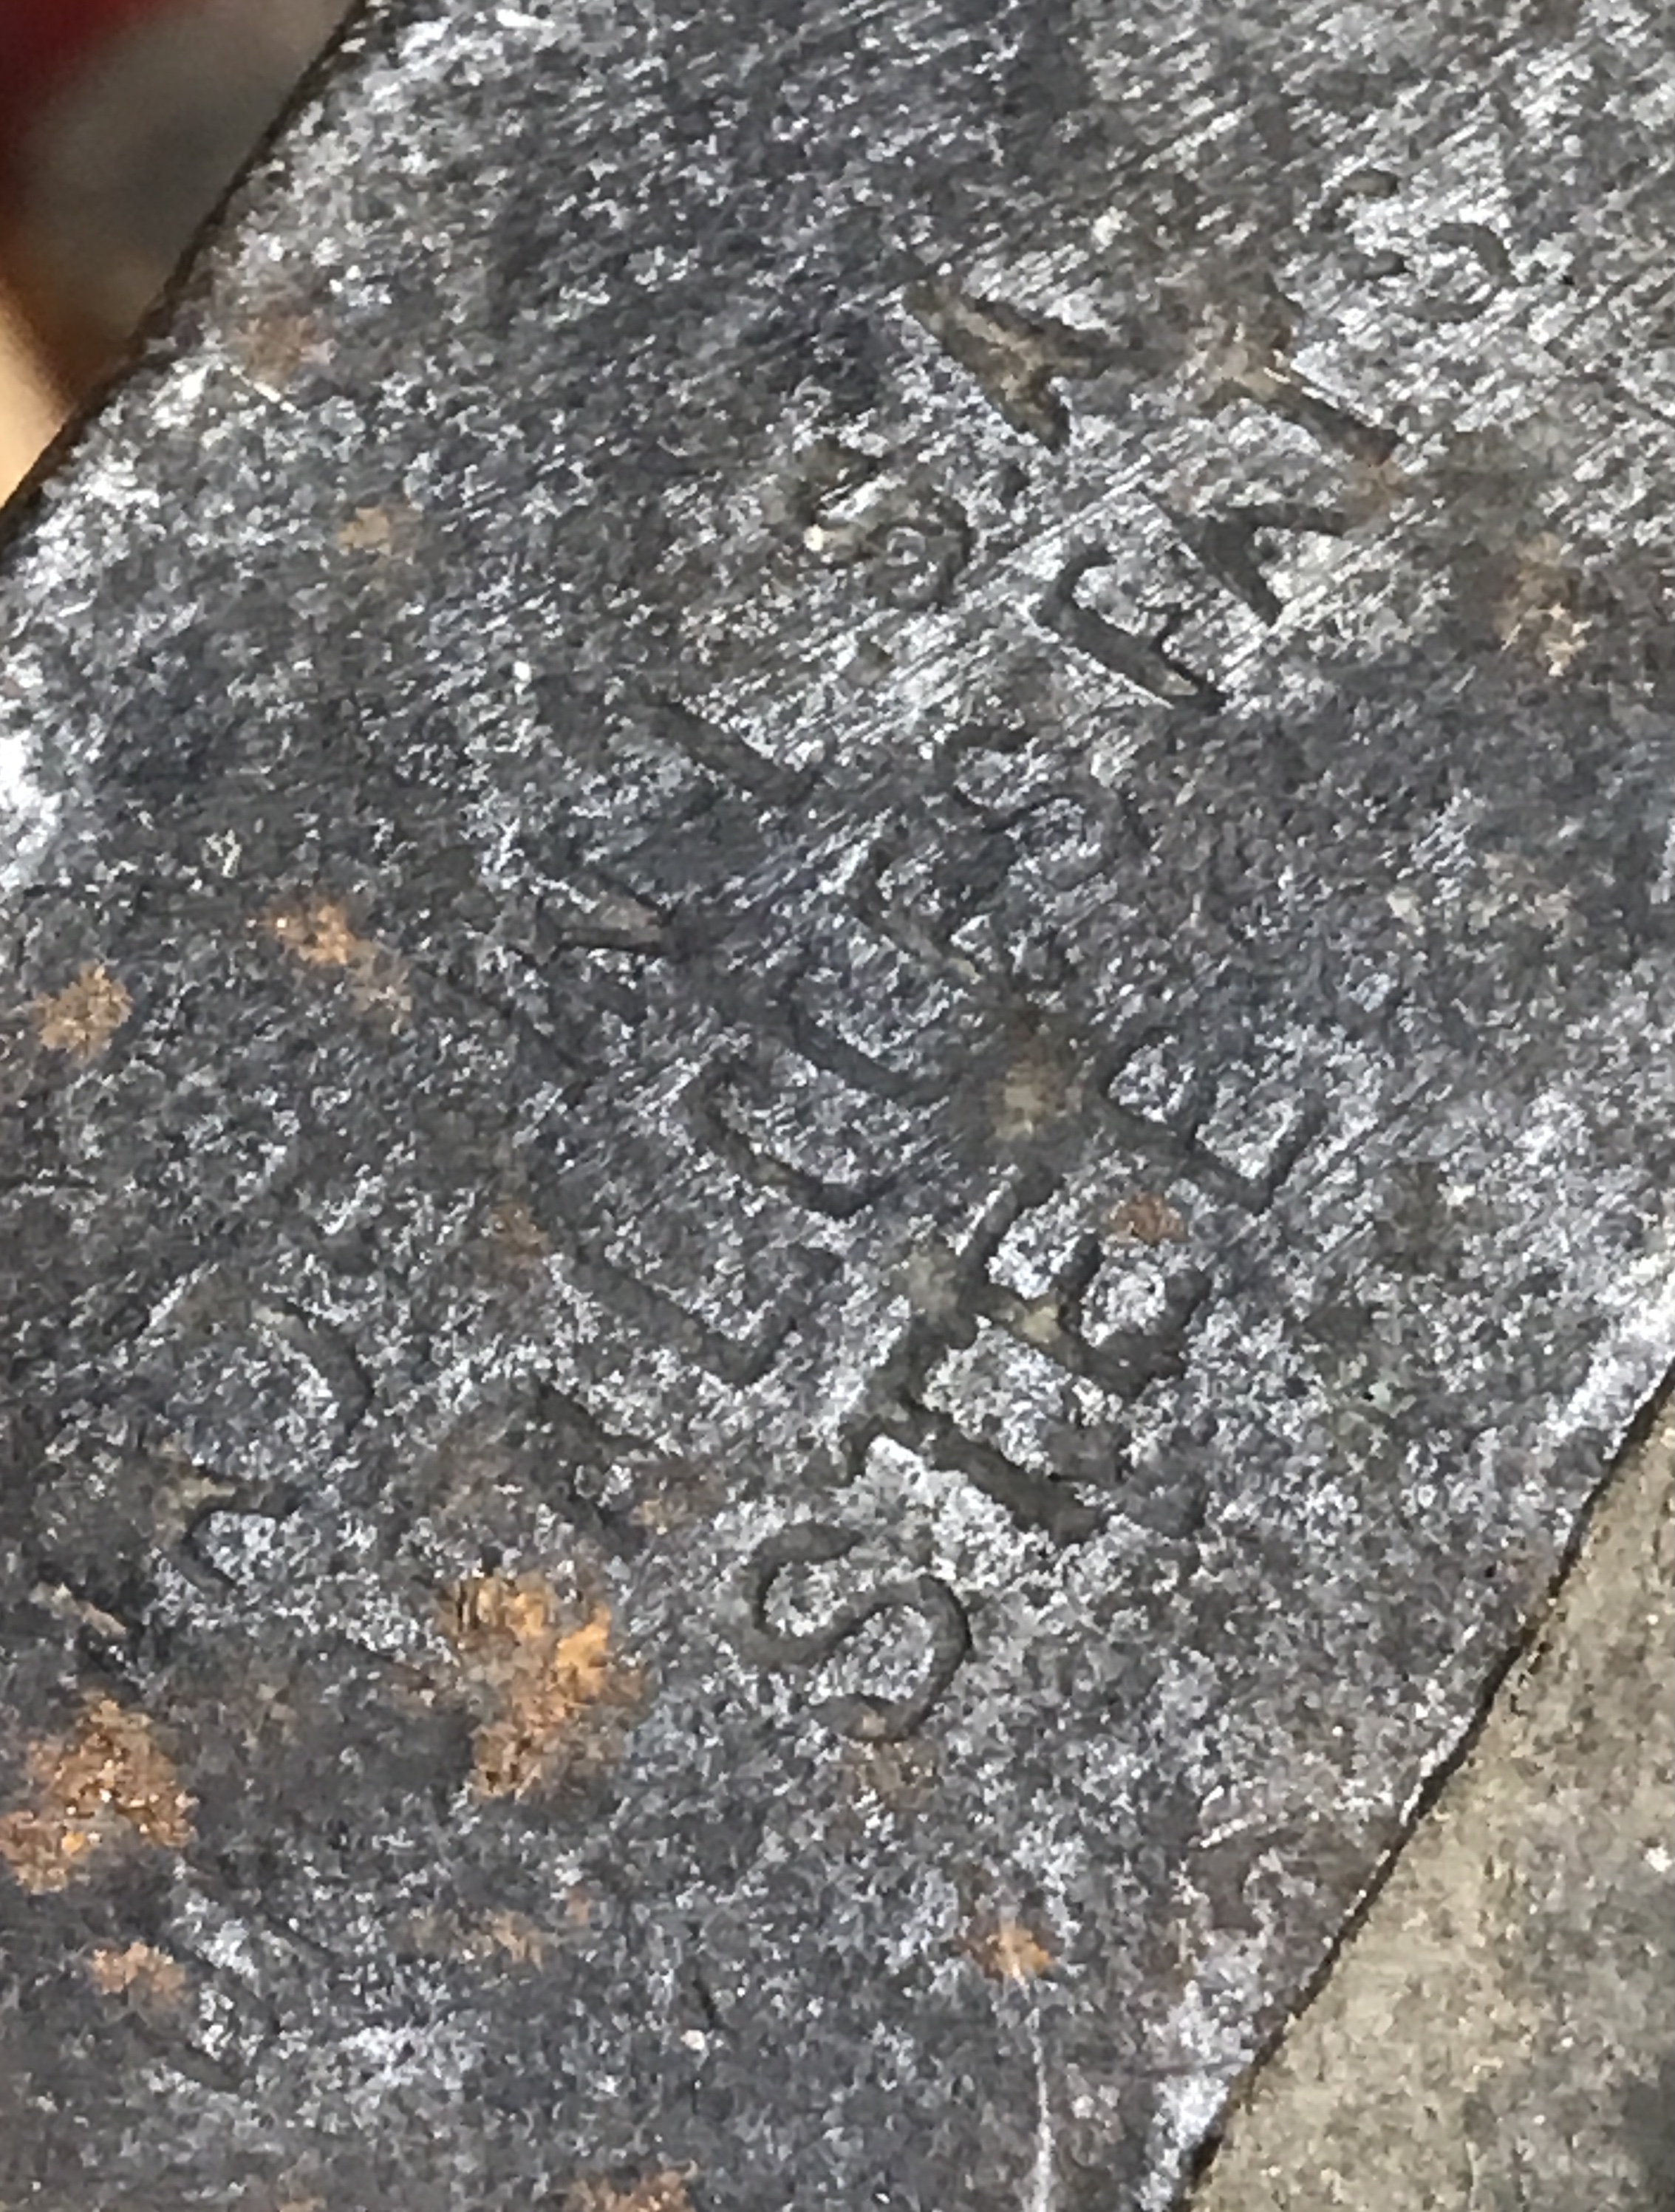
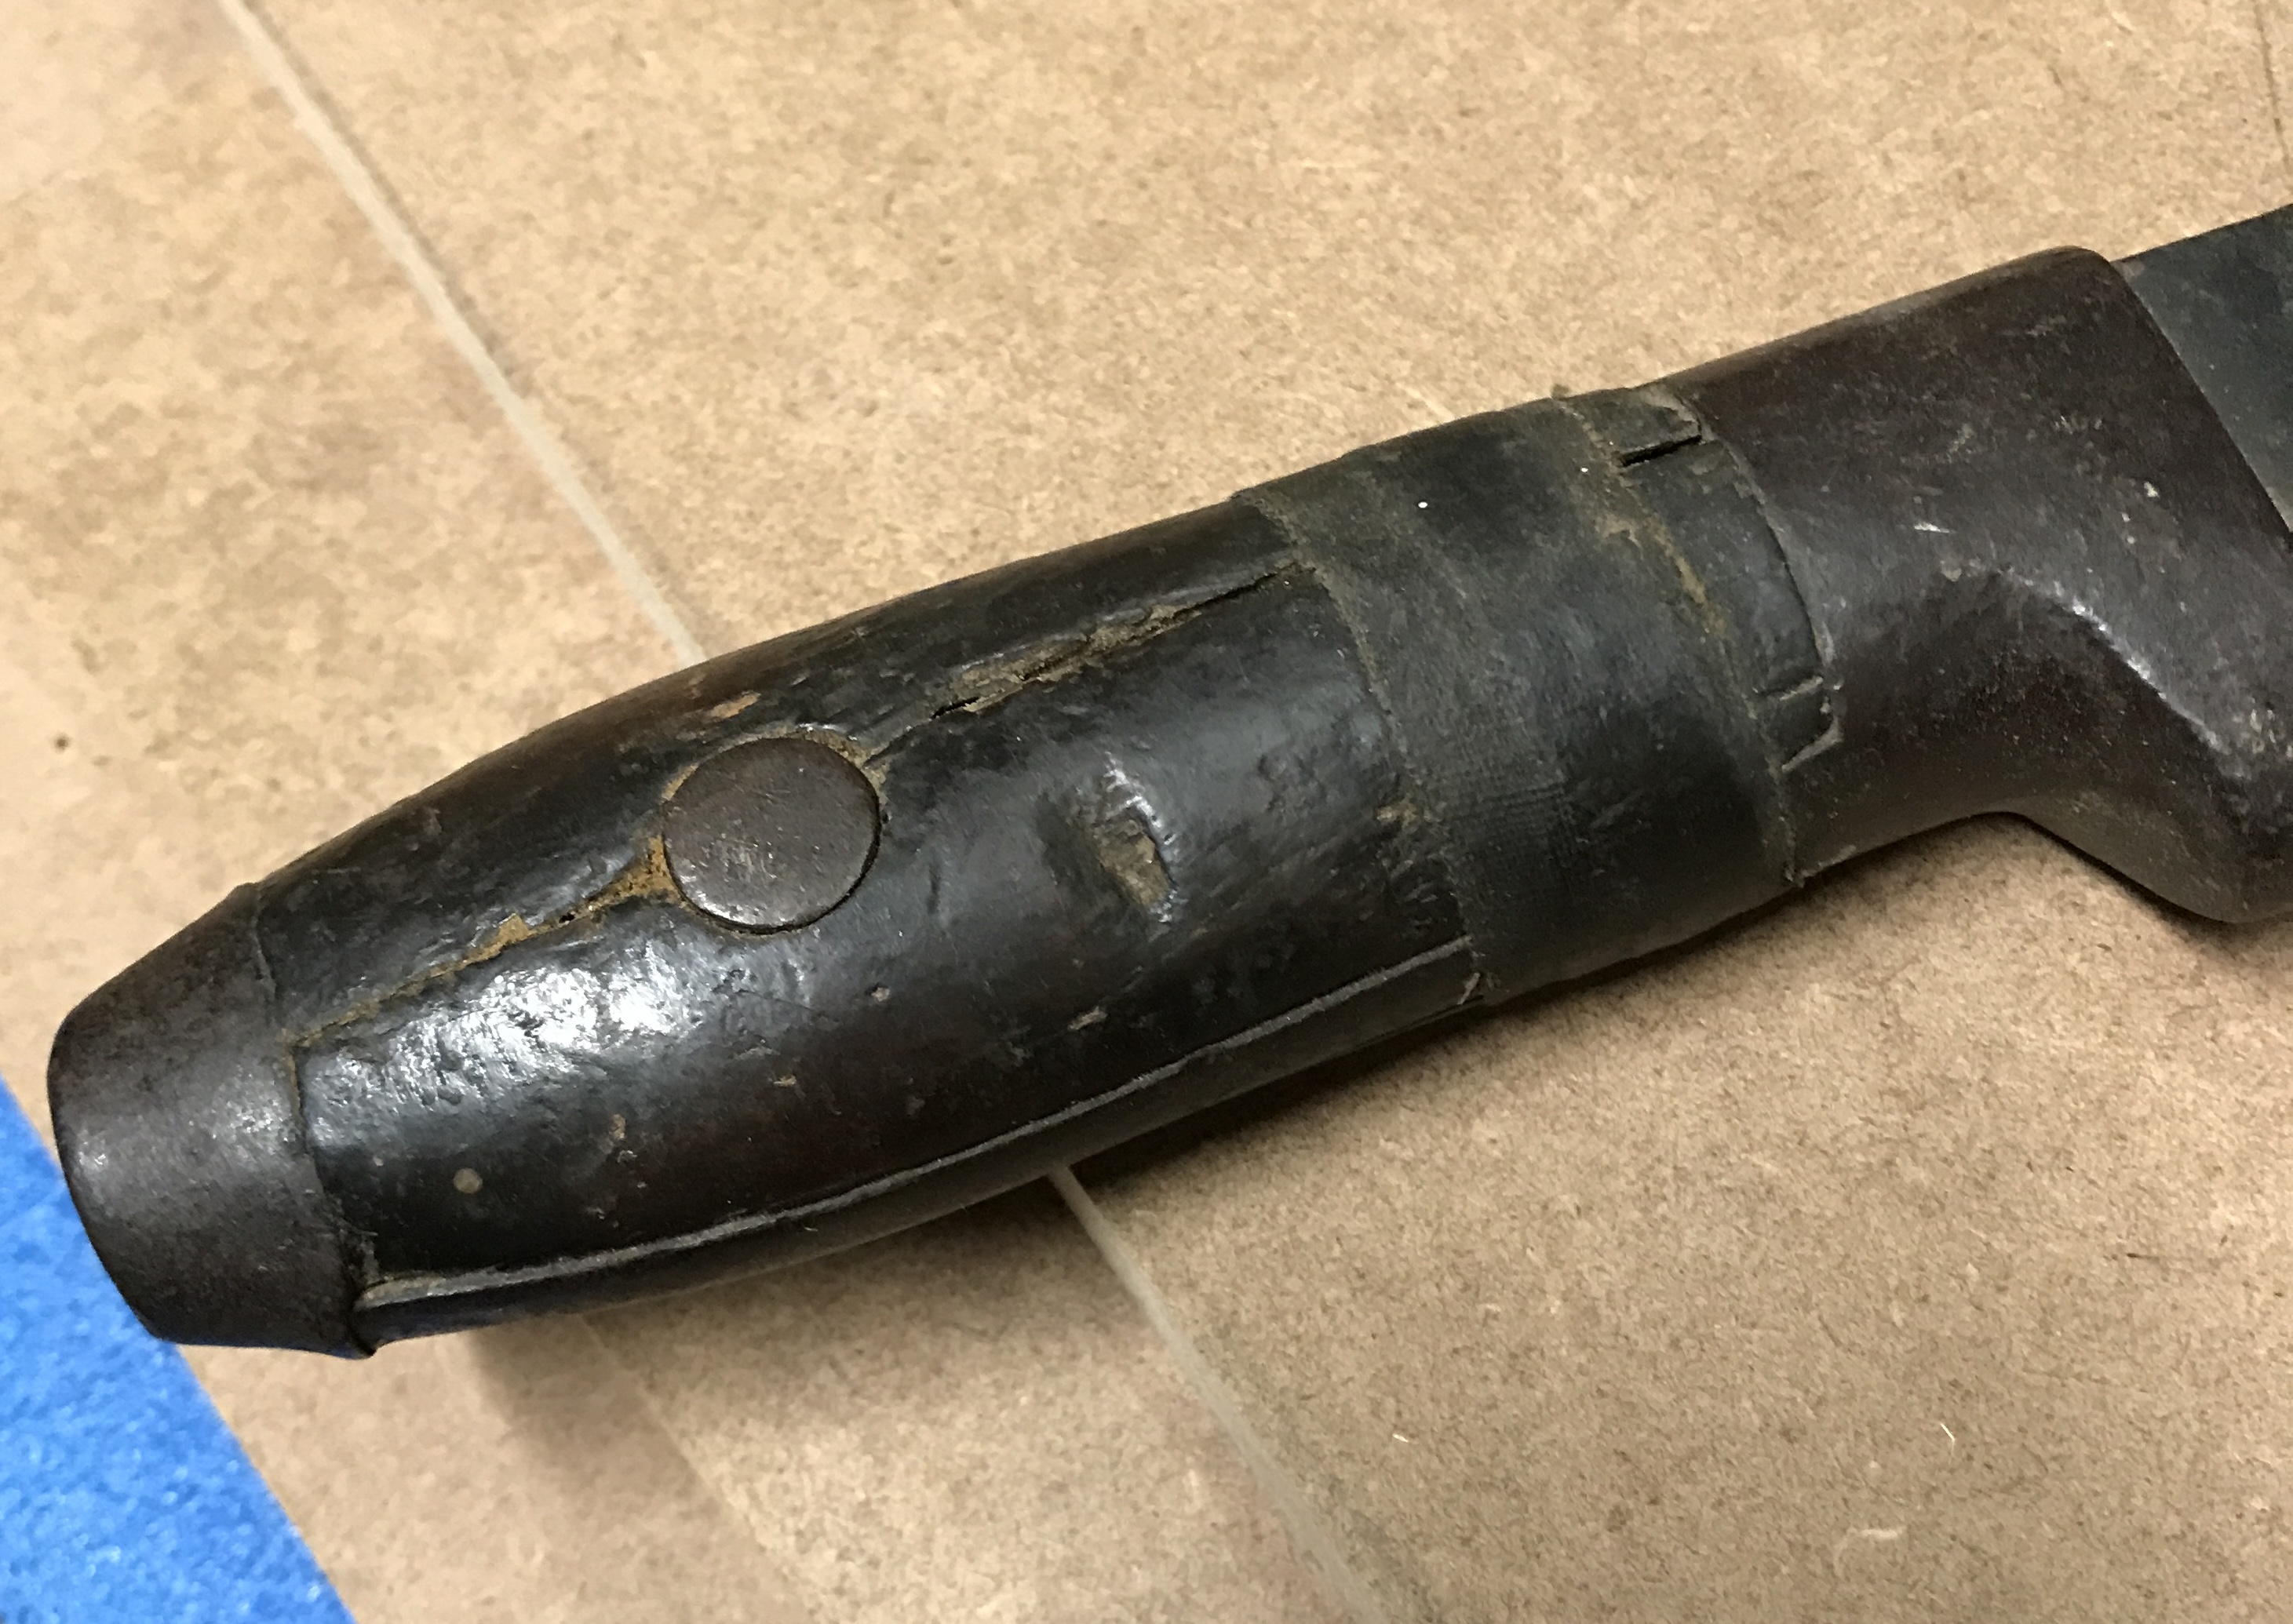
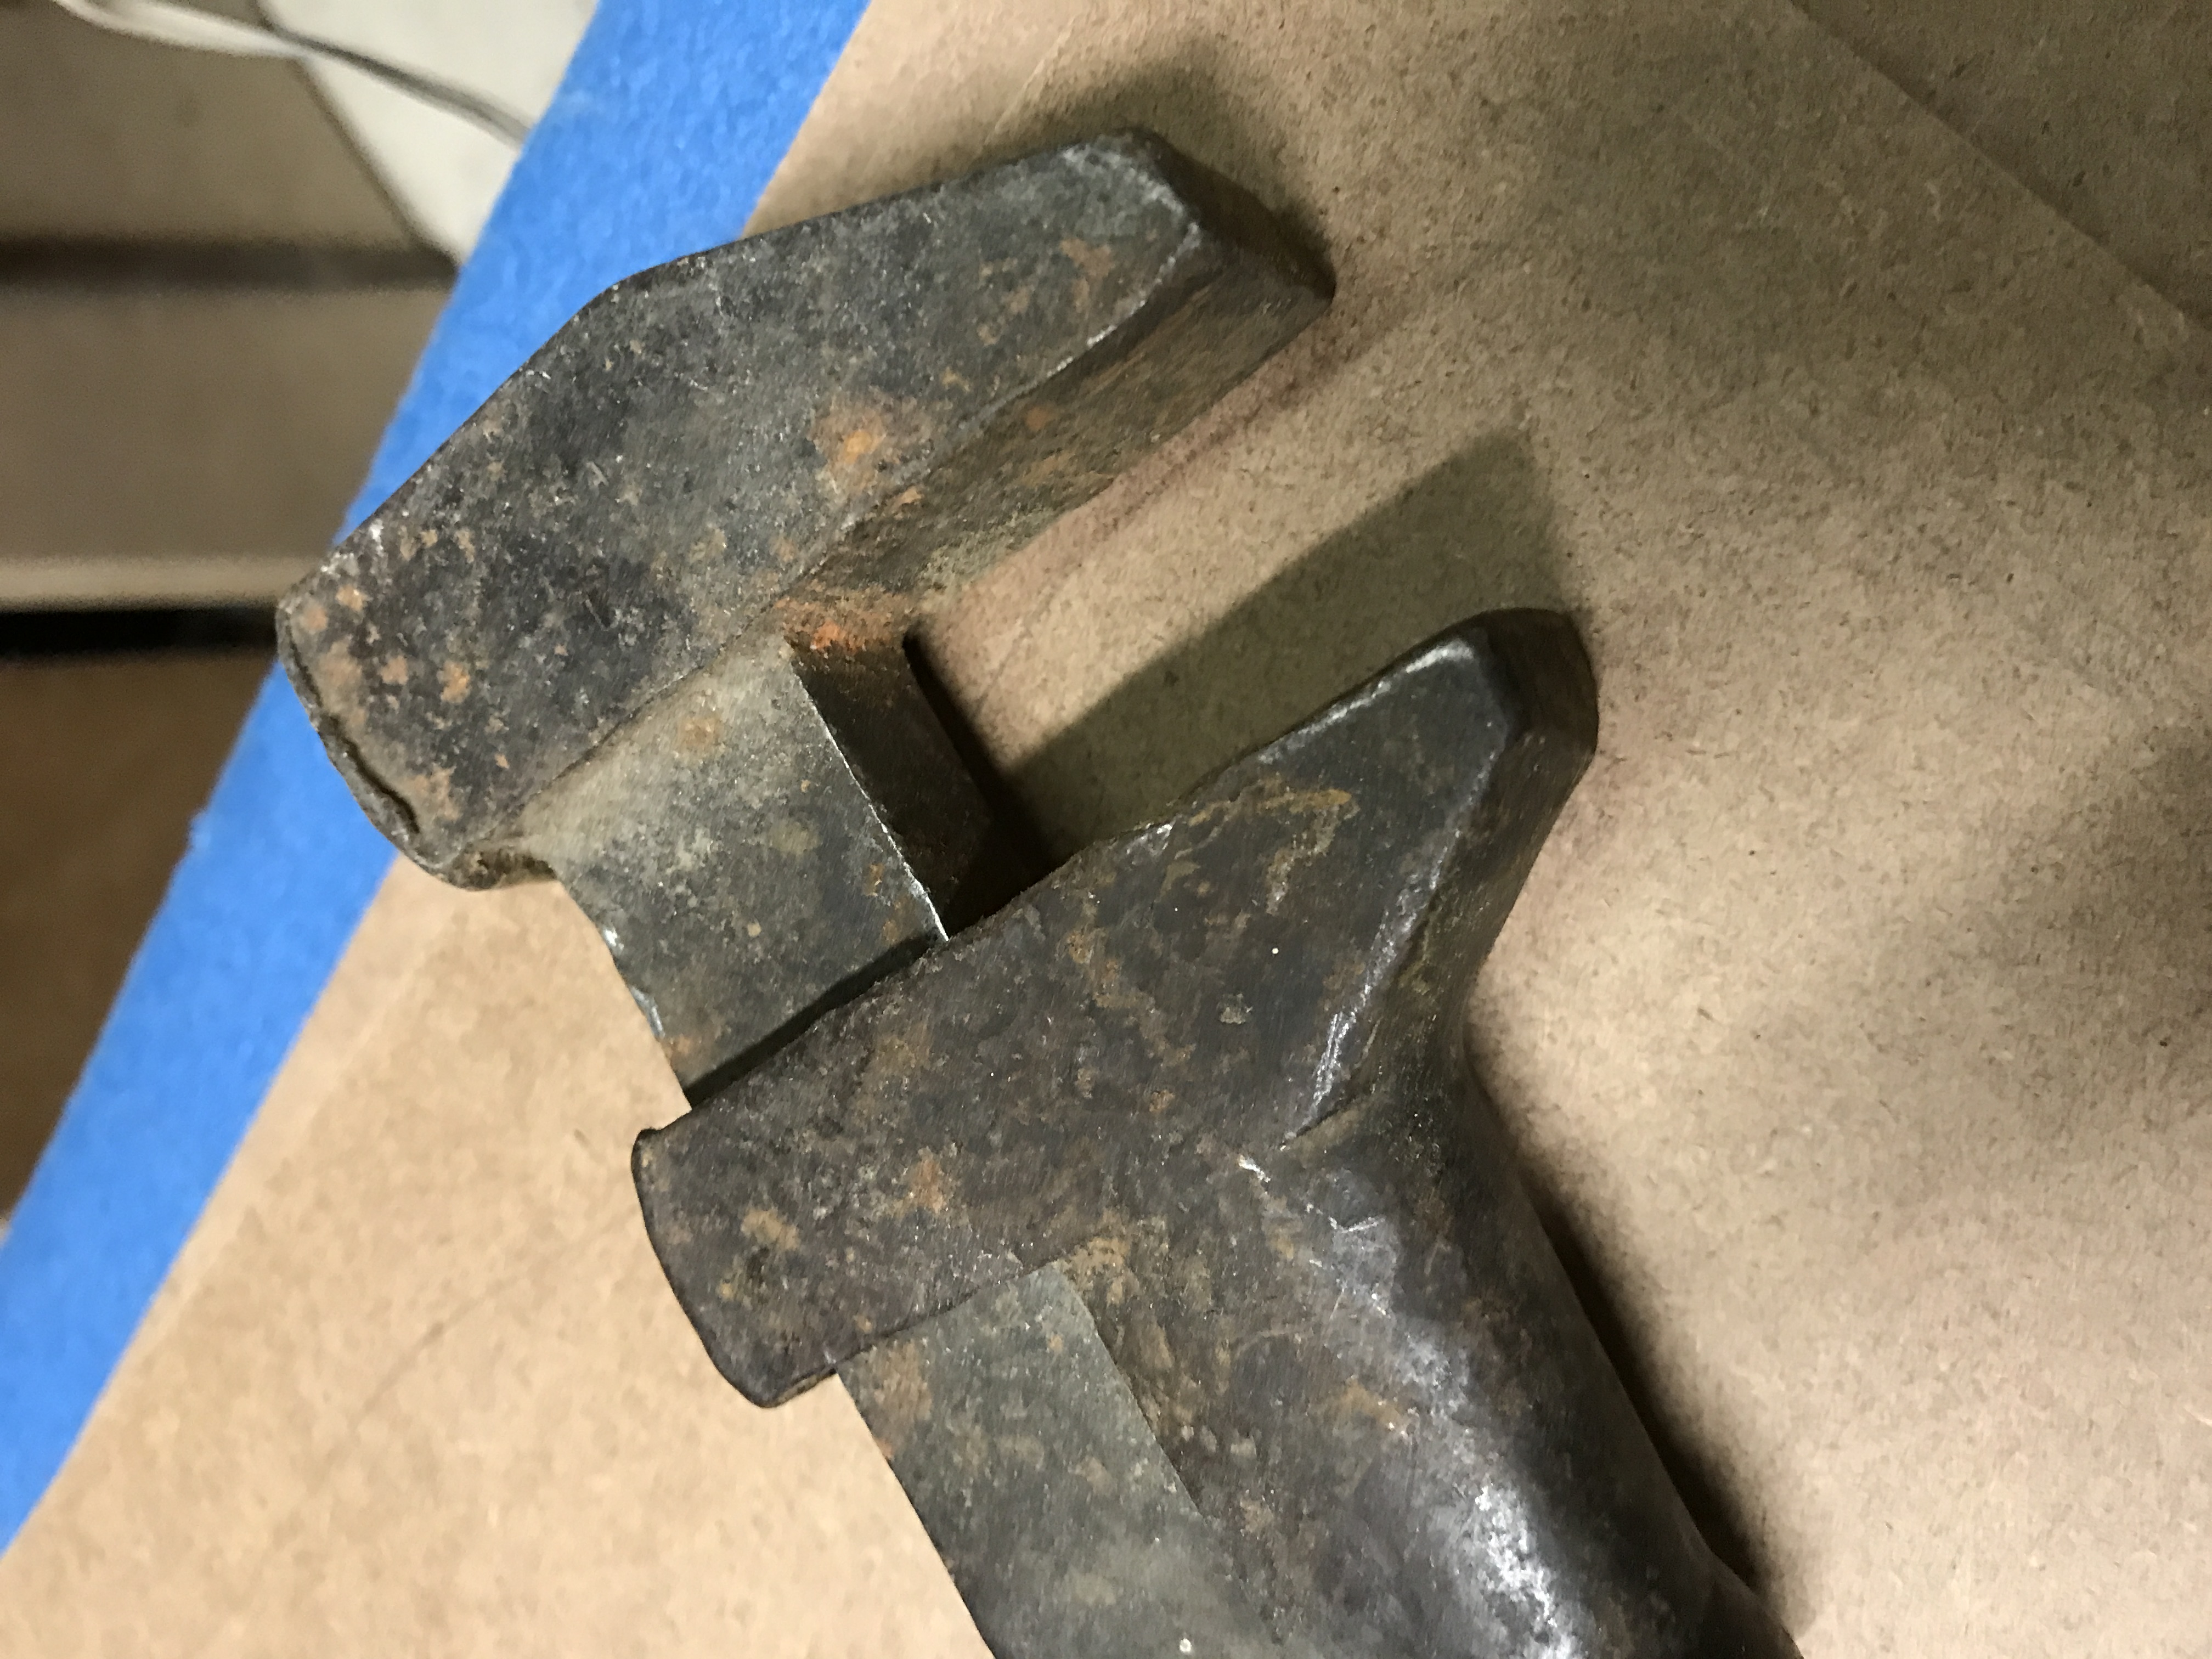
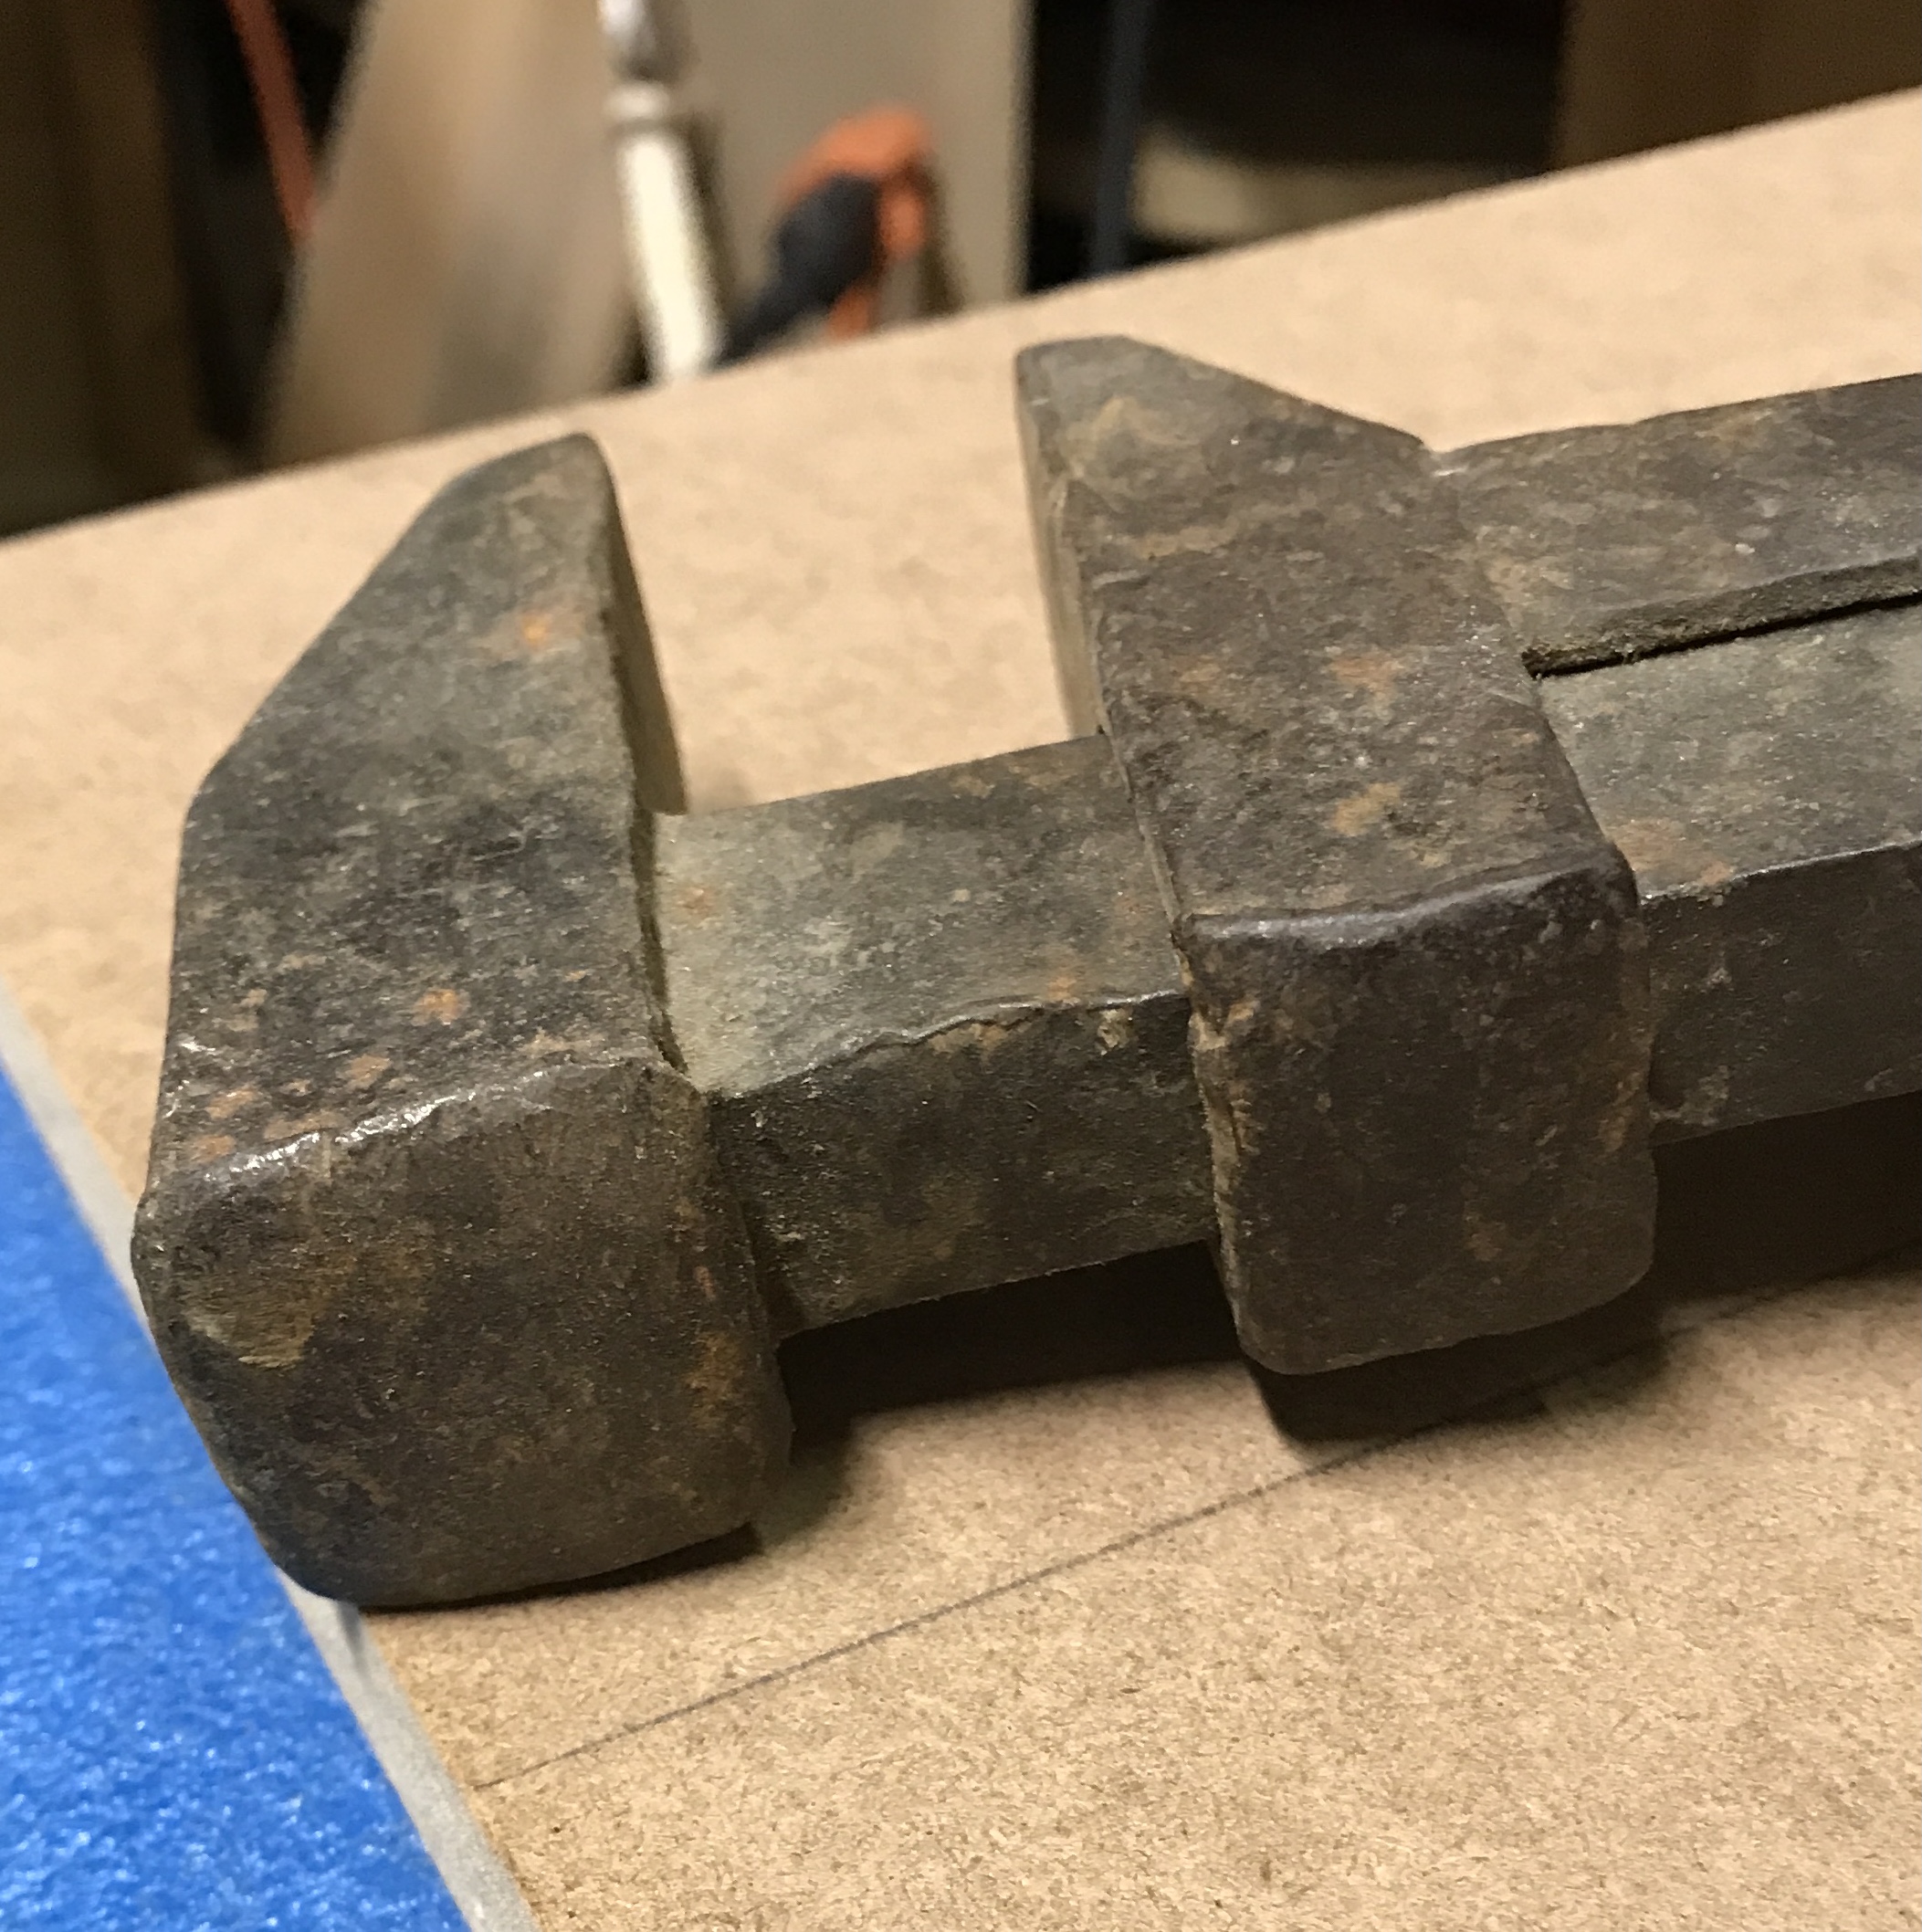
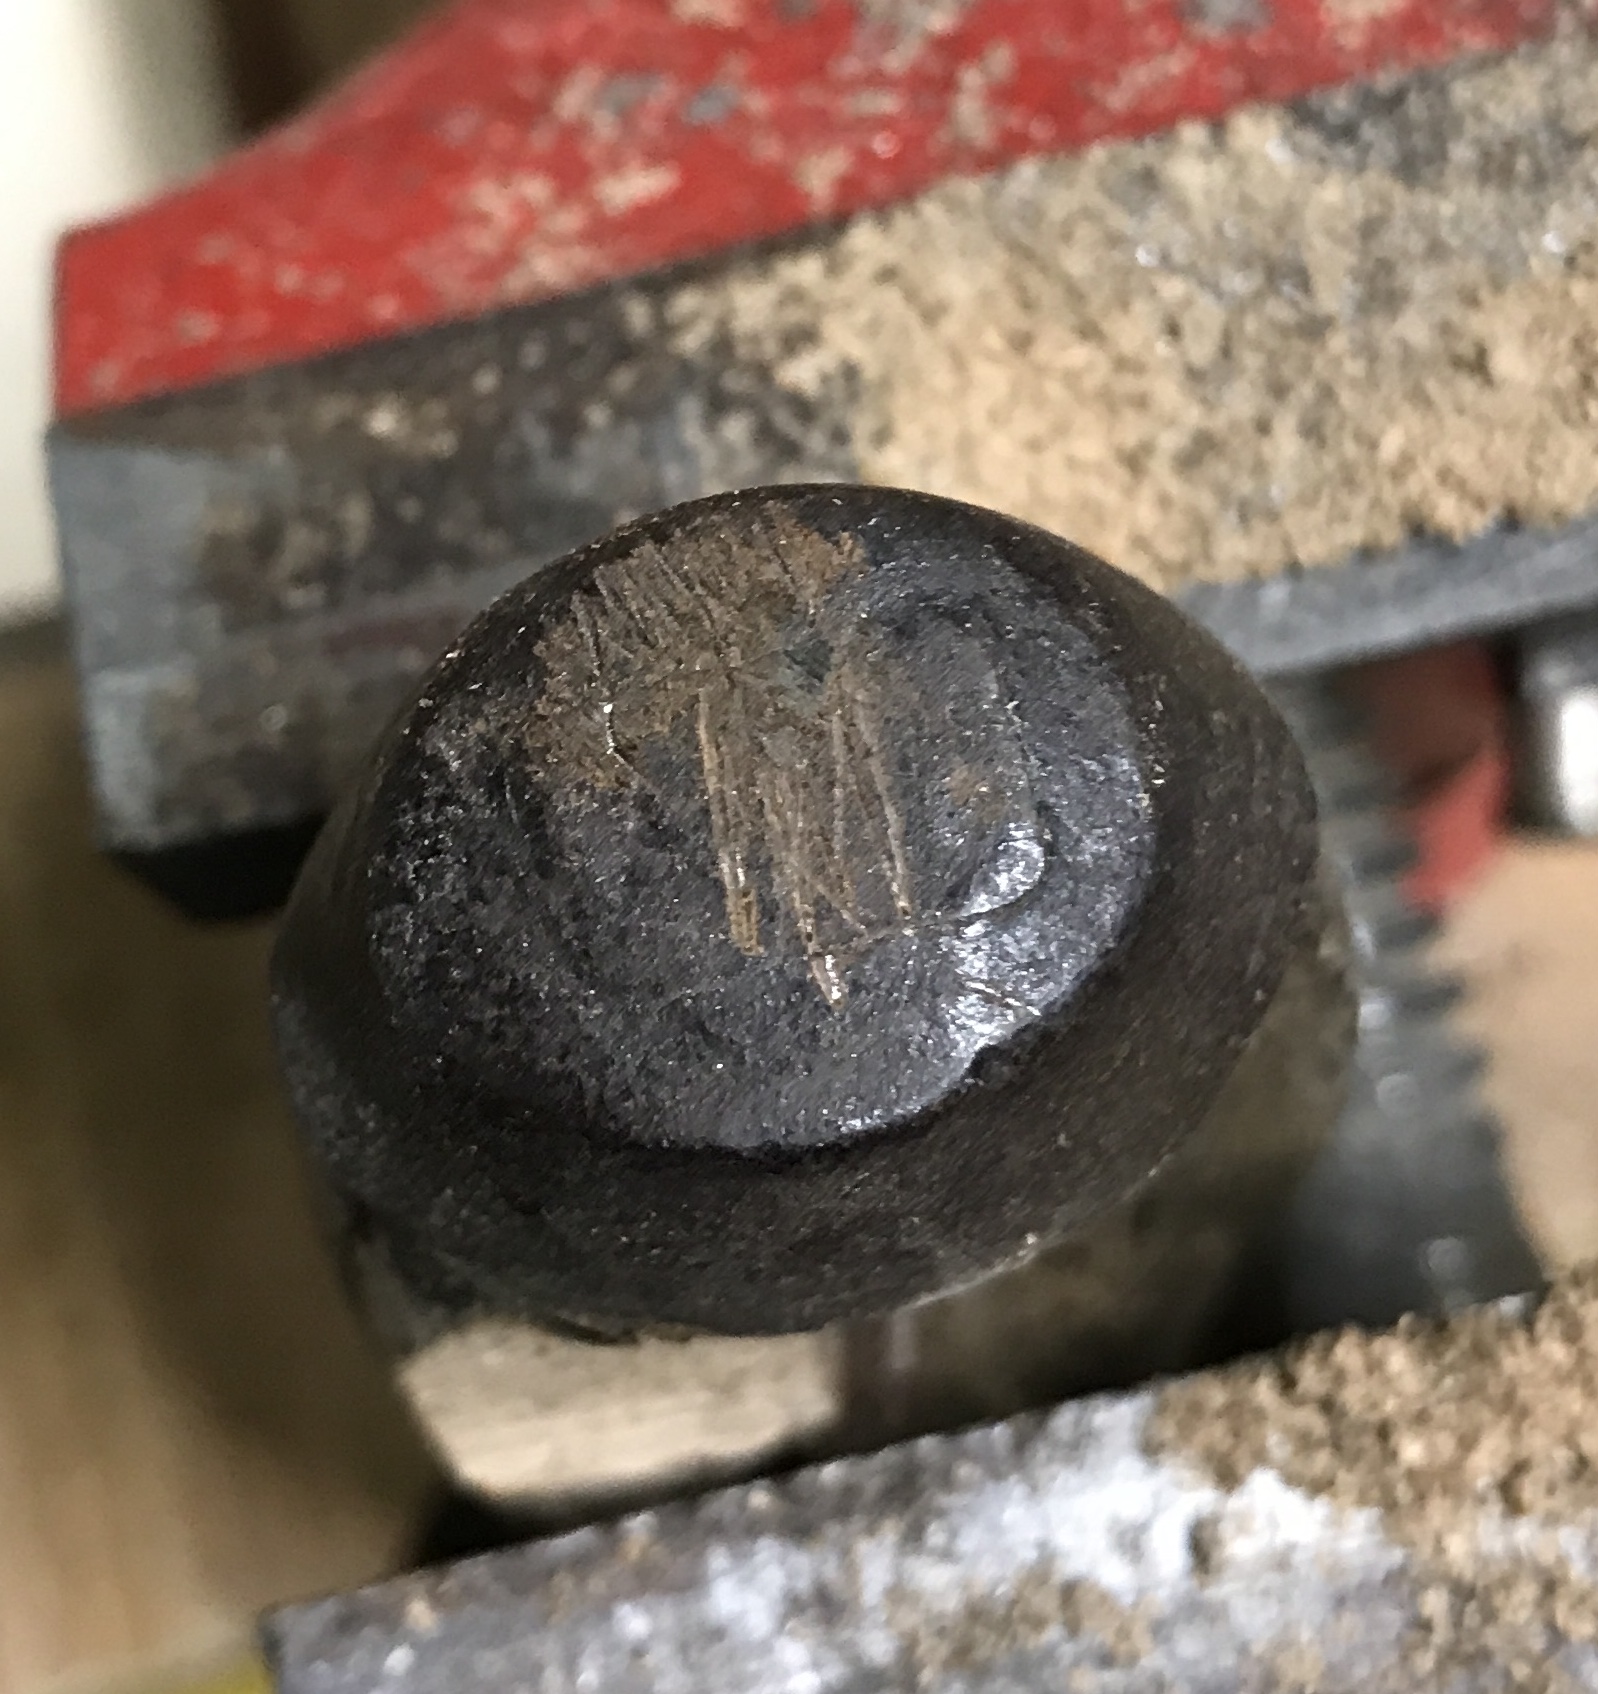
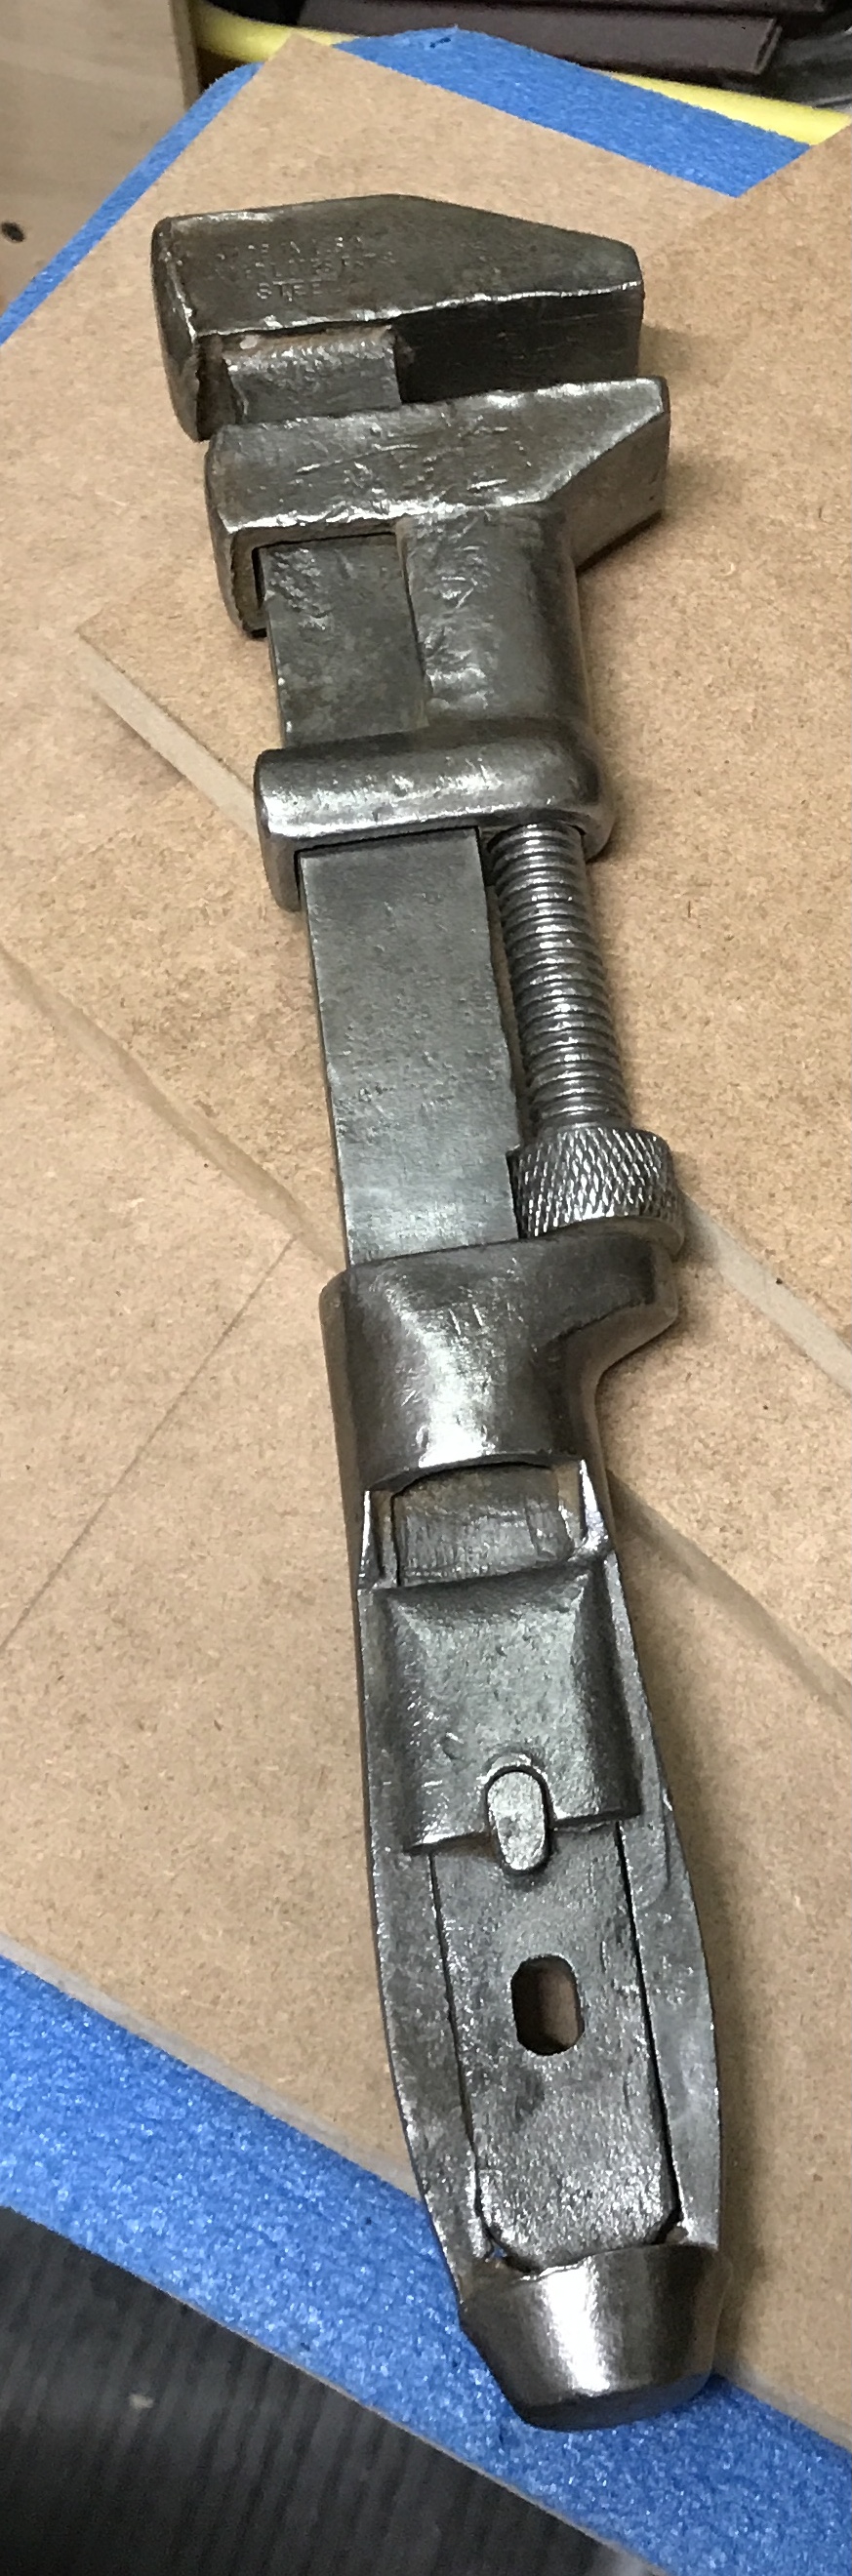
A very old monkey wrench was in the box of "Old Tools" from Uncle Bob's basement. I decided to restore it. It is in pretty good shape considering its age. It has a light coat of rust. Mushrooming of the head is noticeable from its use as a hammer. It is a foot long. The wooden handle has been taped at the top. The movable jaw moves freely, so the rust has not locked up the mechanism. A stamping can barely be discerned on the face of the head. I believe it says,
Made in U.S.A.
Under LCCES FATS
STEEL
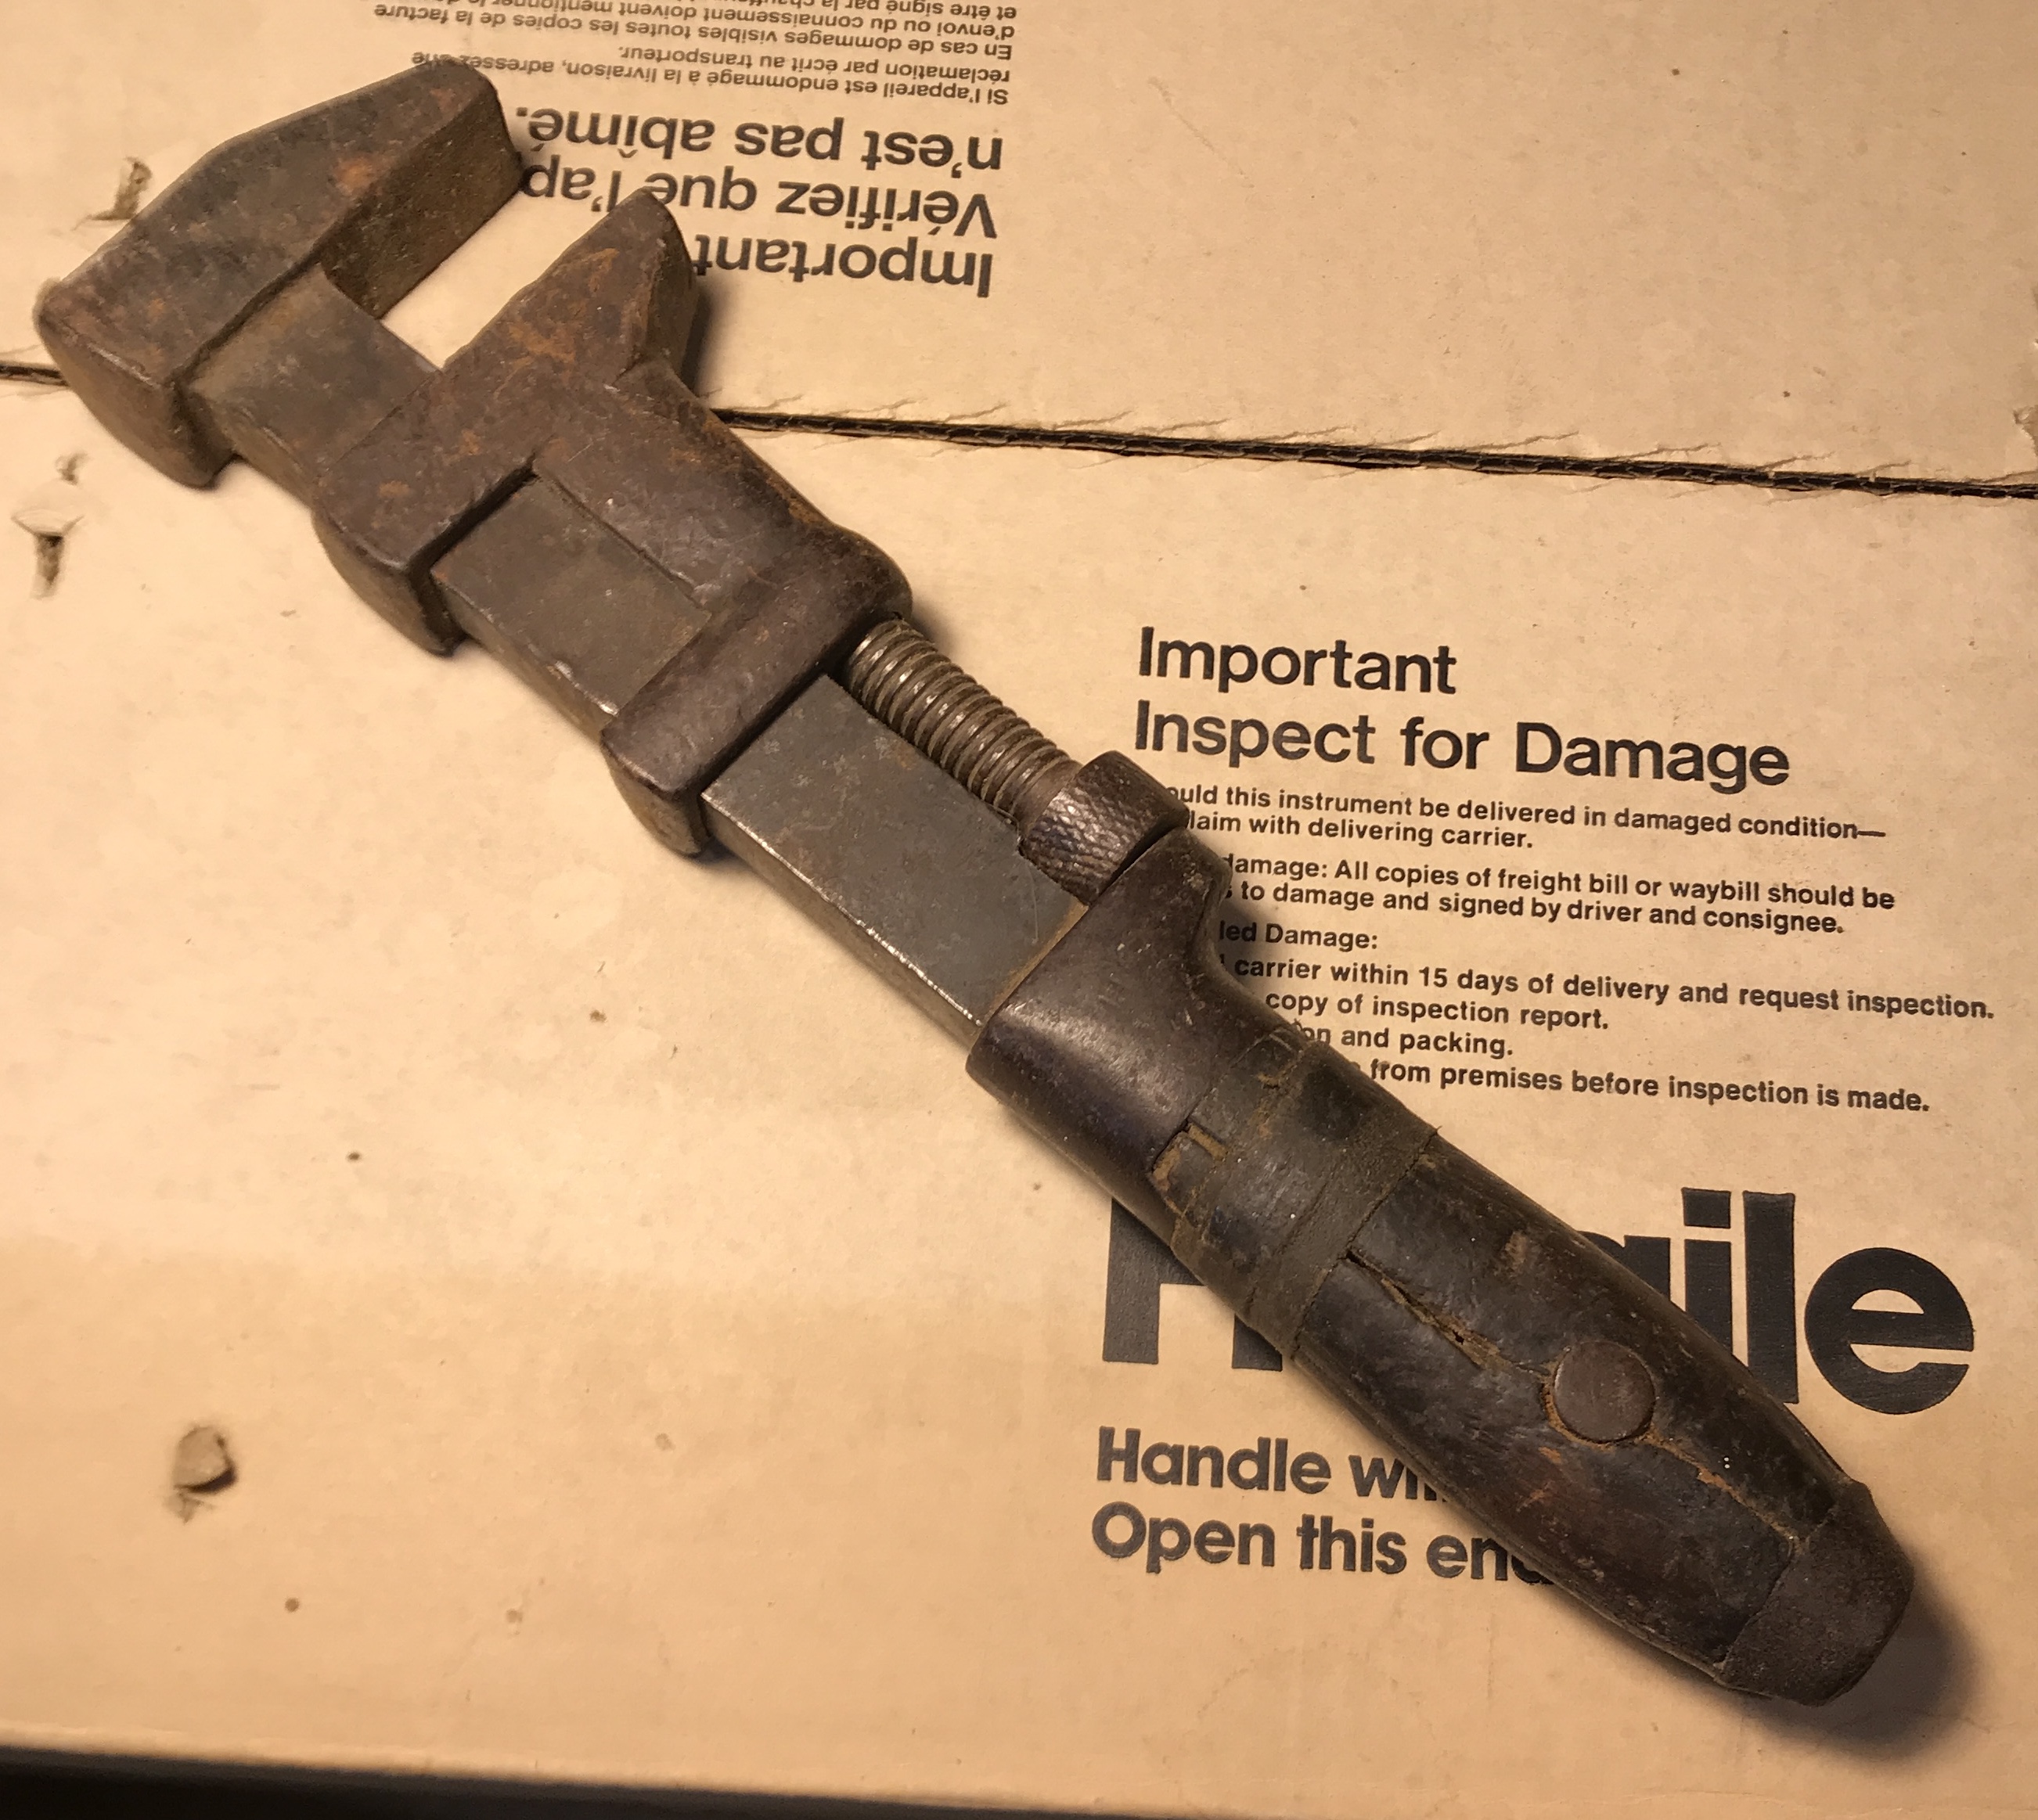
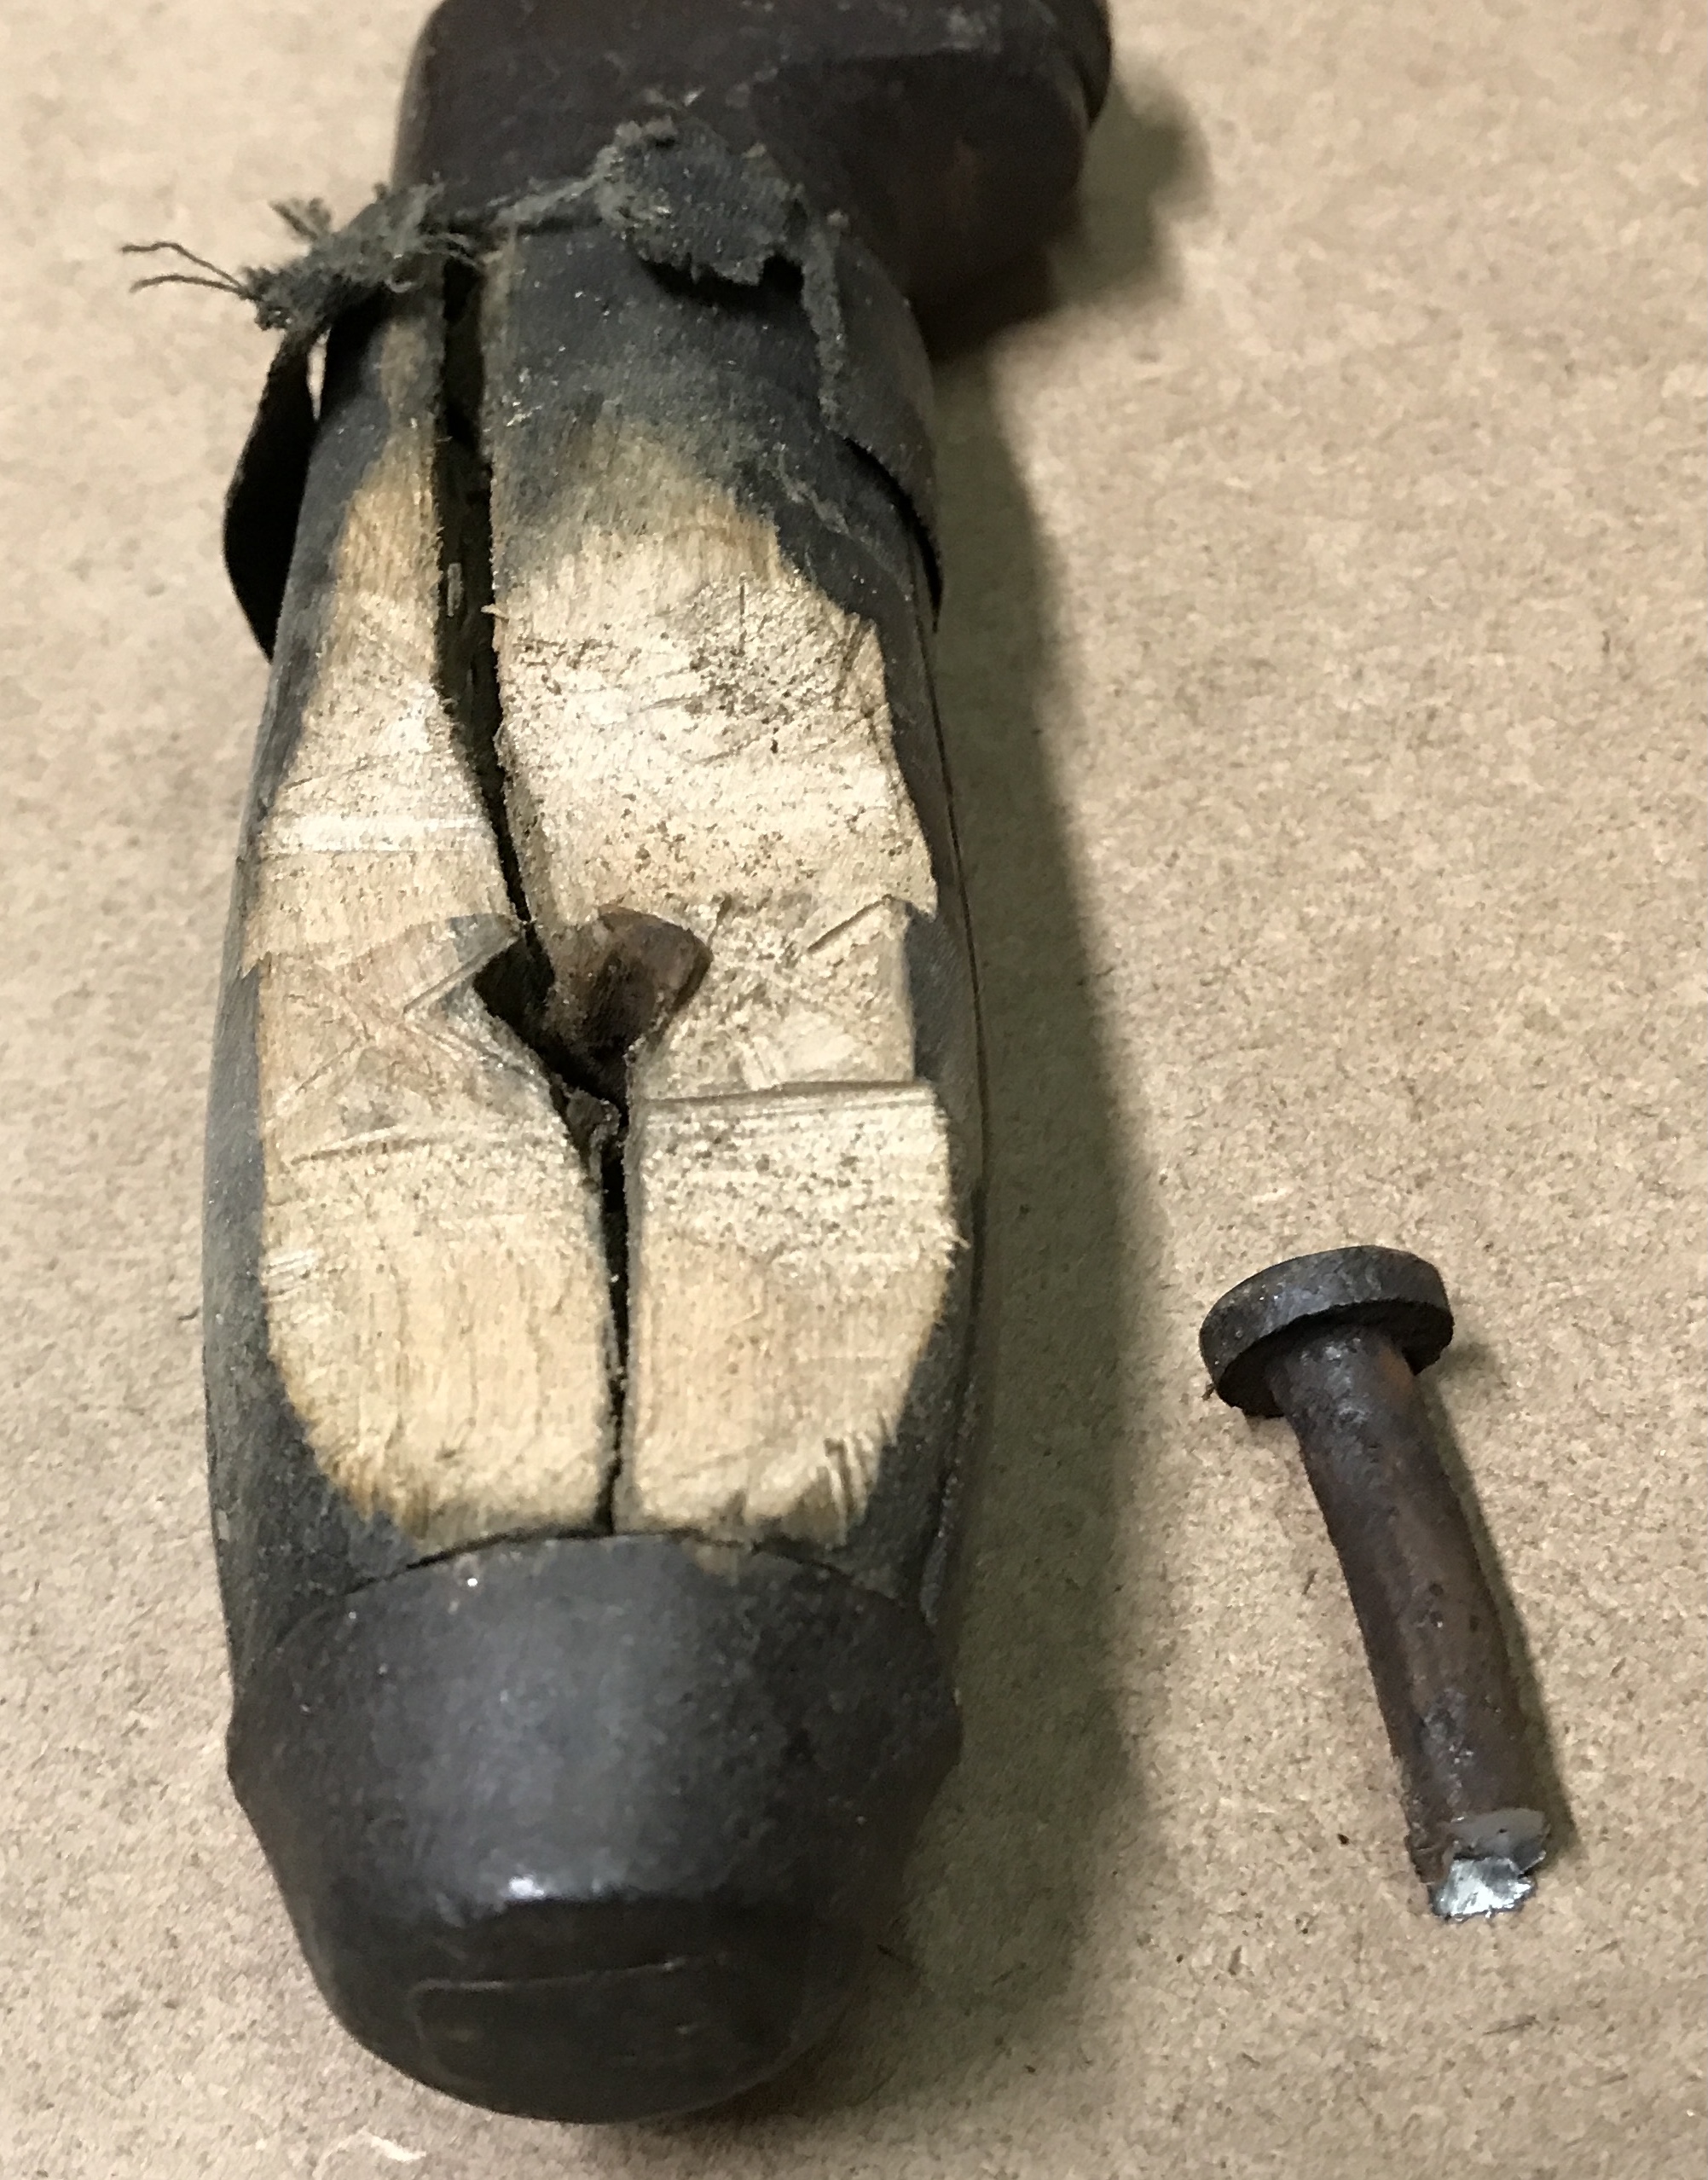
The plan is to remove the wooden handle and determine if the wrench can be taken apart. Rust will be removed and the wrench will be filed to return it to its original shape. There is an end cap and a large rivet holding the halves of the handle in place.
Quite a bit of filing was done on one end of the rivet in an effort to remove the head. The head was pounded into a countersunk hole in the handle. After much work the rivet was knocked out the other side with a punch. The wood on one side was split and came out easily. The wood on the opposite side was held tightly under the end cap and under a hollow part of the wrench just below the nut. This wood had to be split before it could be removed.

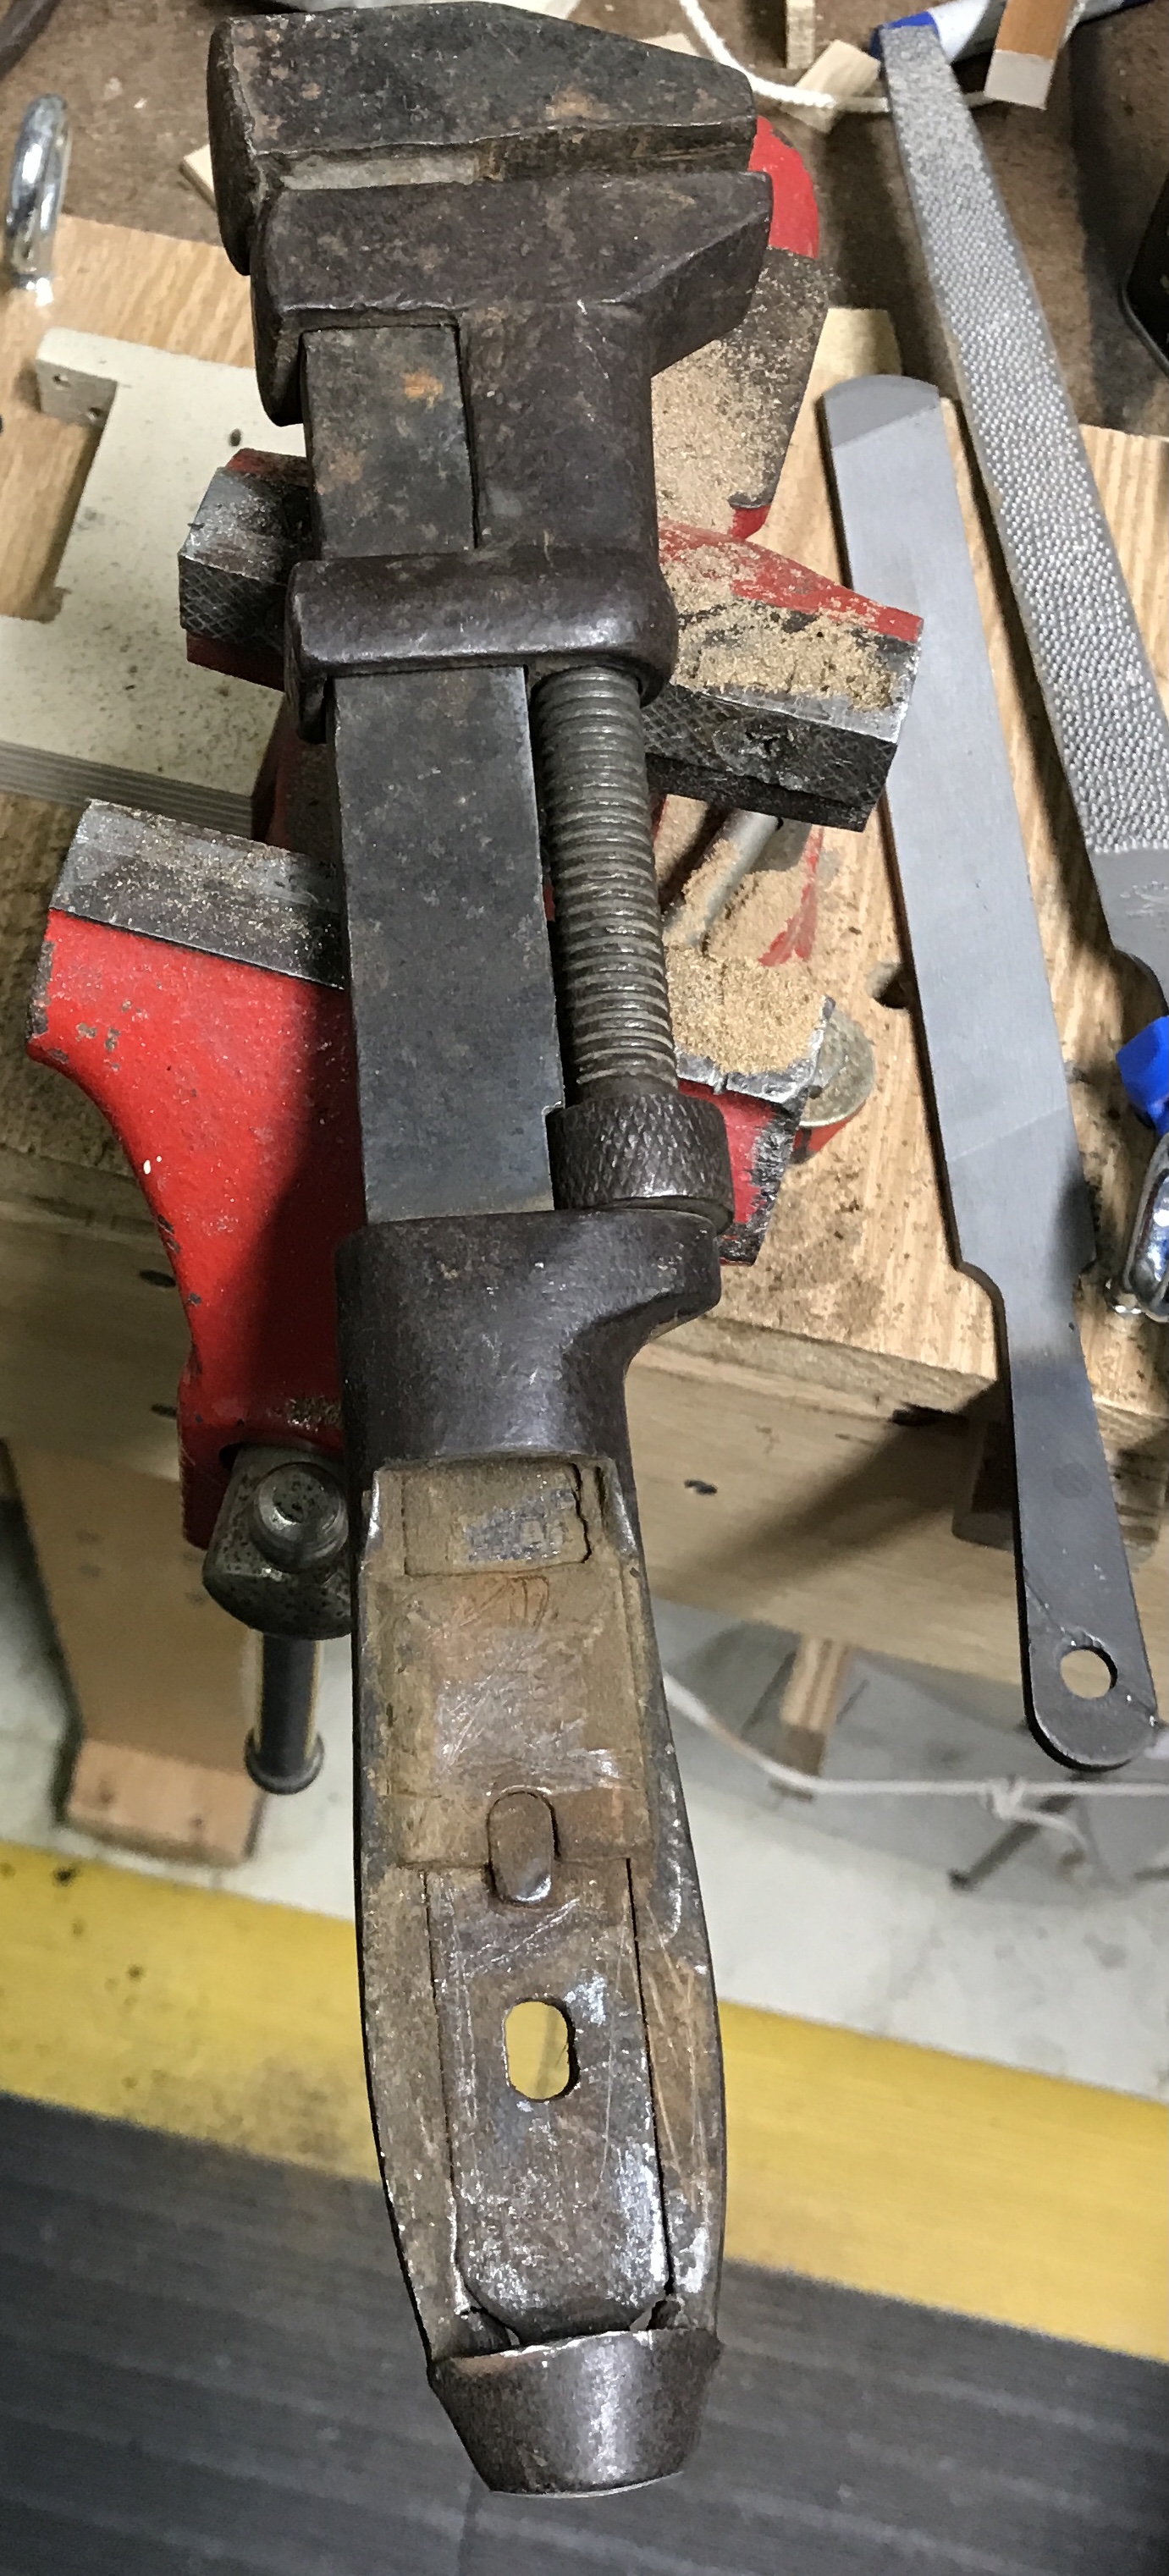
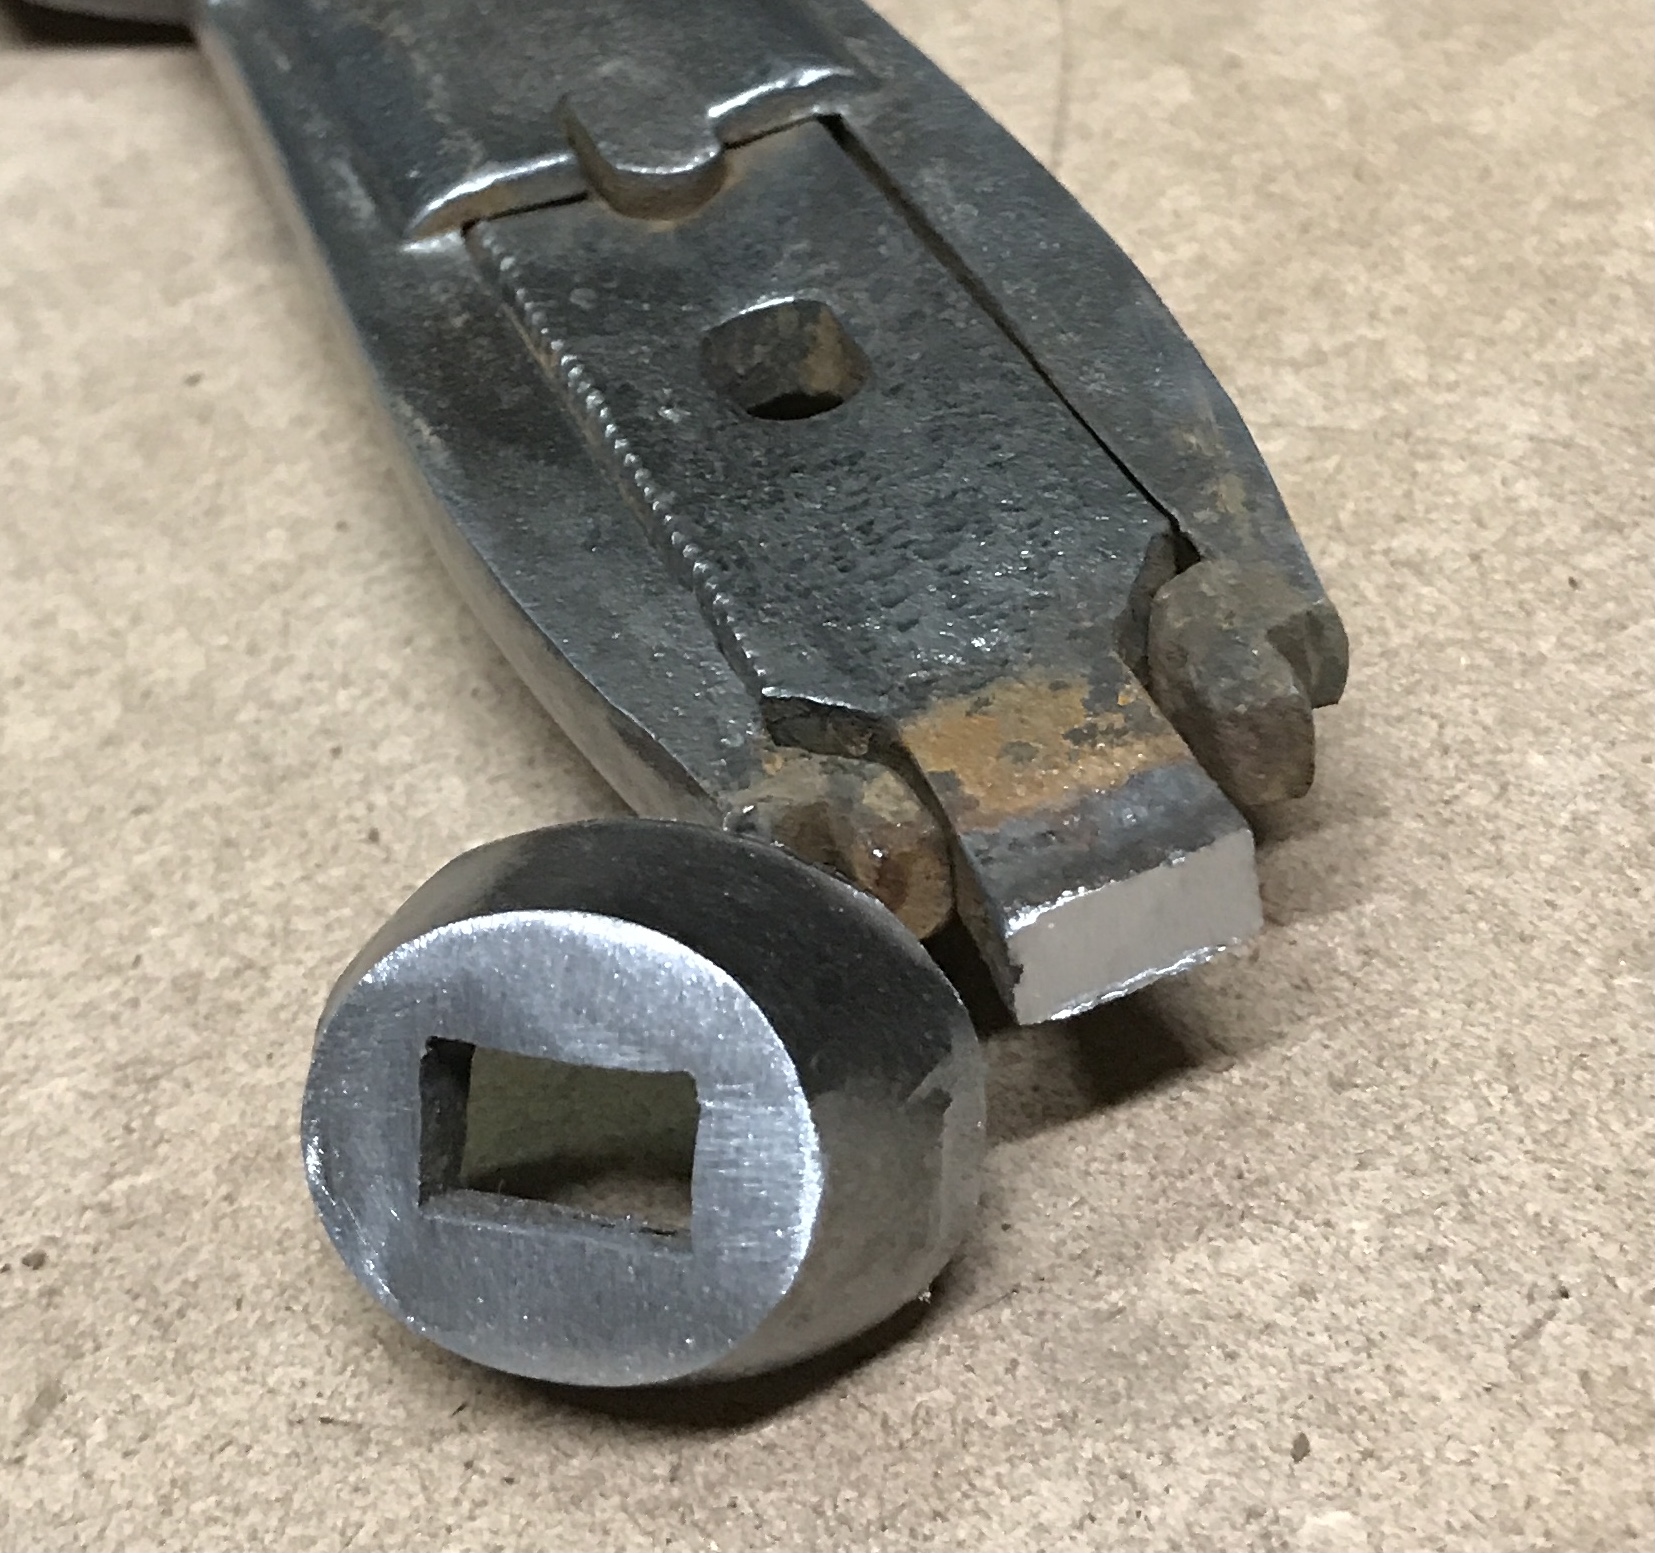
The end cap is held on by peening the end of the tang. There is a odd fastener holding the handle to the tang of the wrench head. It consists of two flat metal plates welded onto the handle that are held to the tang by a large rectangular headed rivet. I doubt I will attempt removing this clamp.
Rust removal was begun this morning. The wrench was placed in a shallow plastic container. About 1/4 of a gallon of vinegar was poured over the wrench. Two large handfuls (1/4 cup) of salt were added to the vinegar. The salt slurry was stirred and the salt slowly dissolved over time. The wrench was left to sit in the salty vinegar for 24 hours. After only a few minutes bubbles could be seen forming on the iron.

I am not sure how well the rust removal went. It doesn't look much different. The biggest difference is the stench! Vinegar and iron is not pleasant. The vinegar was dumped down the sink and the wrench was thoroughly rinsed with water and brushed with a toothbrush. After a quick drying it was rinsed liberally with acetone. A wire brush in the drill press was used to further clean up the metal surface. This left a pretty nice finish.
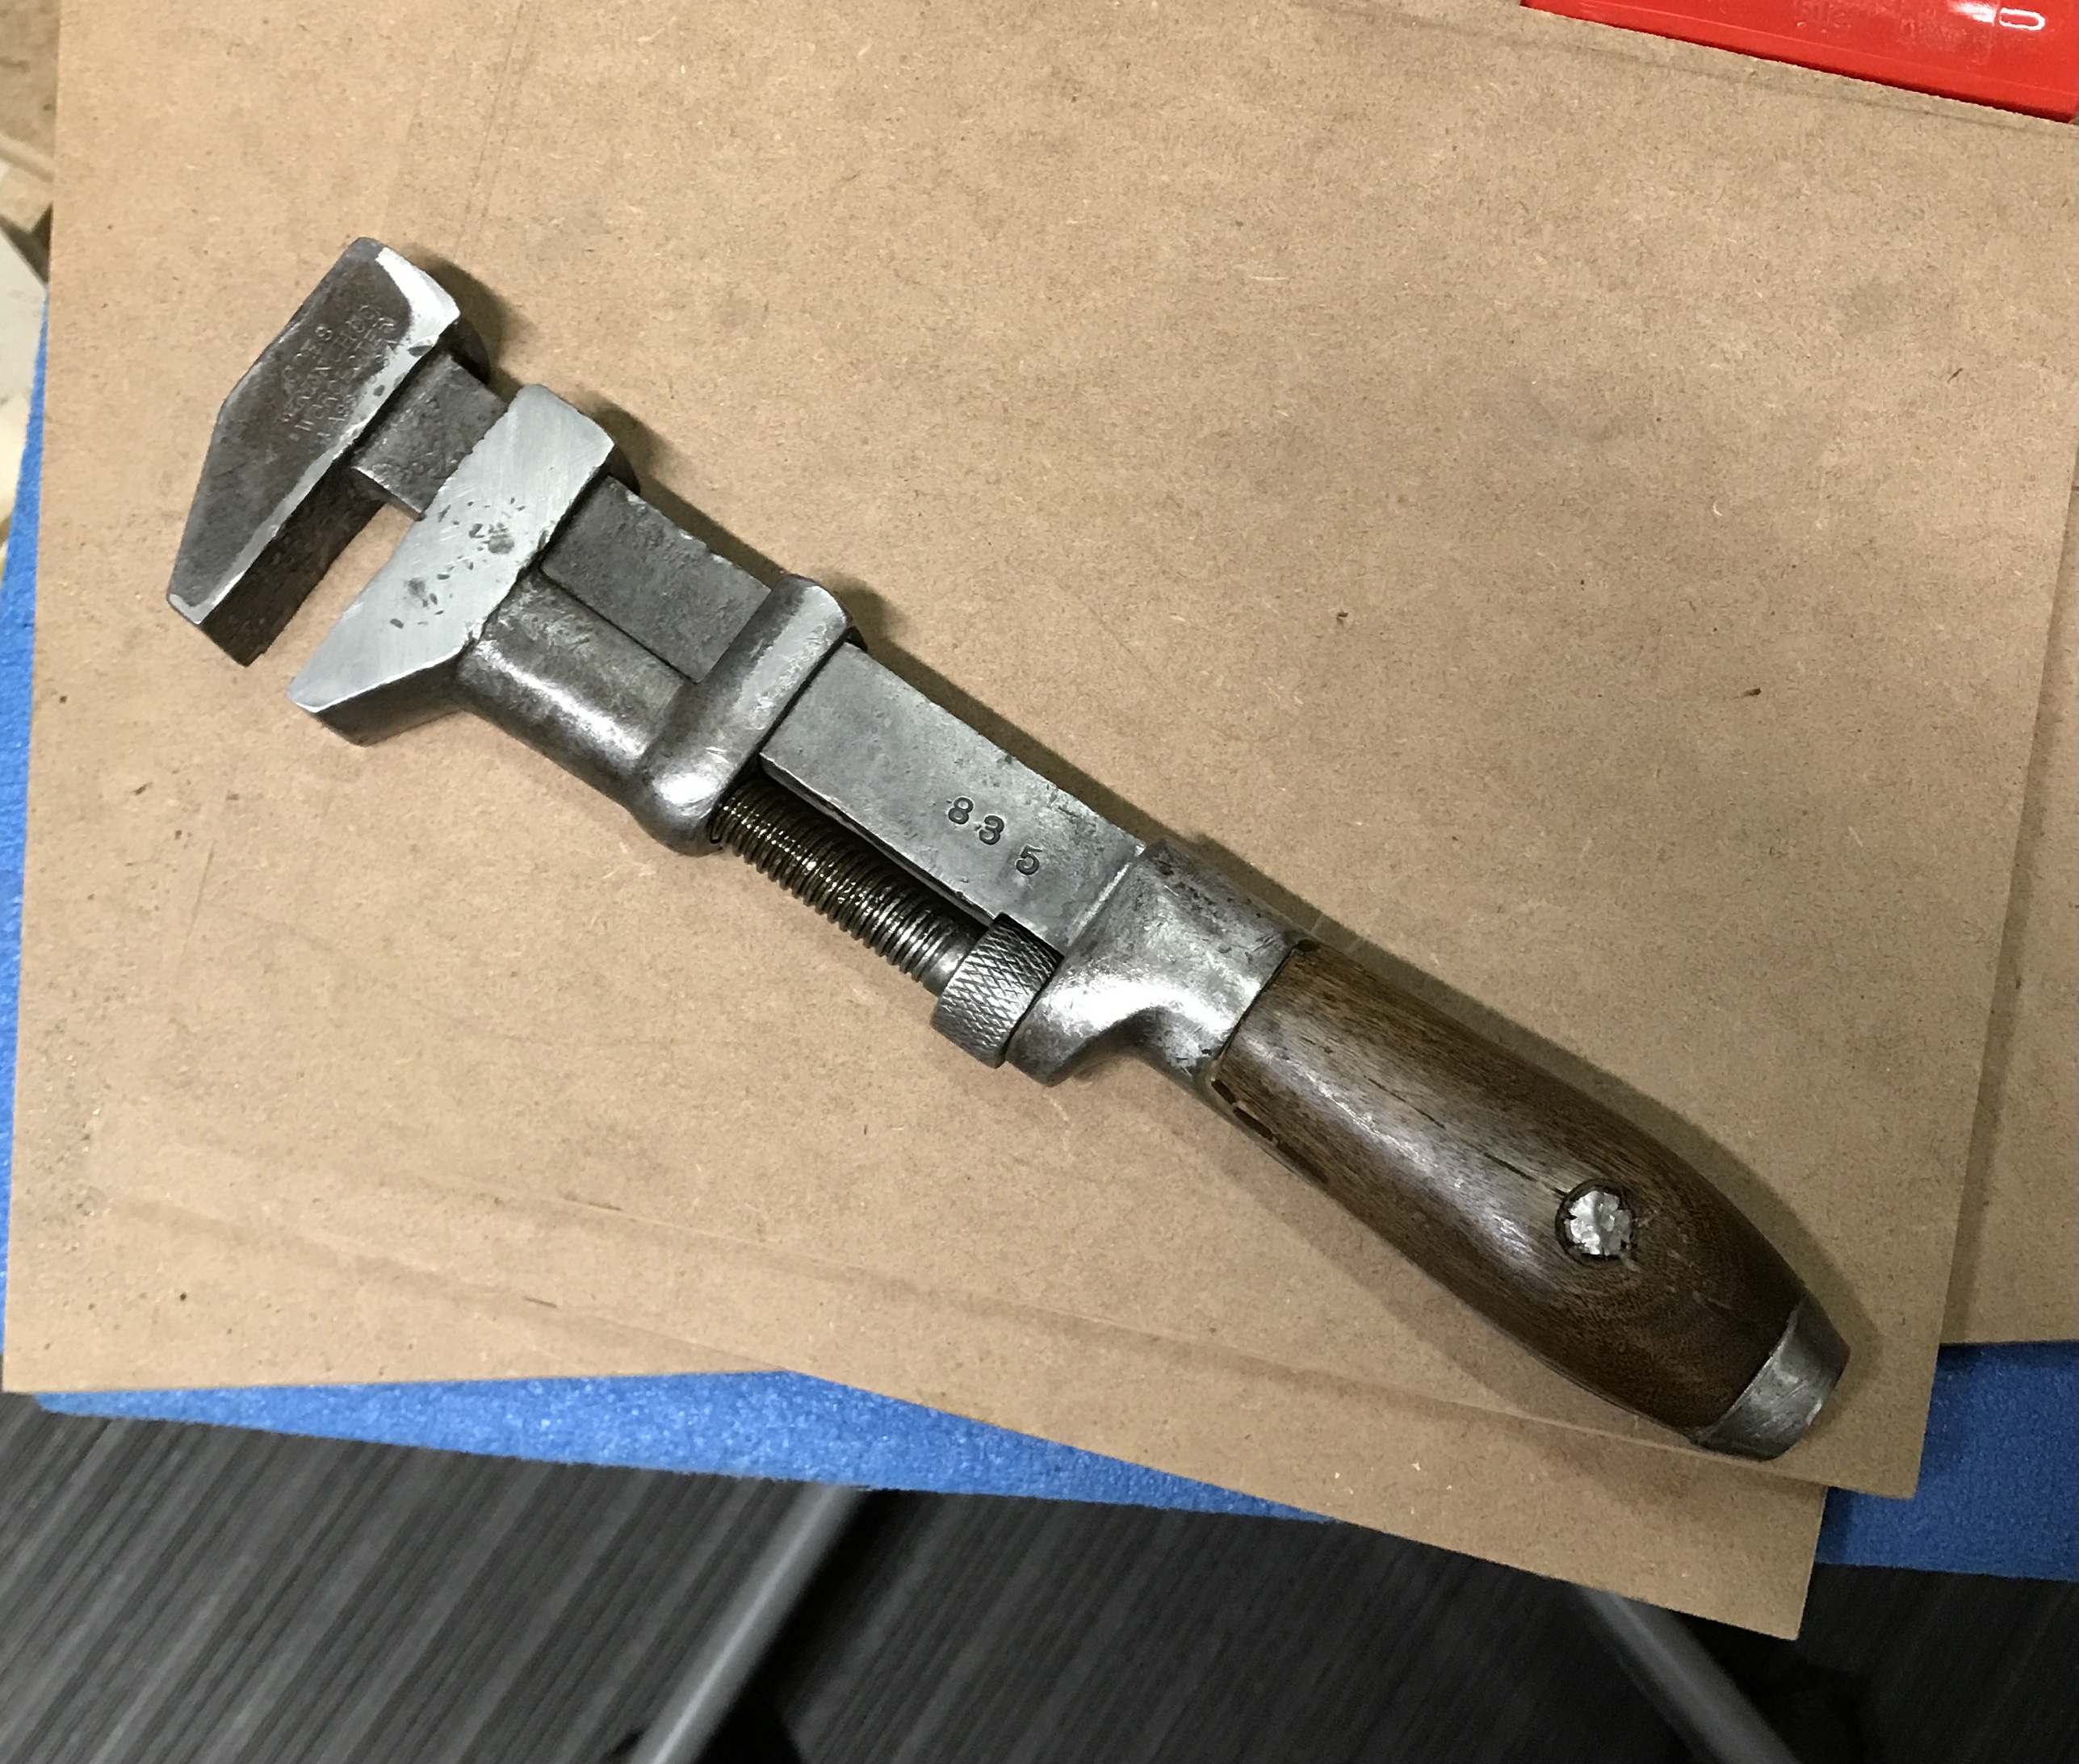
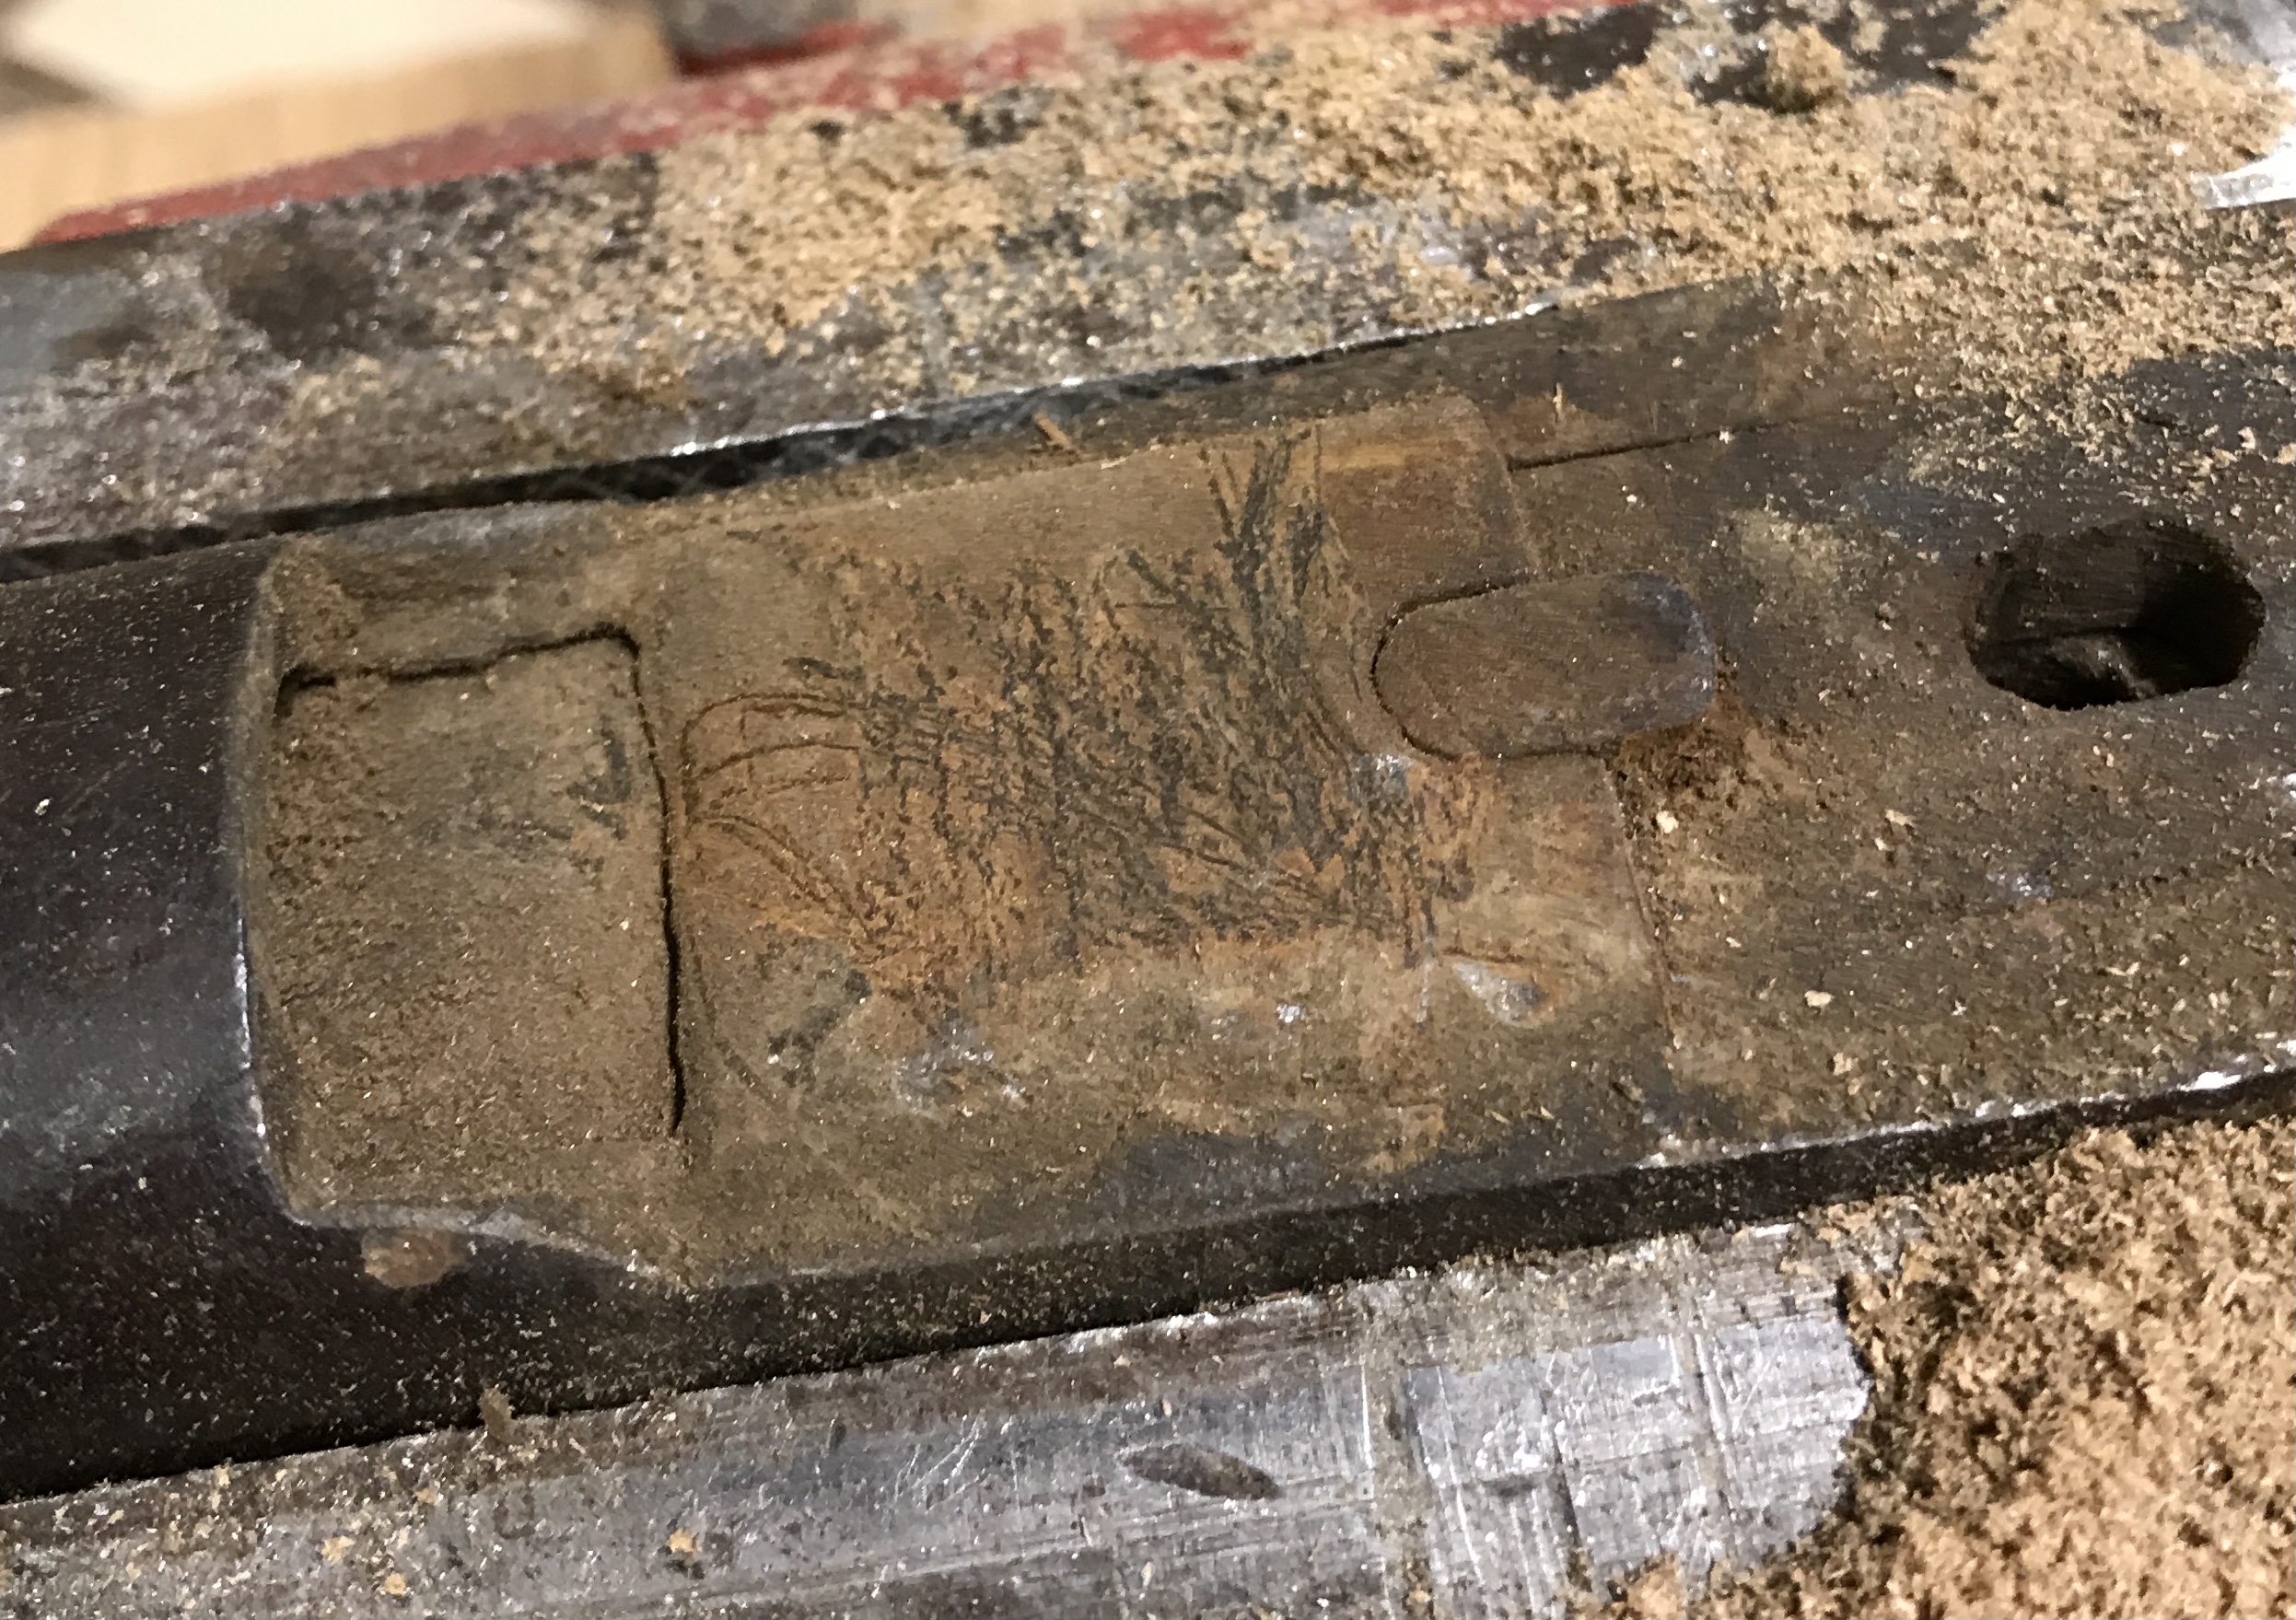
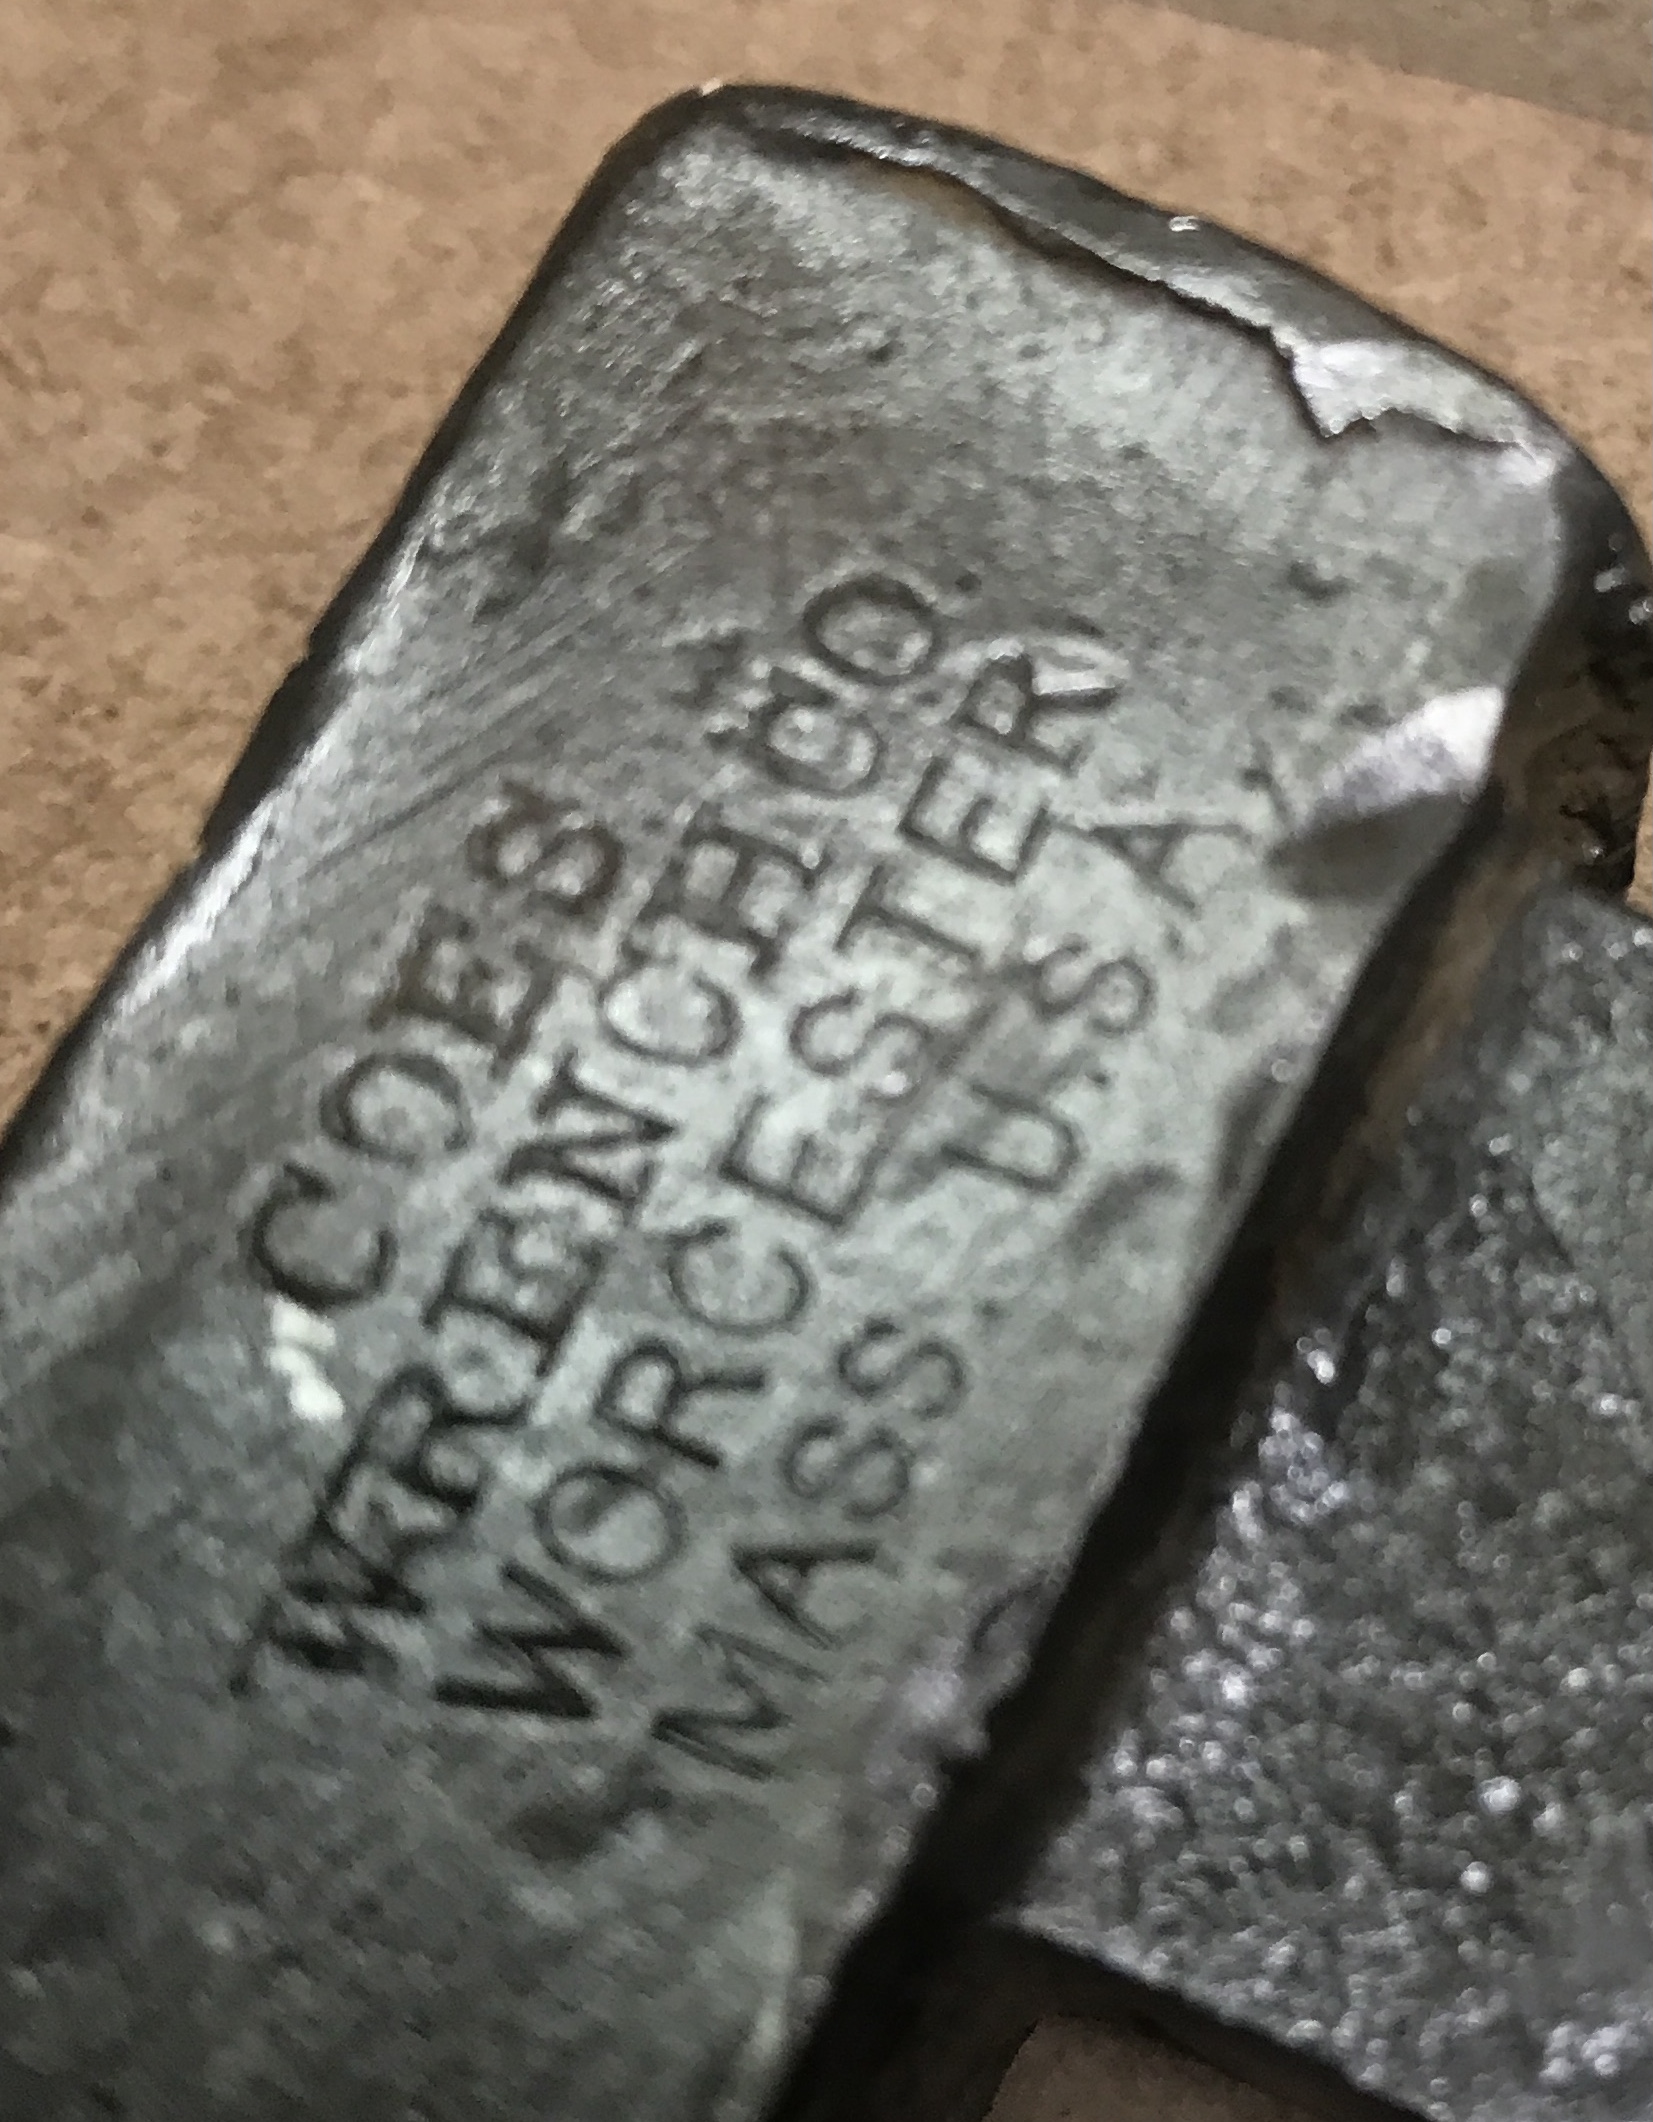
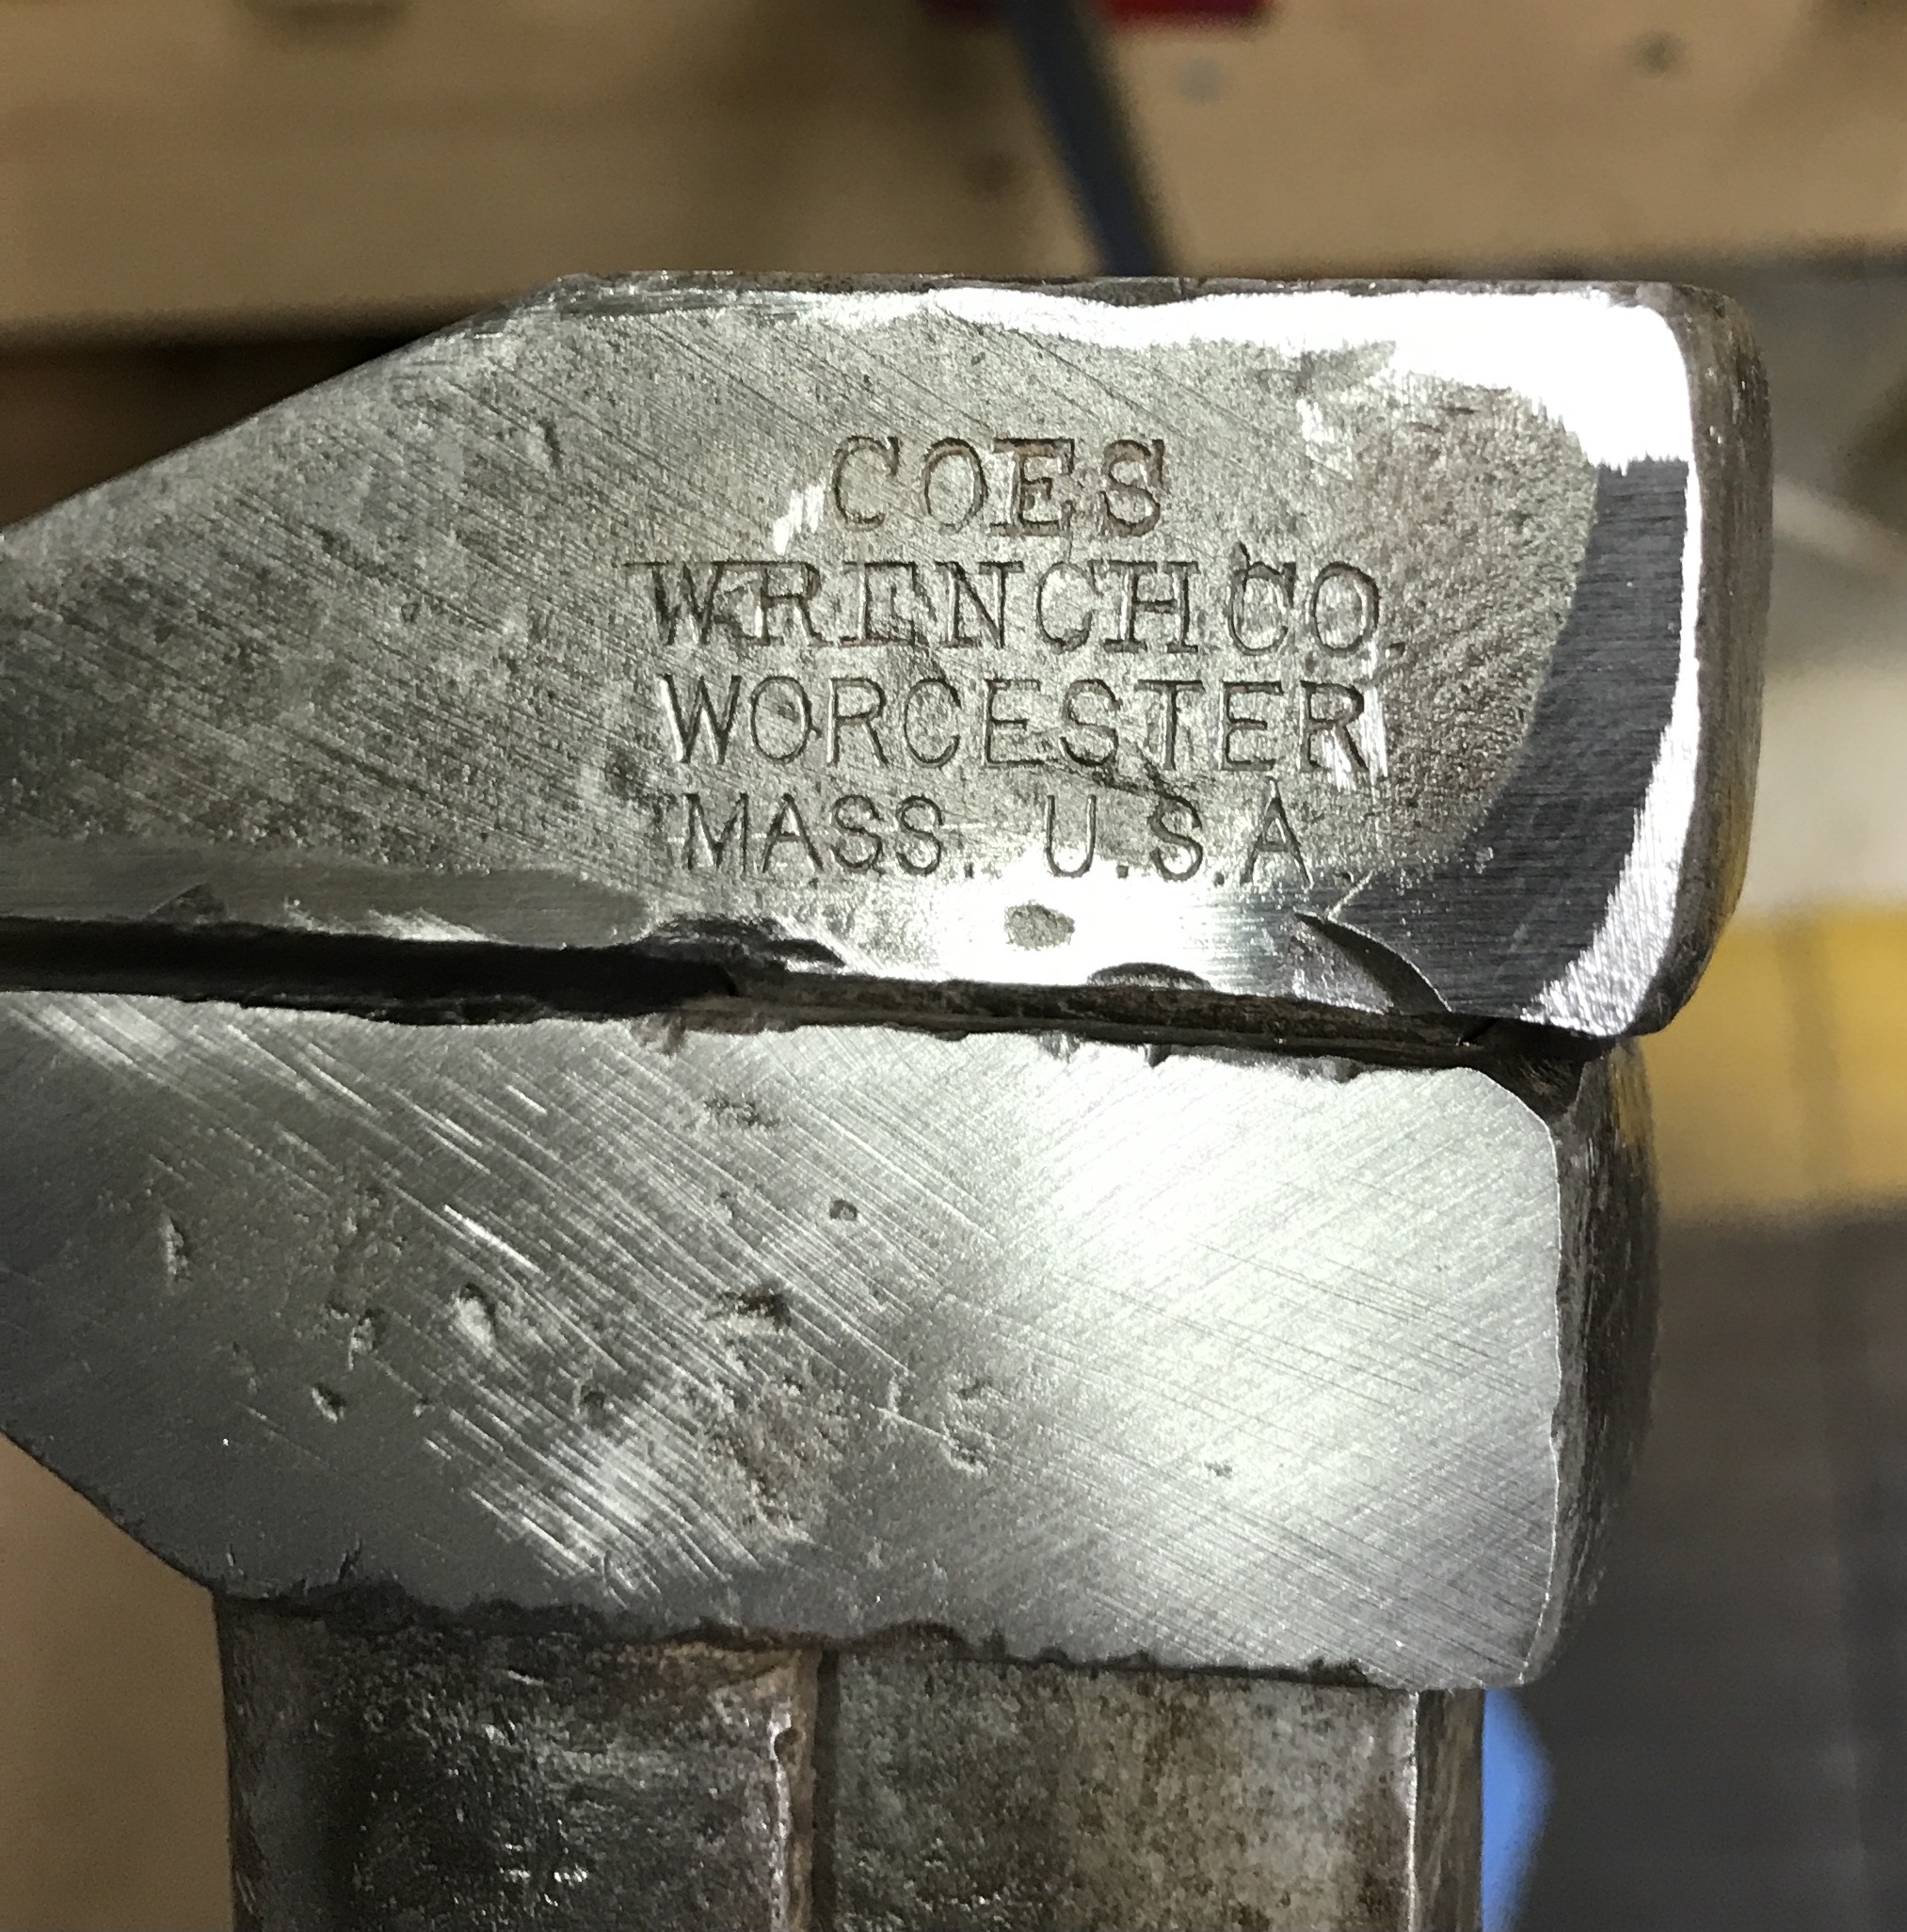
The cleanup revealed another stamping on the opposite side of the wrench head.
COES
WRENCH CO
WORCESTER
MASS. U.S.A.
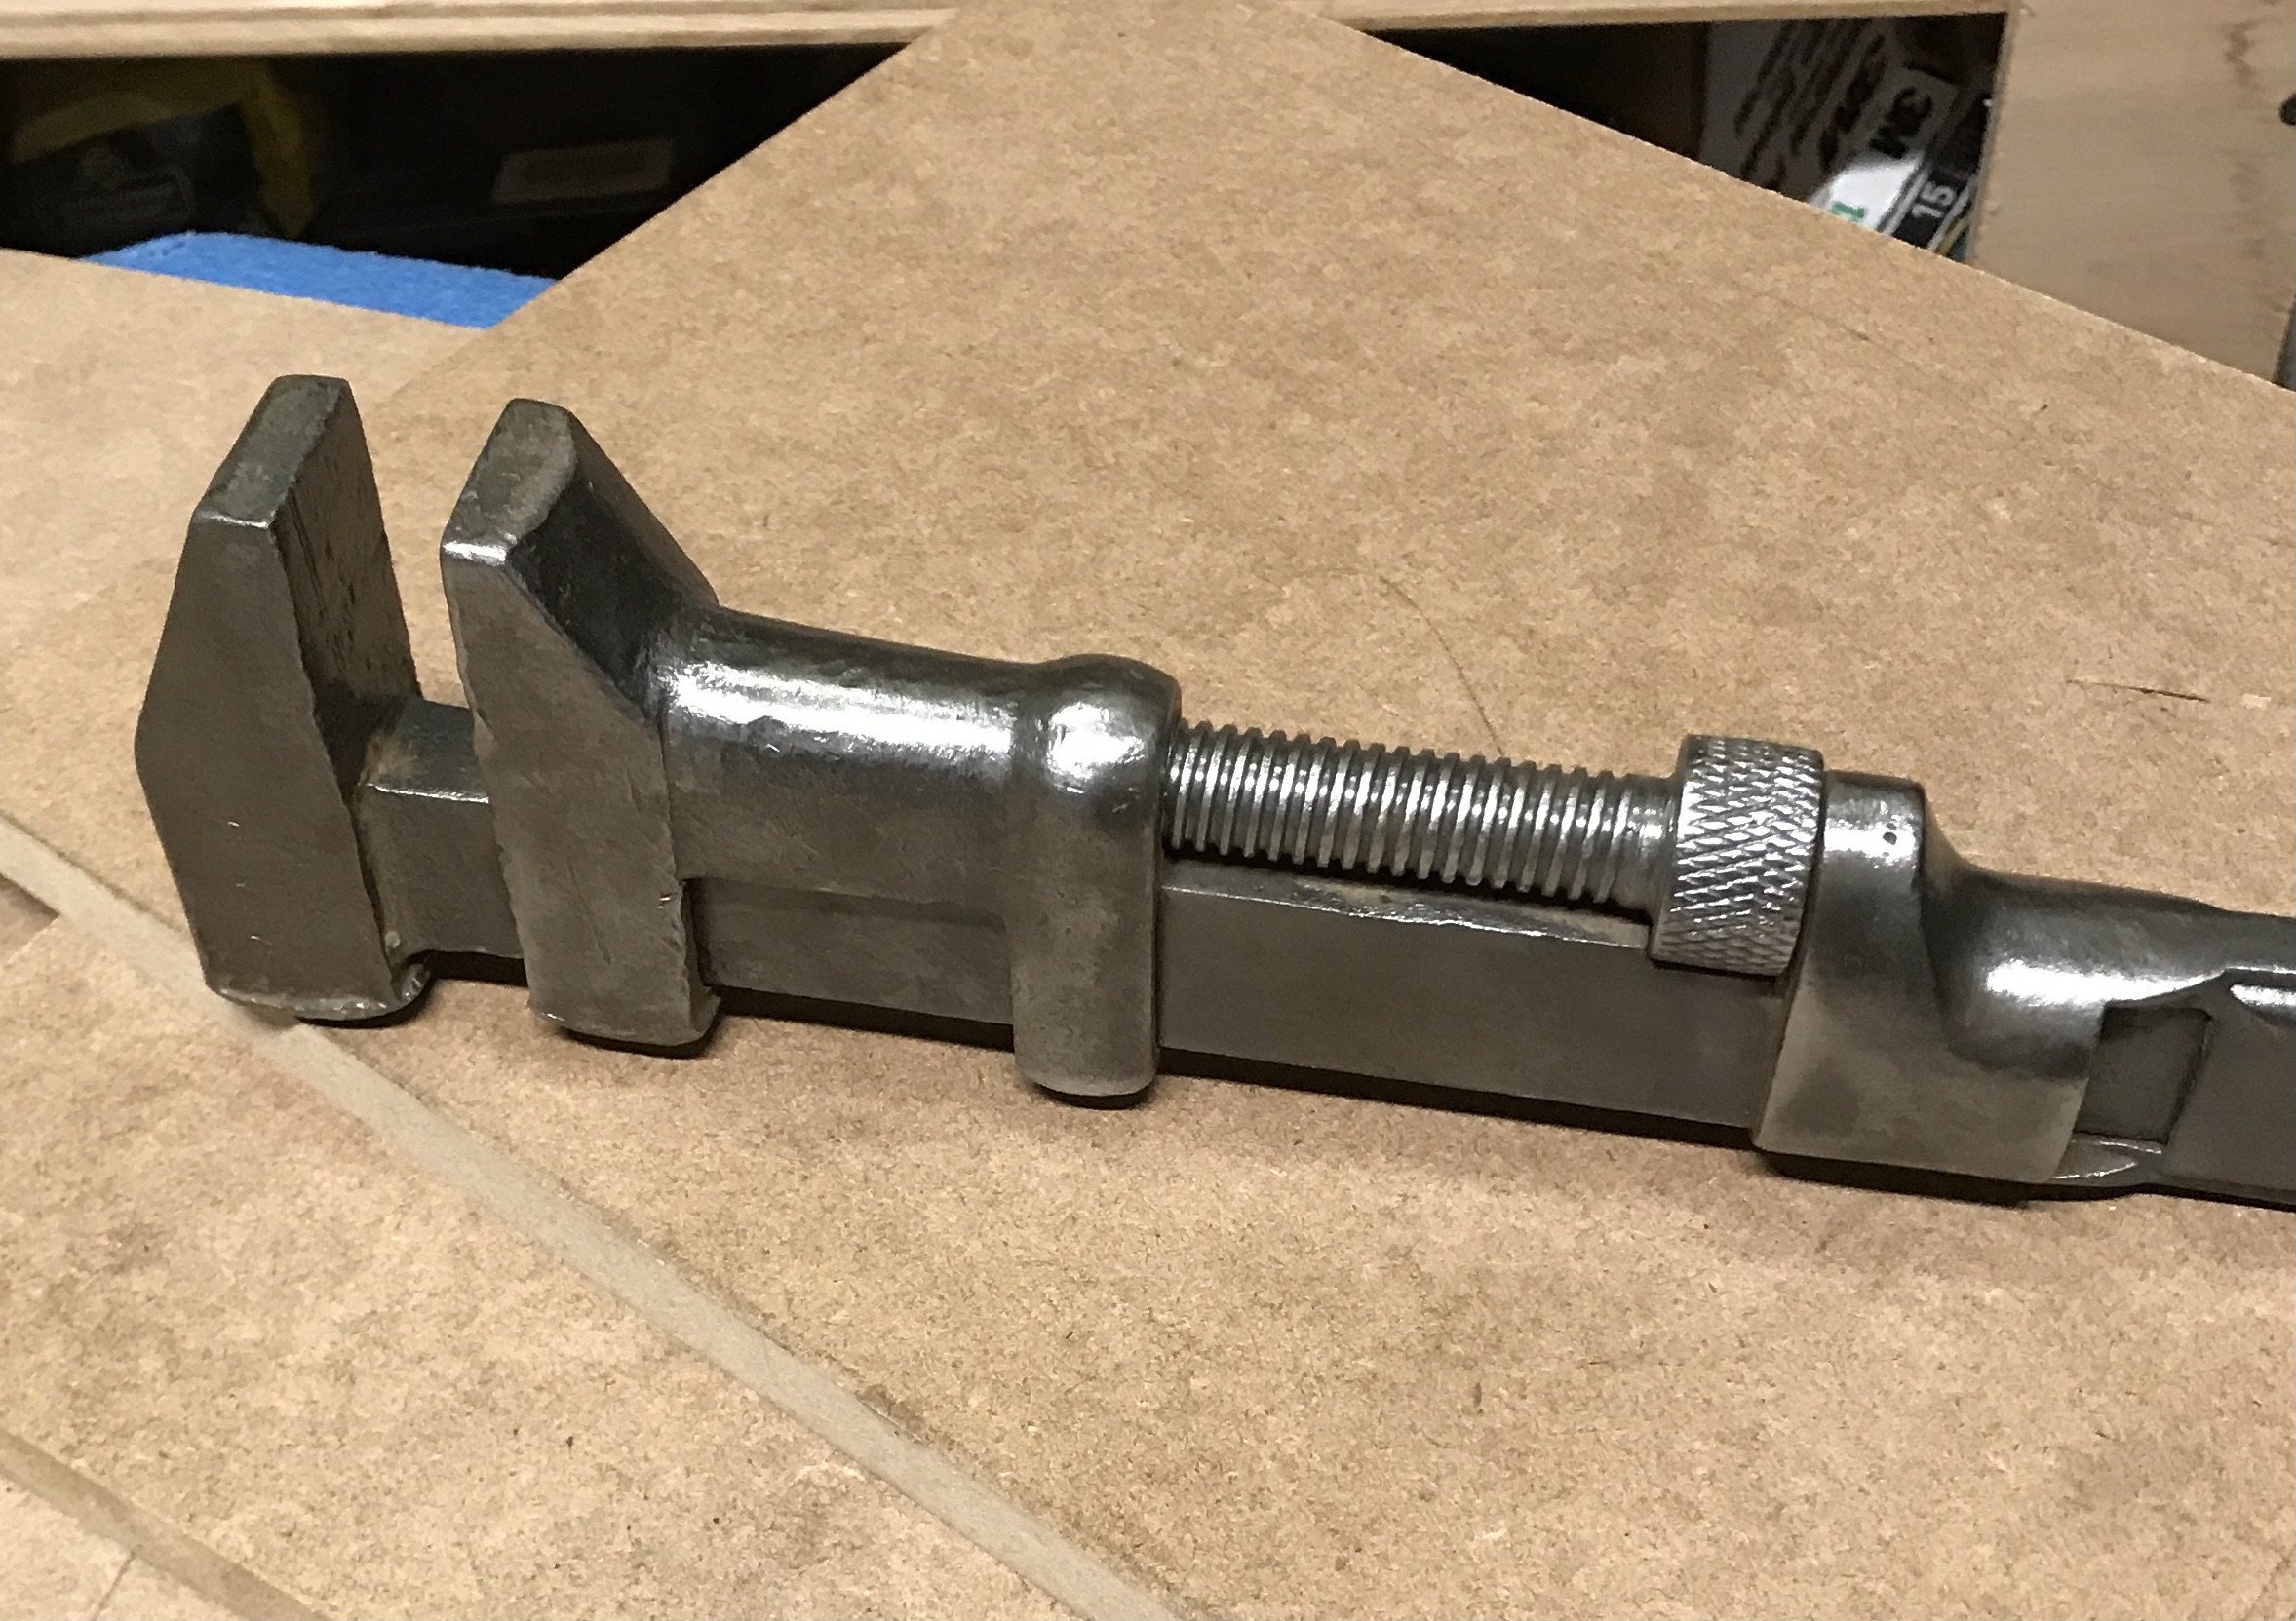
The edges of the mushroomed flats were filed flush with the sides. The belt sender was used to sand the top of the fixed jaw and the sides of the movable jaw. The inside face of the movable jaw was filed to remove the smaller divots. An attempt was made to file the inside face of the fixed jaw. It must be hardened as the file didn't touch it. A small pointed file was used to clean the gunk from the threads.
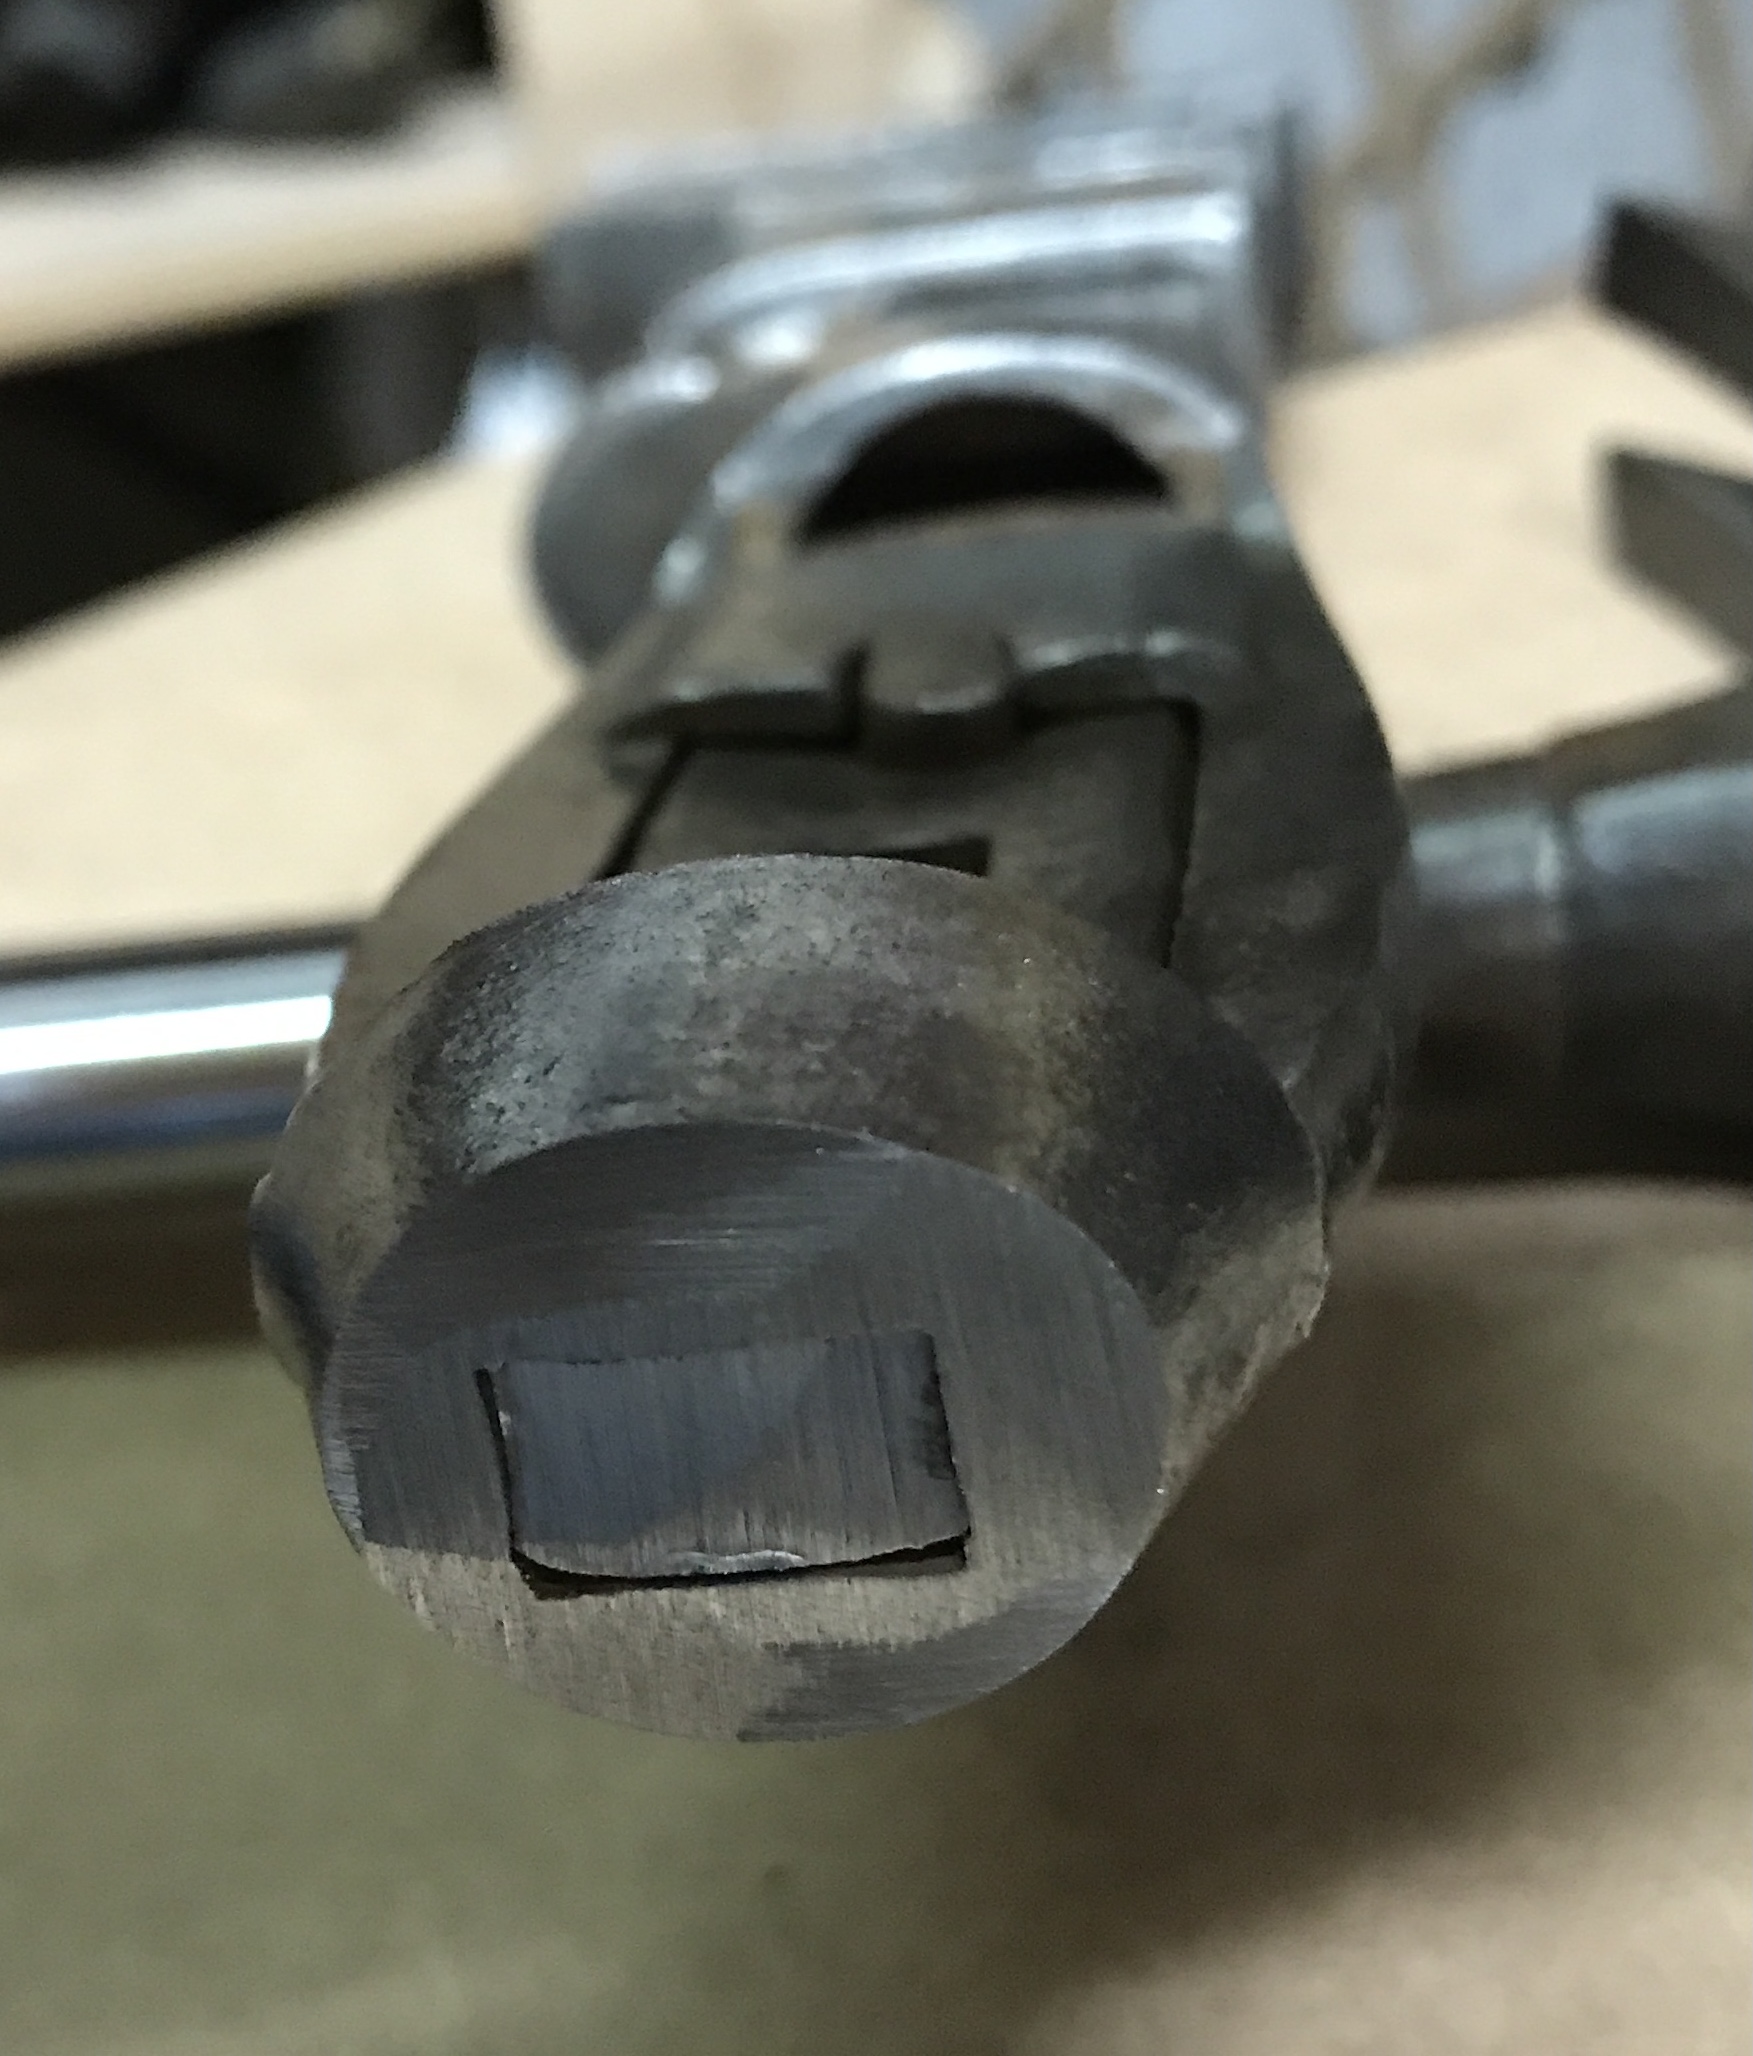
I got ambitious and decided to remove the cap at the end of the handle. The tang is 1/4" thick and the rectangular peened end is 5/16". The peened end of the tang was sanded on the belt sander until there was some room around the tang. A considerable amount of hammering finally knocked the cap from the tang. The cap was cleaned up with a file and some sanding.
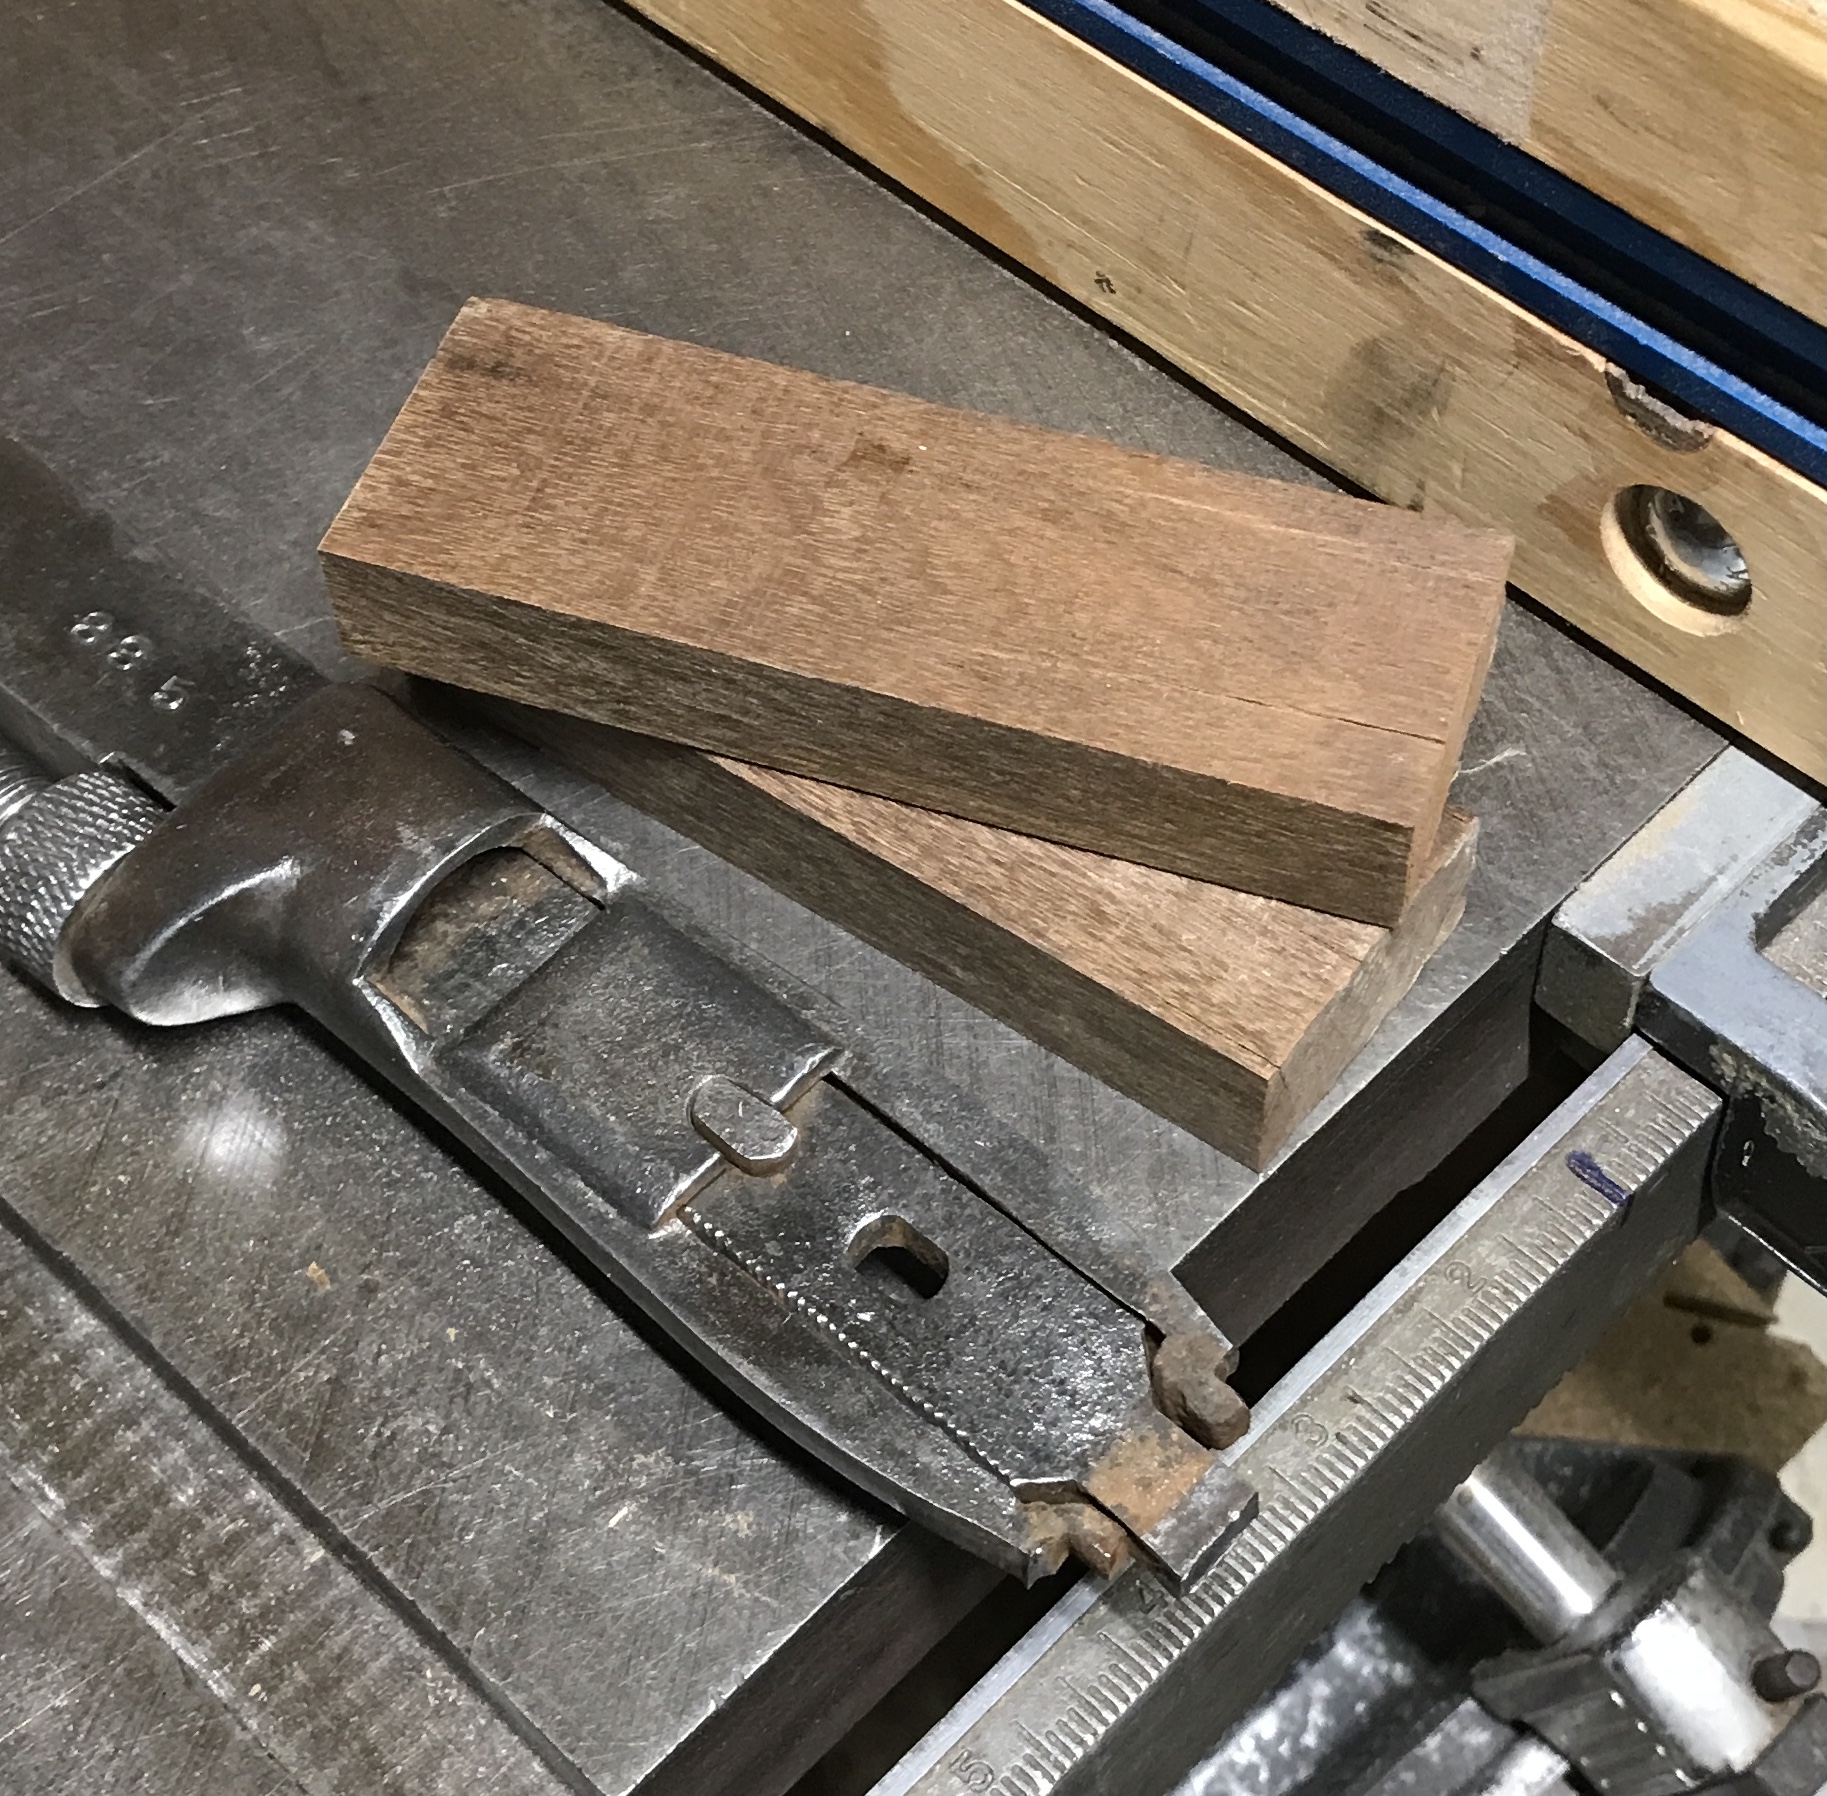
I am not removing the odd rivet holding the tang to the handle of the wrench. This means the inner threads will not be cleaned. They will, however, be well oiled. A block of 3/4" wood was selected for the handle. I do not know what kind of wood it is, but it is very dense. It is wide enough to make the two sides of the 1 1/2" wide handle. Two pieces were cut from the scrap: both 1 5/8" wide.
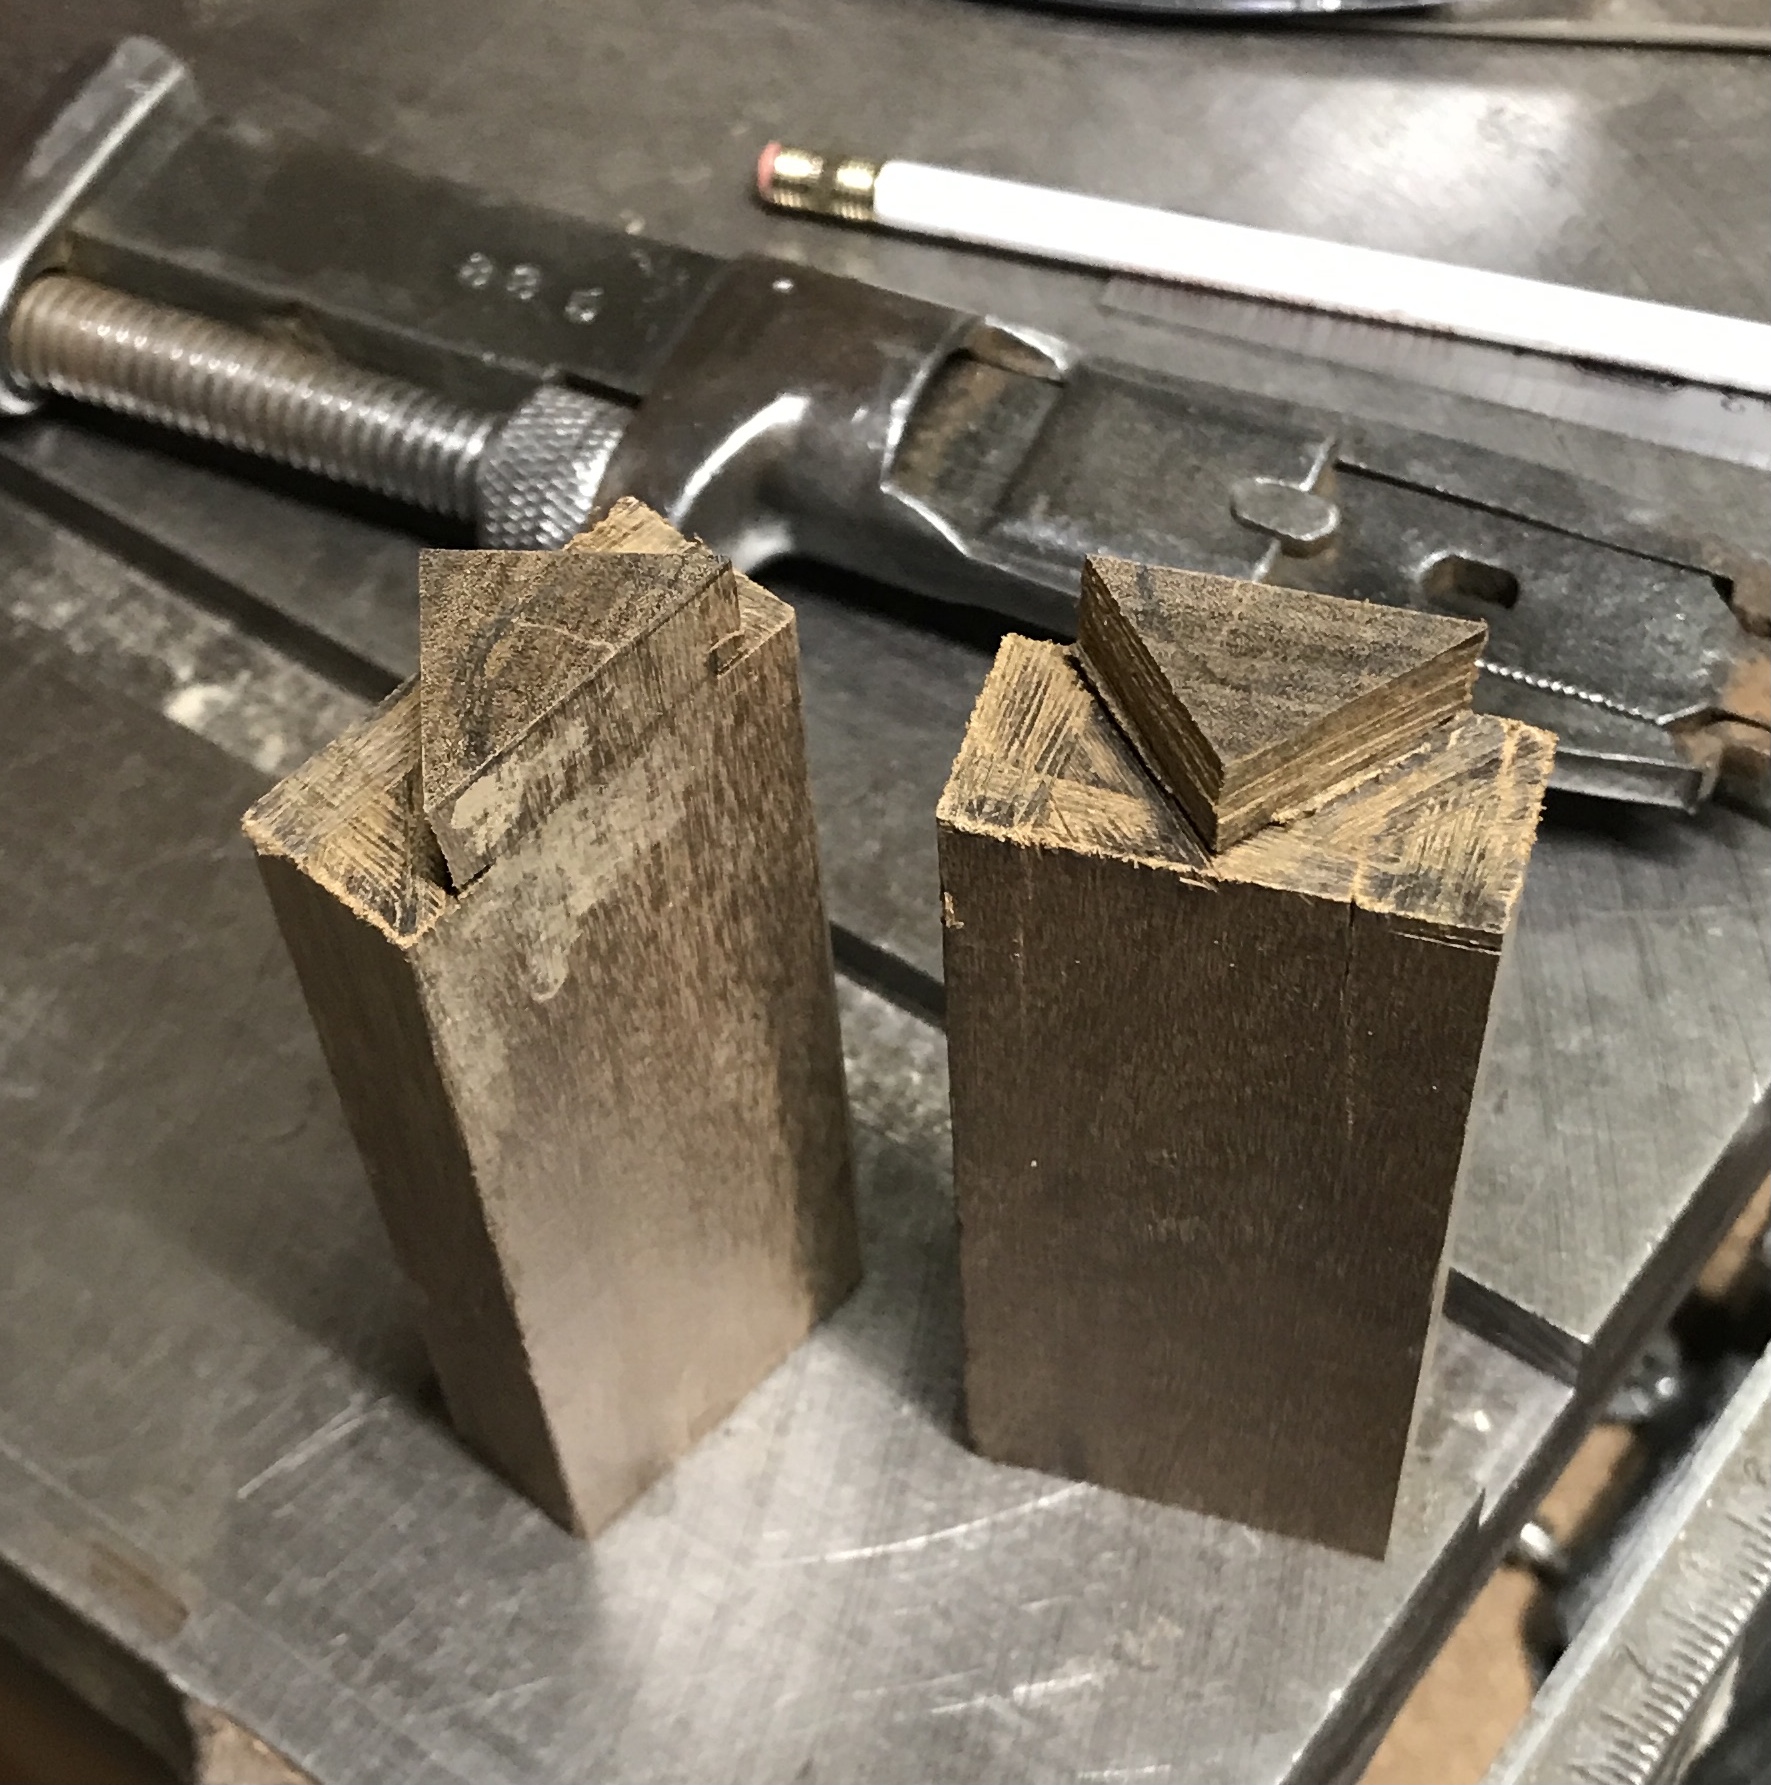
Spent the morning working on the handle. The blanks needed two modifications before shaping could begin. They each needed one end rounded for about 3/8" to fit under the top end of the handle. They also needed pockets cut on the inside to fit over the locking mechanism. A rough sketch was made on the ends of the blanks to match the top pocket. Some waste was removed with a saw. The end was then shaped to fit inside the pocket with a rasp. The pocket was marked and cleaned out with a chisel. Once the end and the pocket were cut, both were adjusted to get the handle side to fit.
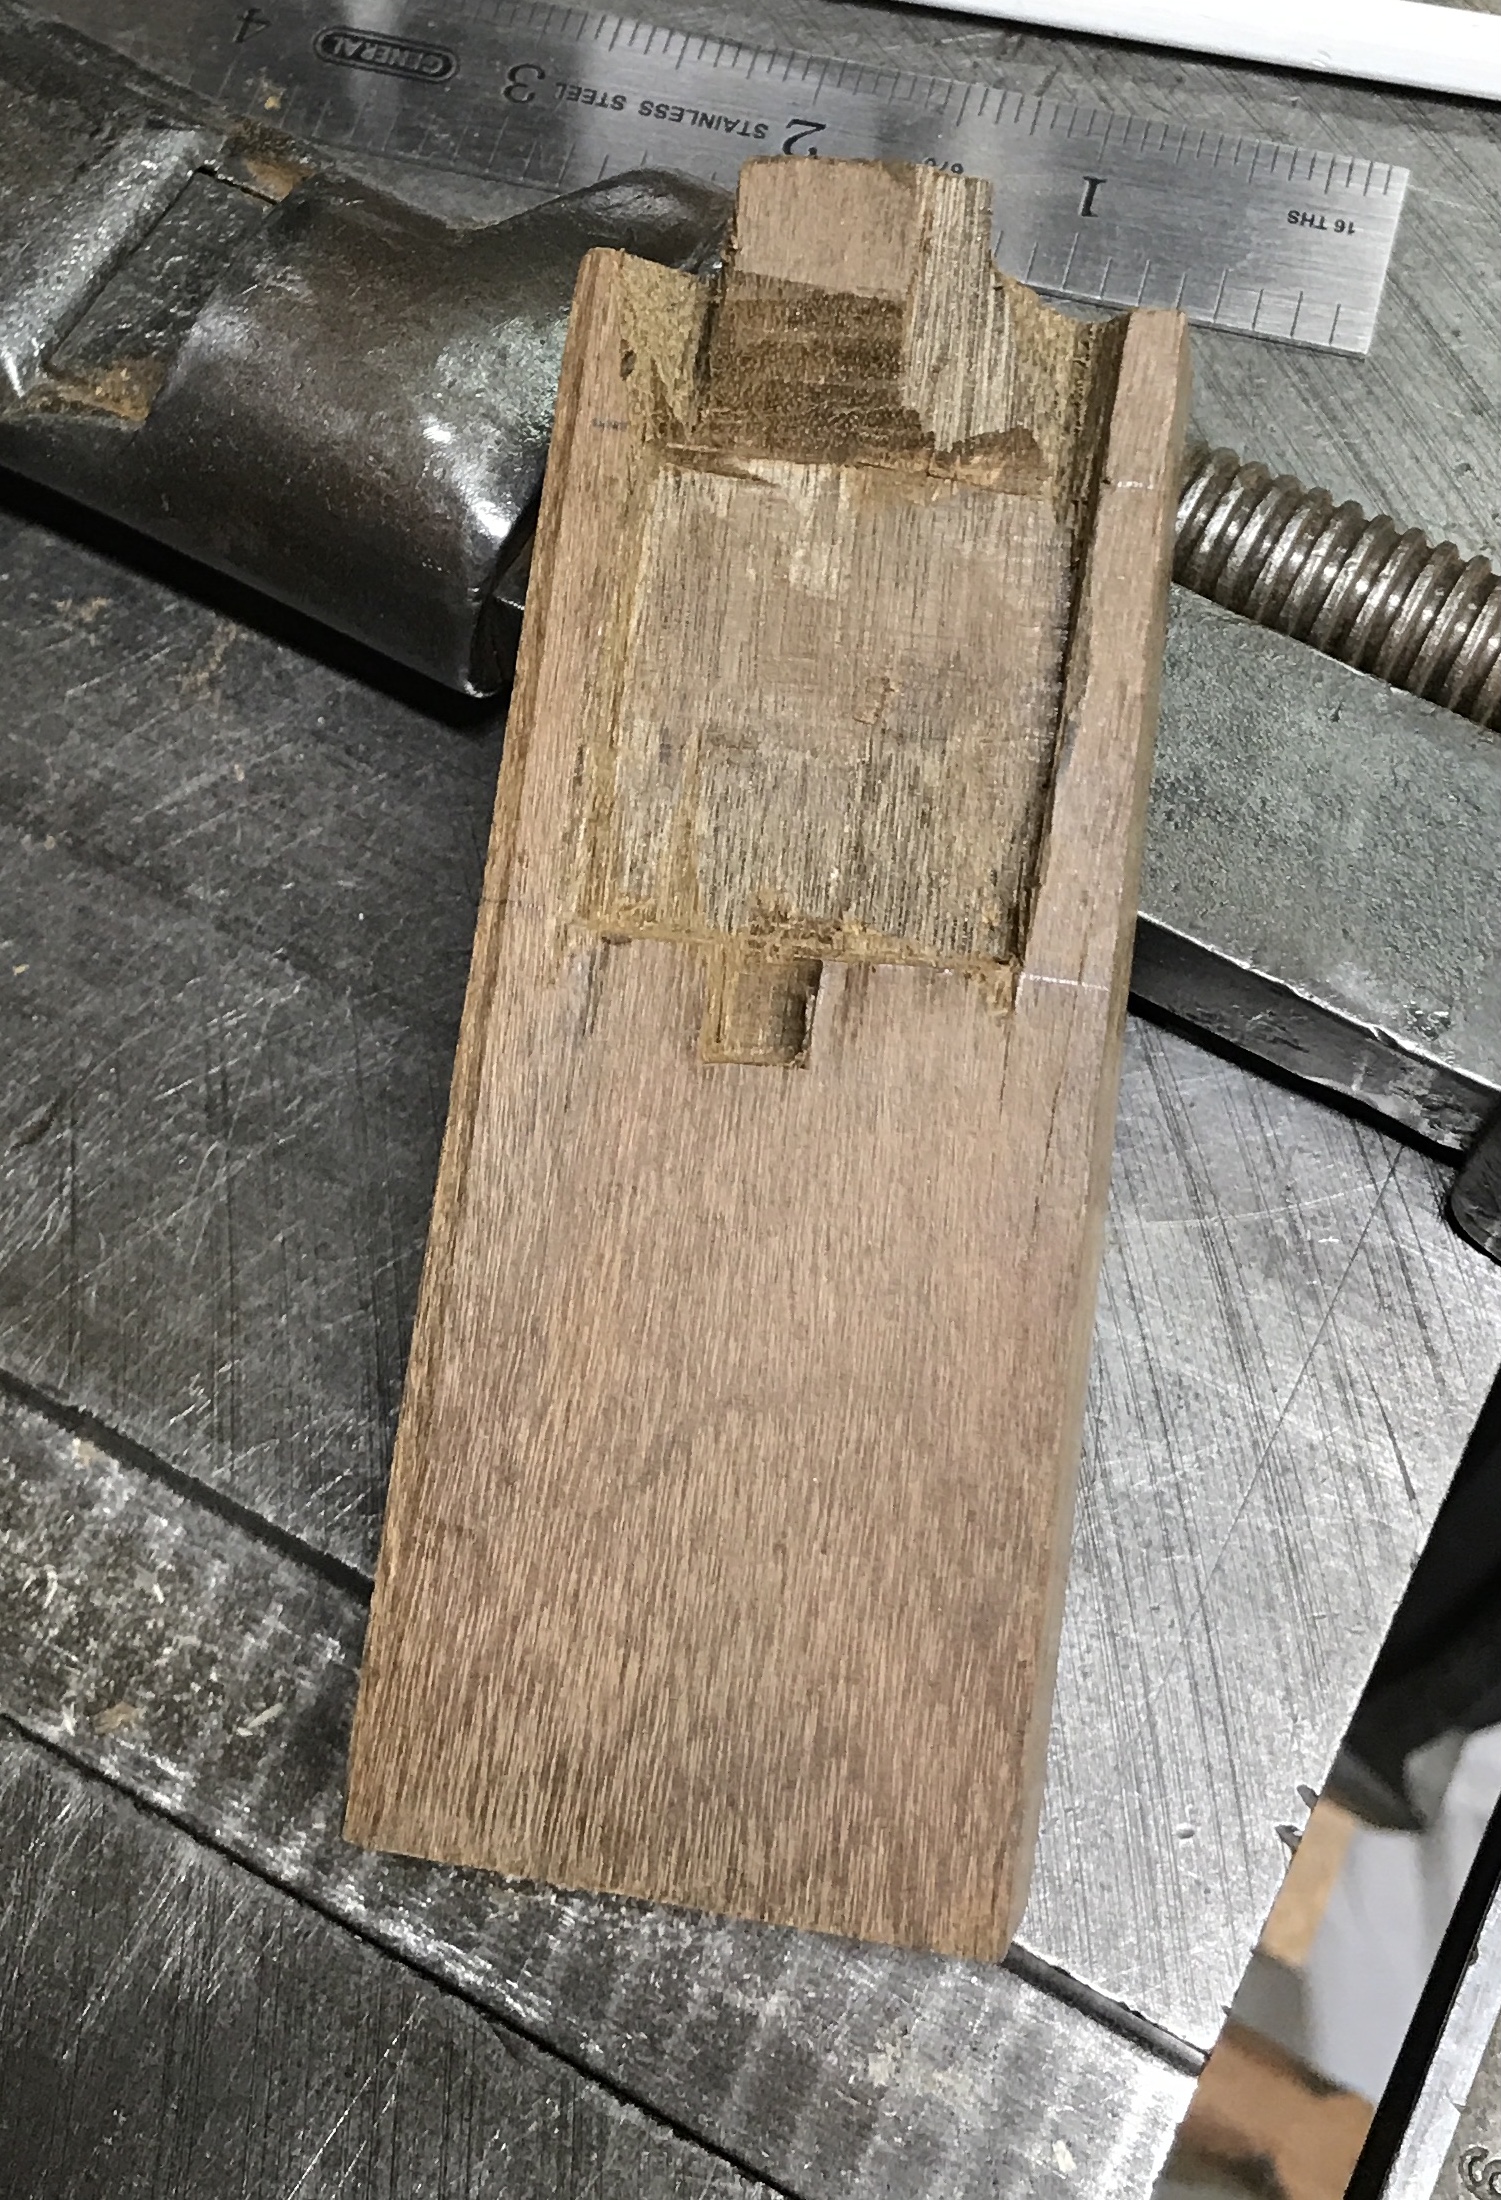

The location for the rivet hole was marked on one handle. It was drilled with a 1/4" drill. The hole was transferred to the opposite half and drilled. The handle halves were temporarily attached with a nut and bolt. A rasp was used to shape the handle.
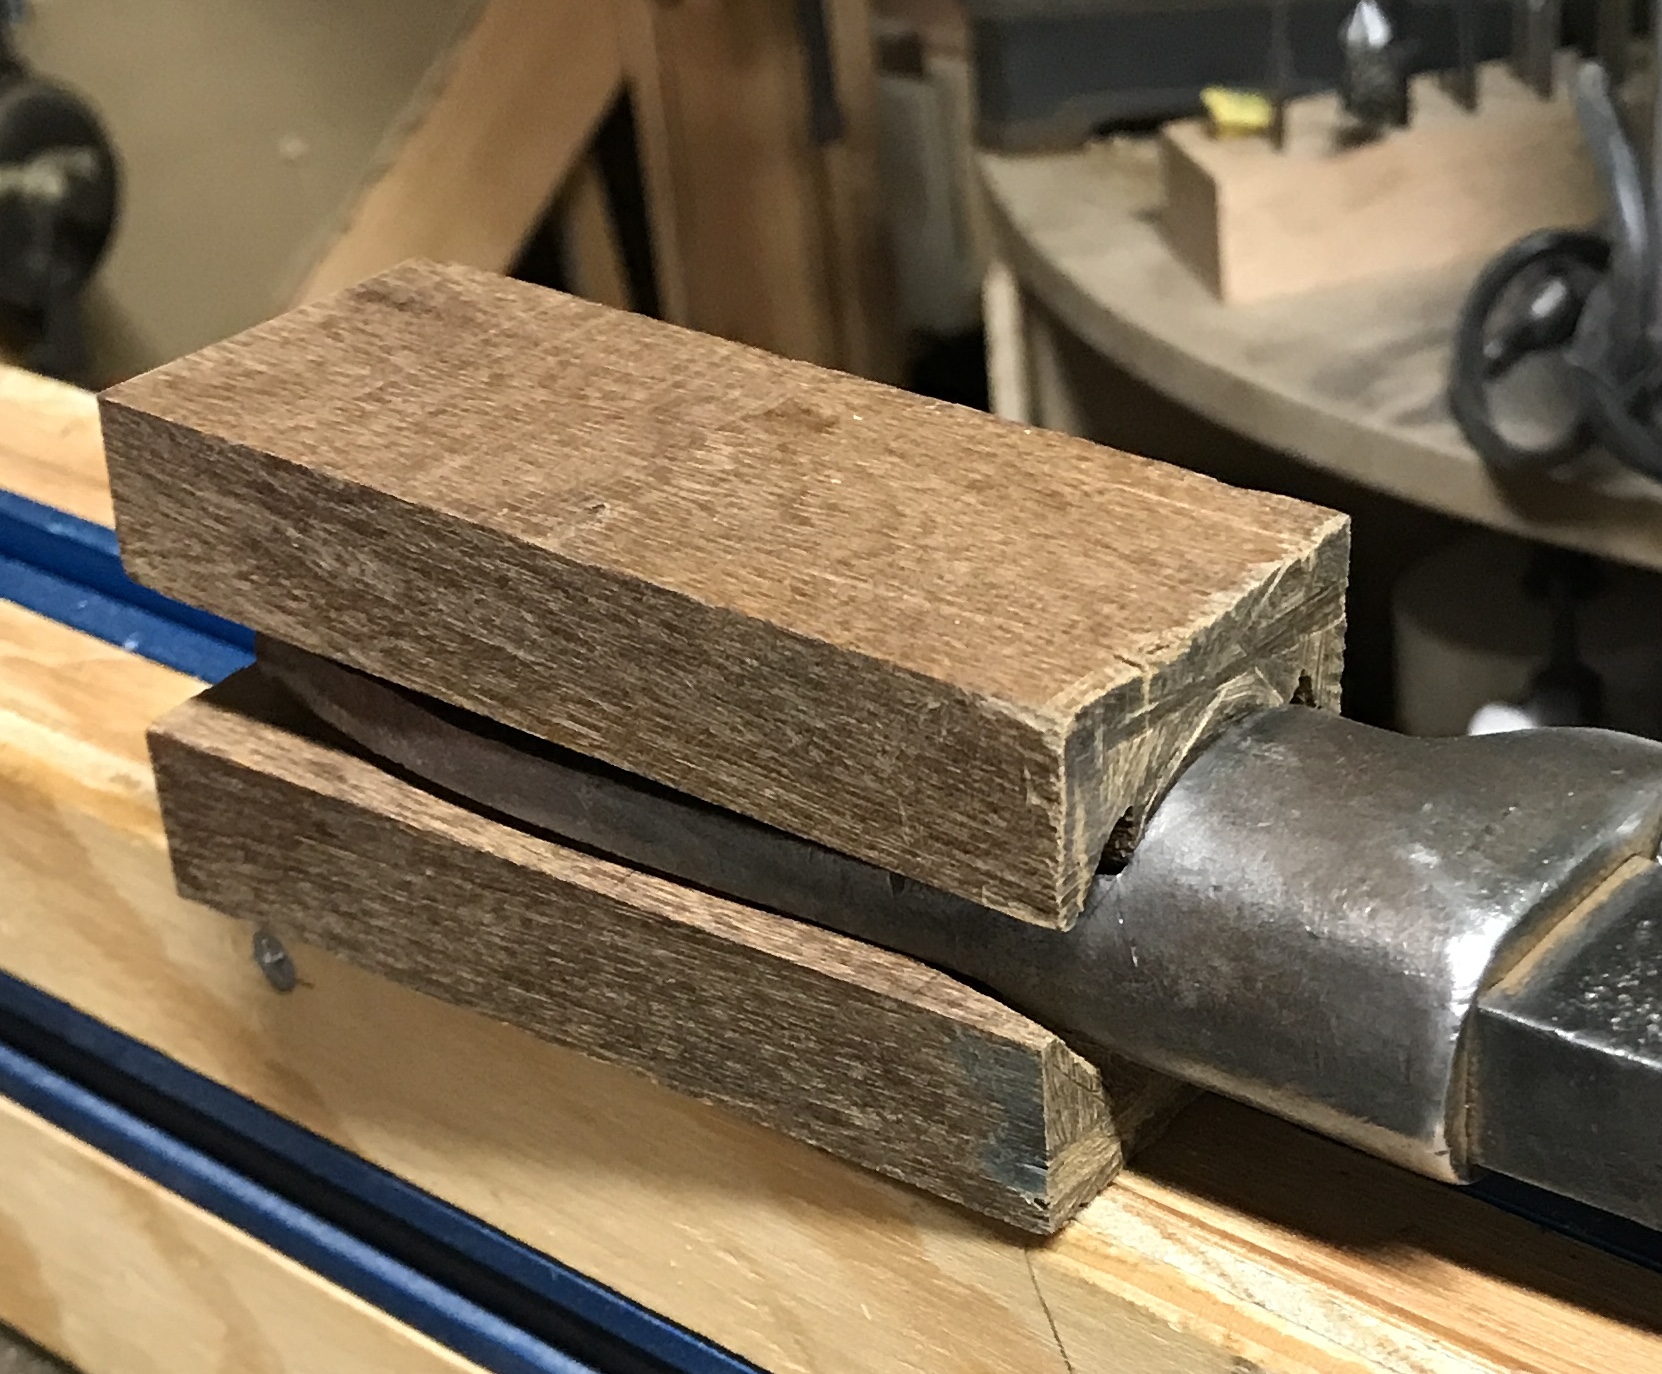
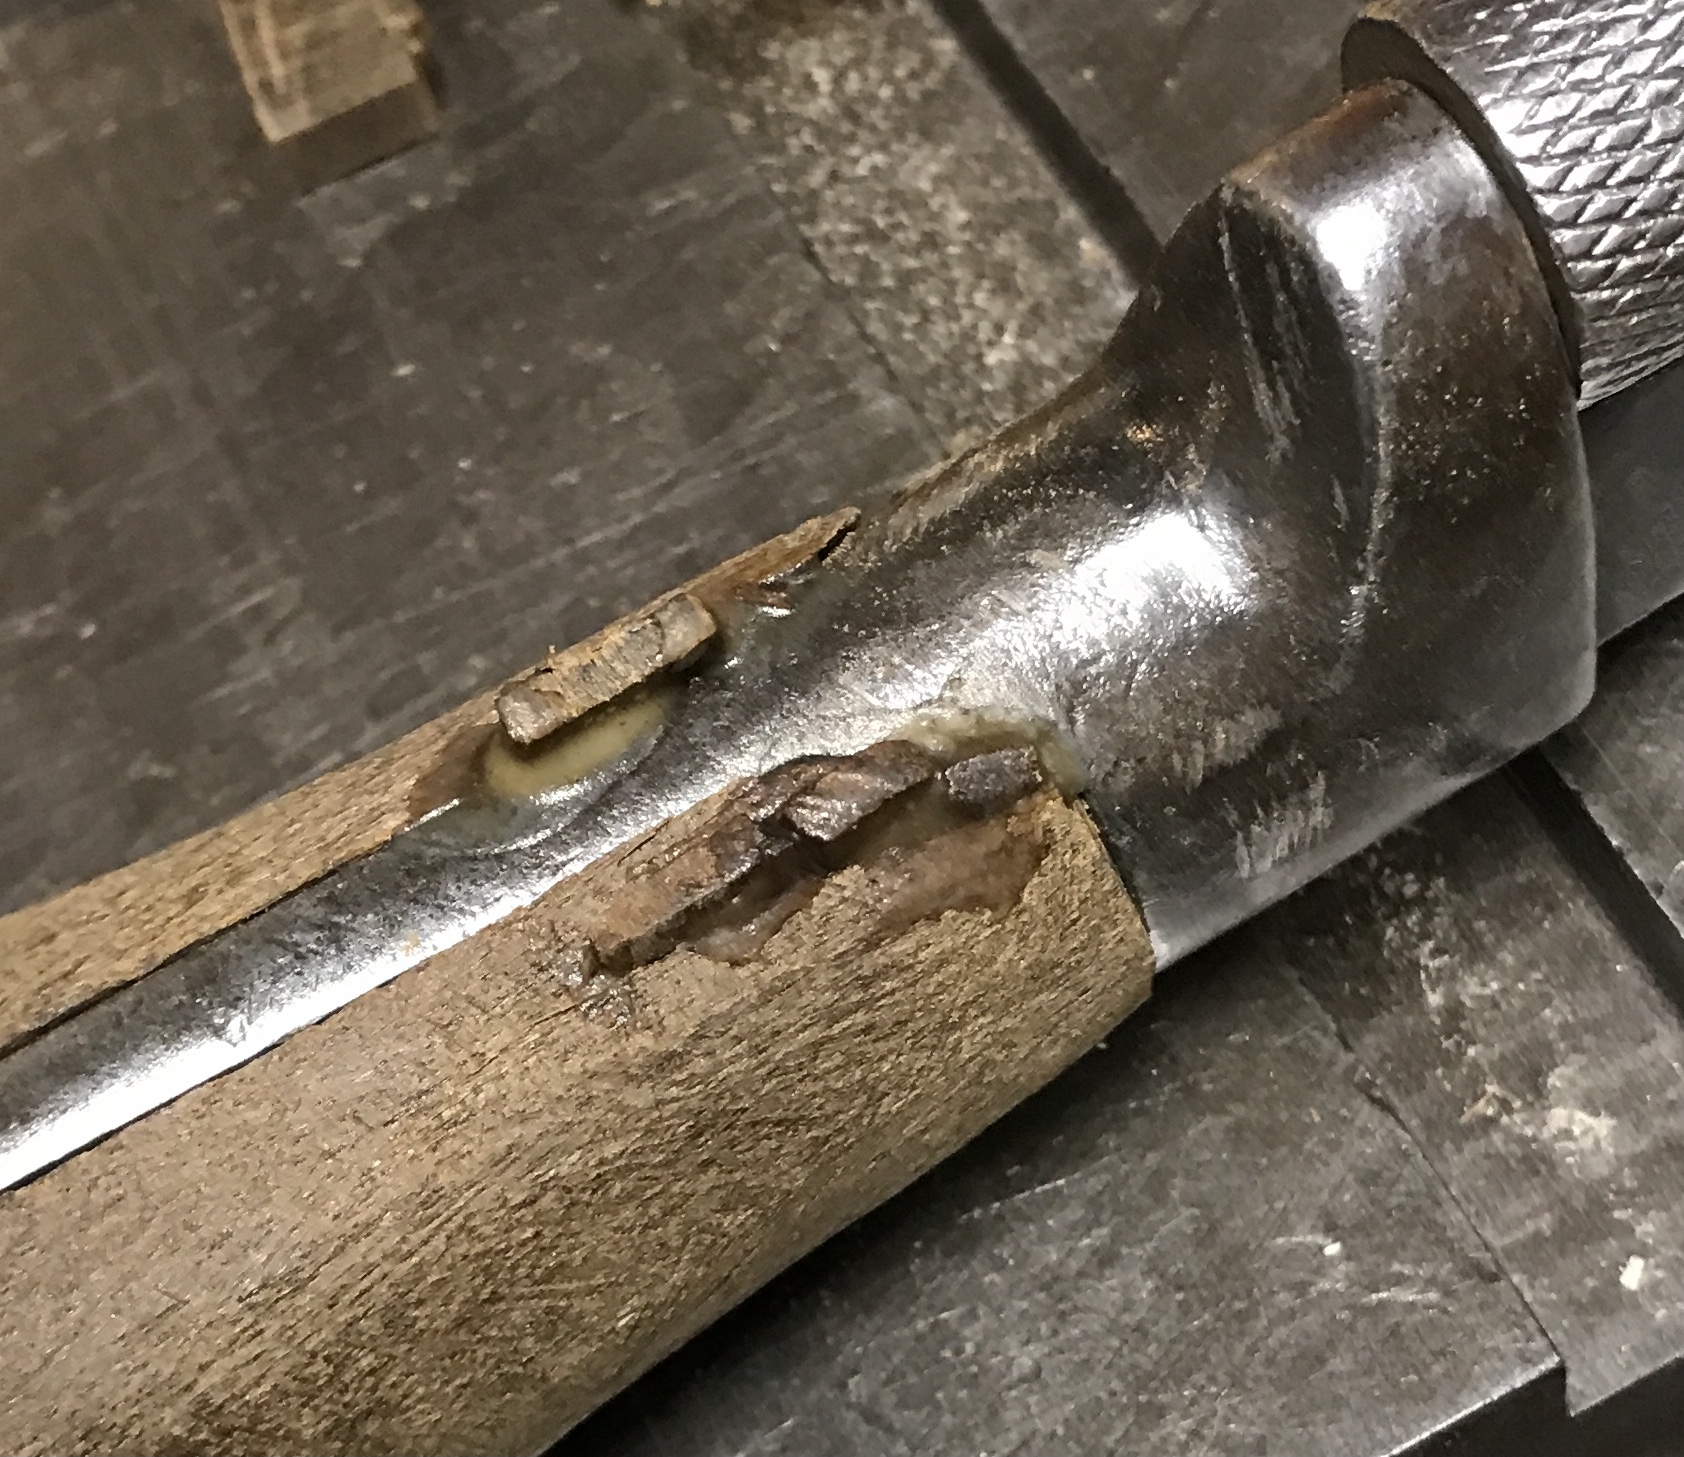
The rasp work continued for about four hours to finally get the handle shaped to the desired shape. There were a few places where the wood was too thin (walls of the chiseled area) and these broke off during the rasp work. These had small bits of the same wood glued in place a little later. The halves were removed and the areas where the bolt and nut sit were rounded.
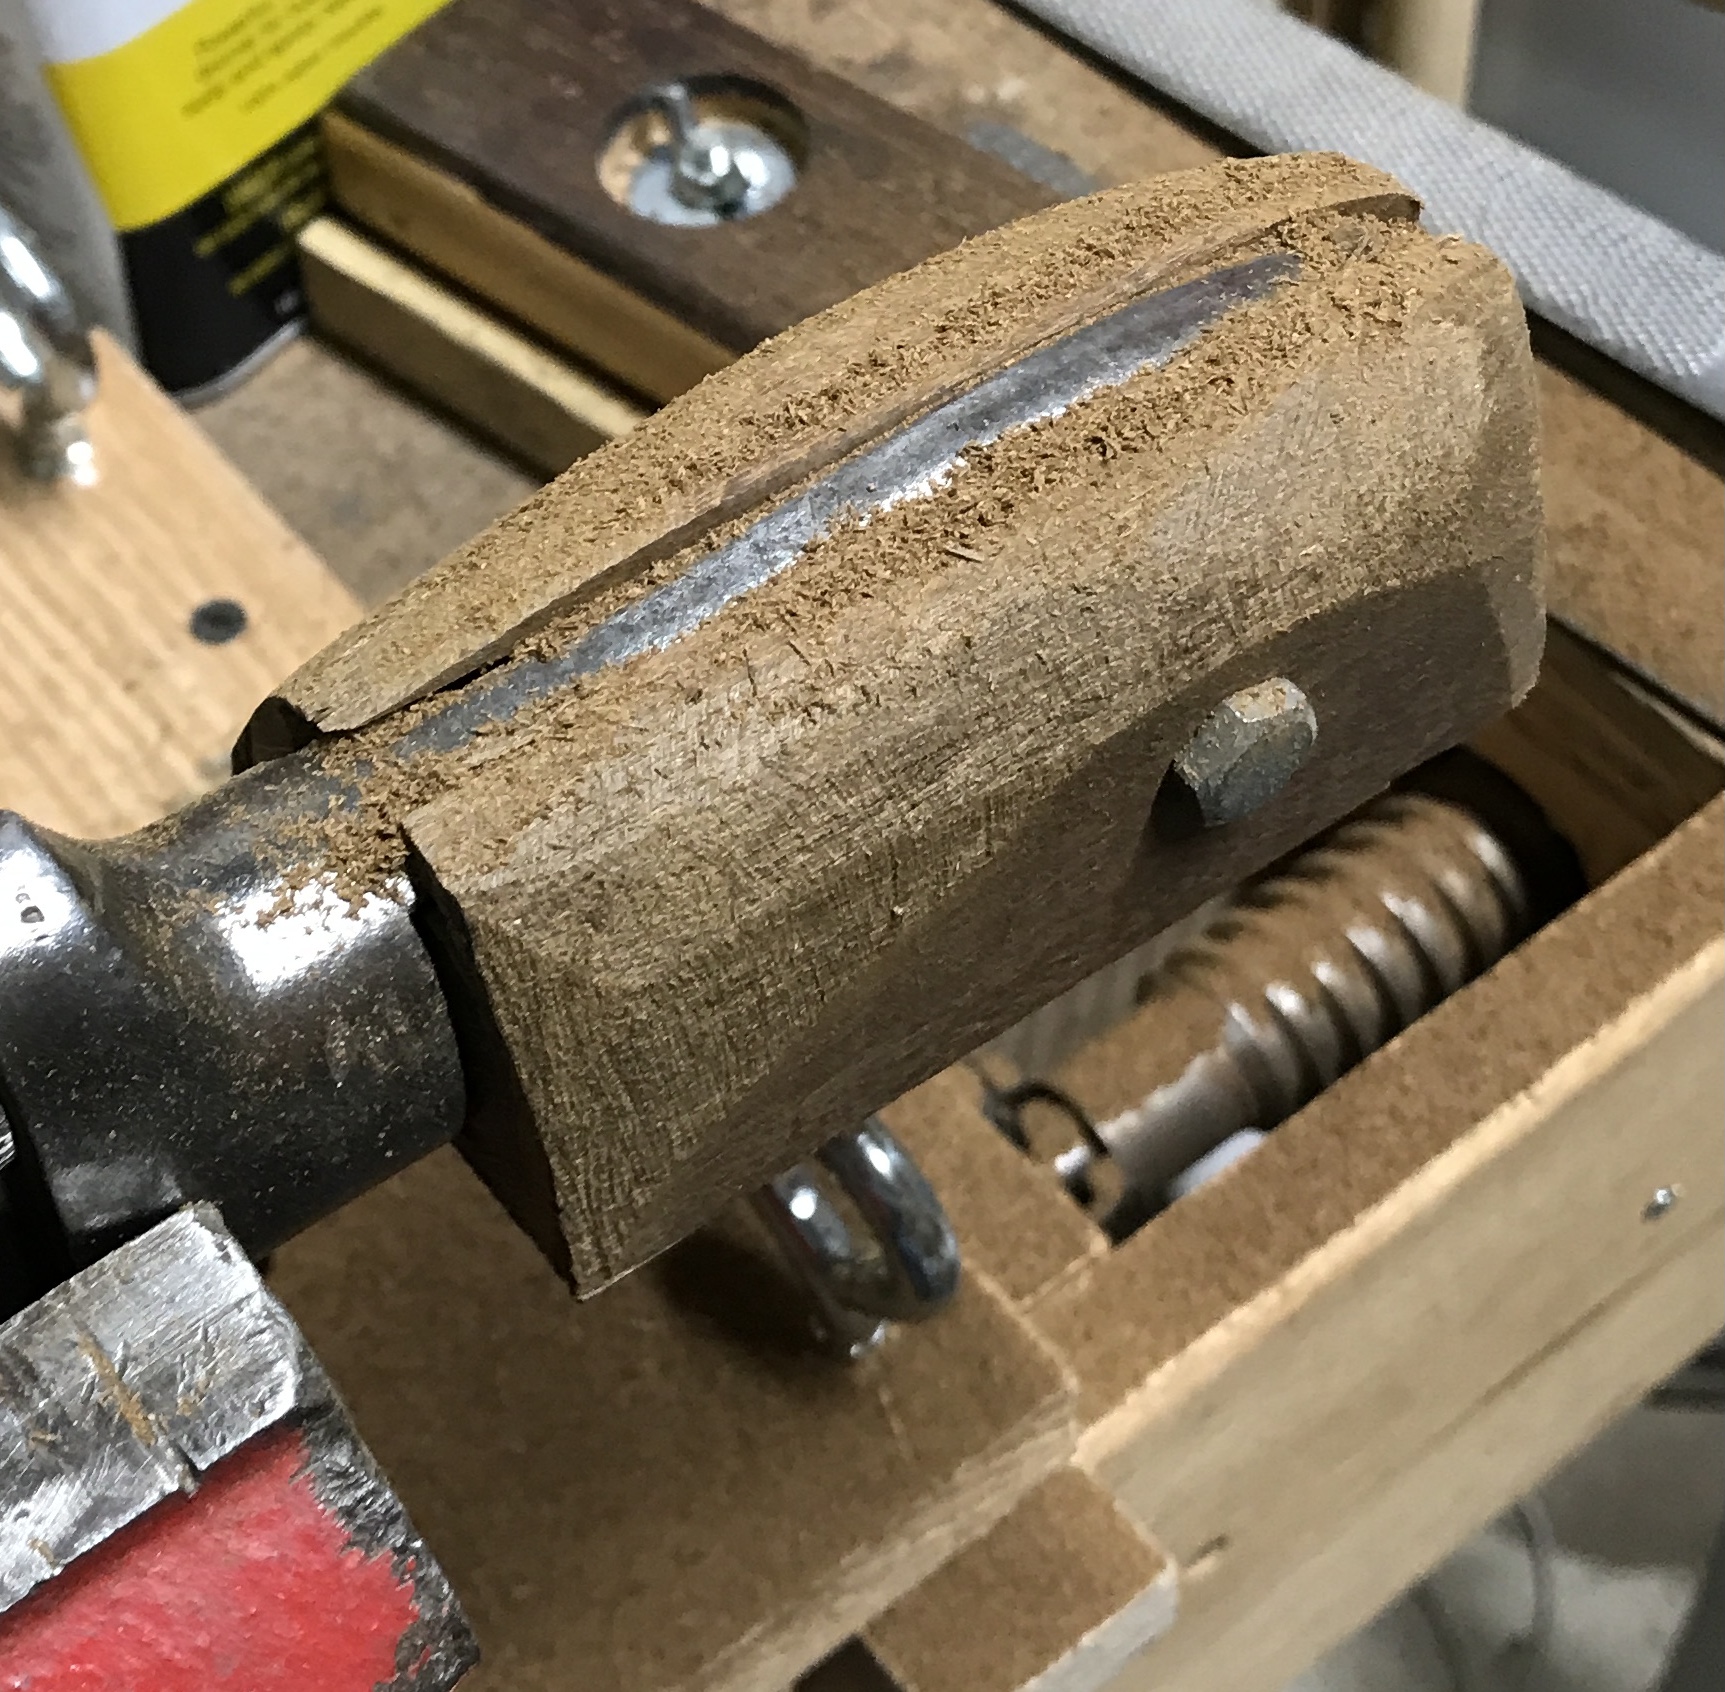
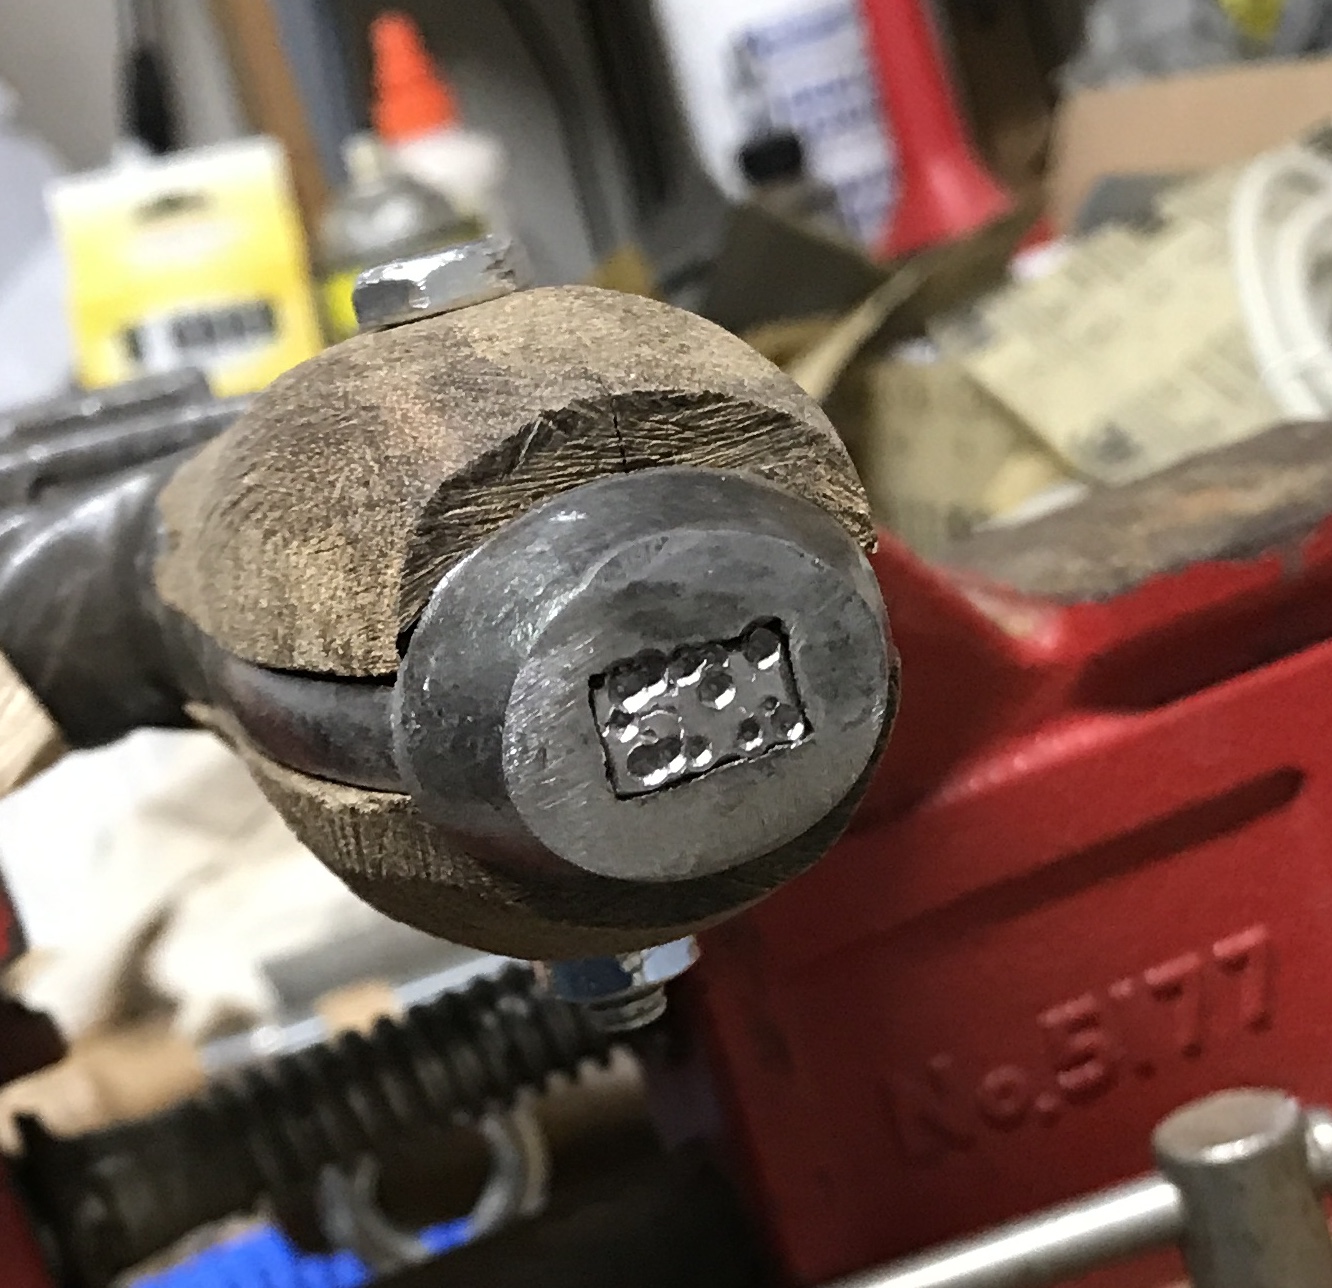
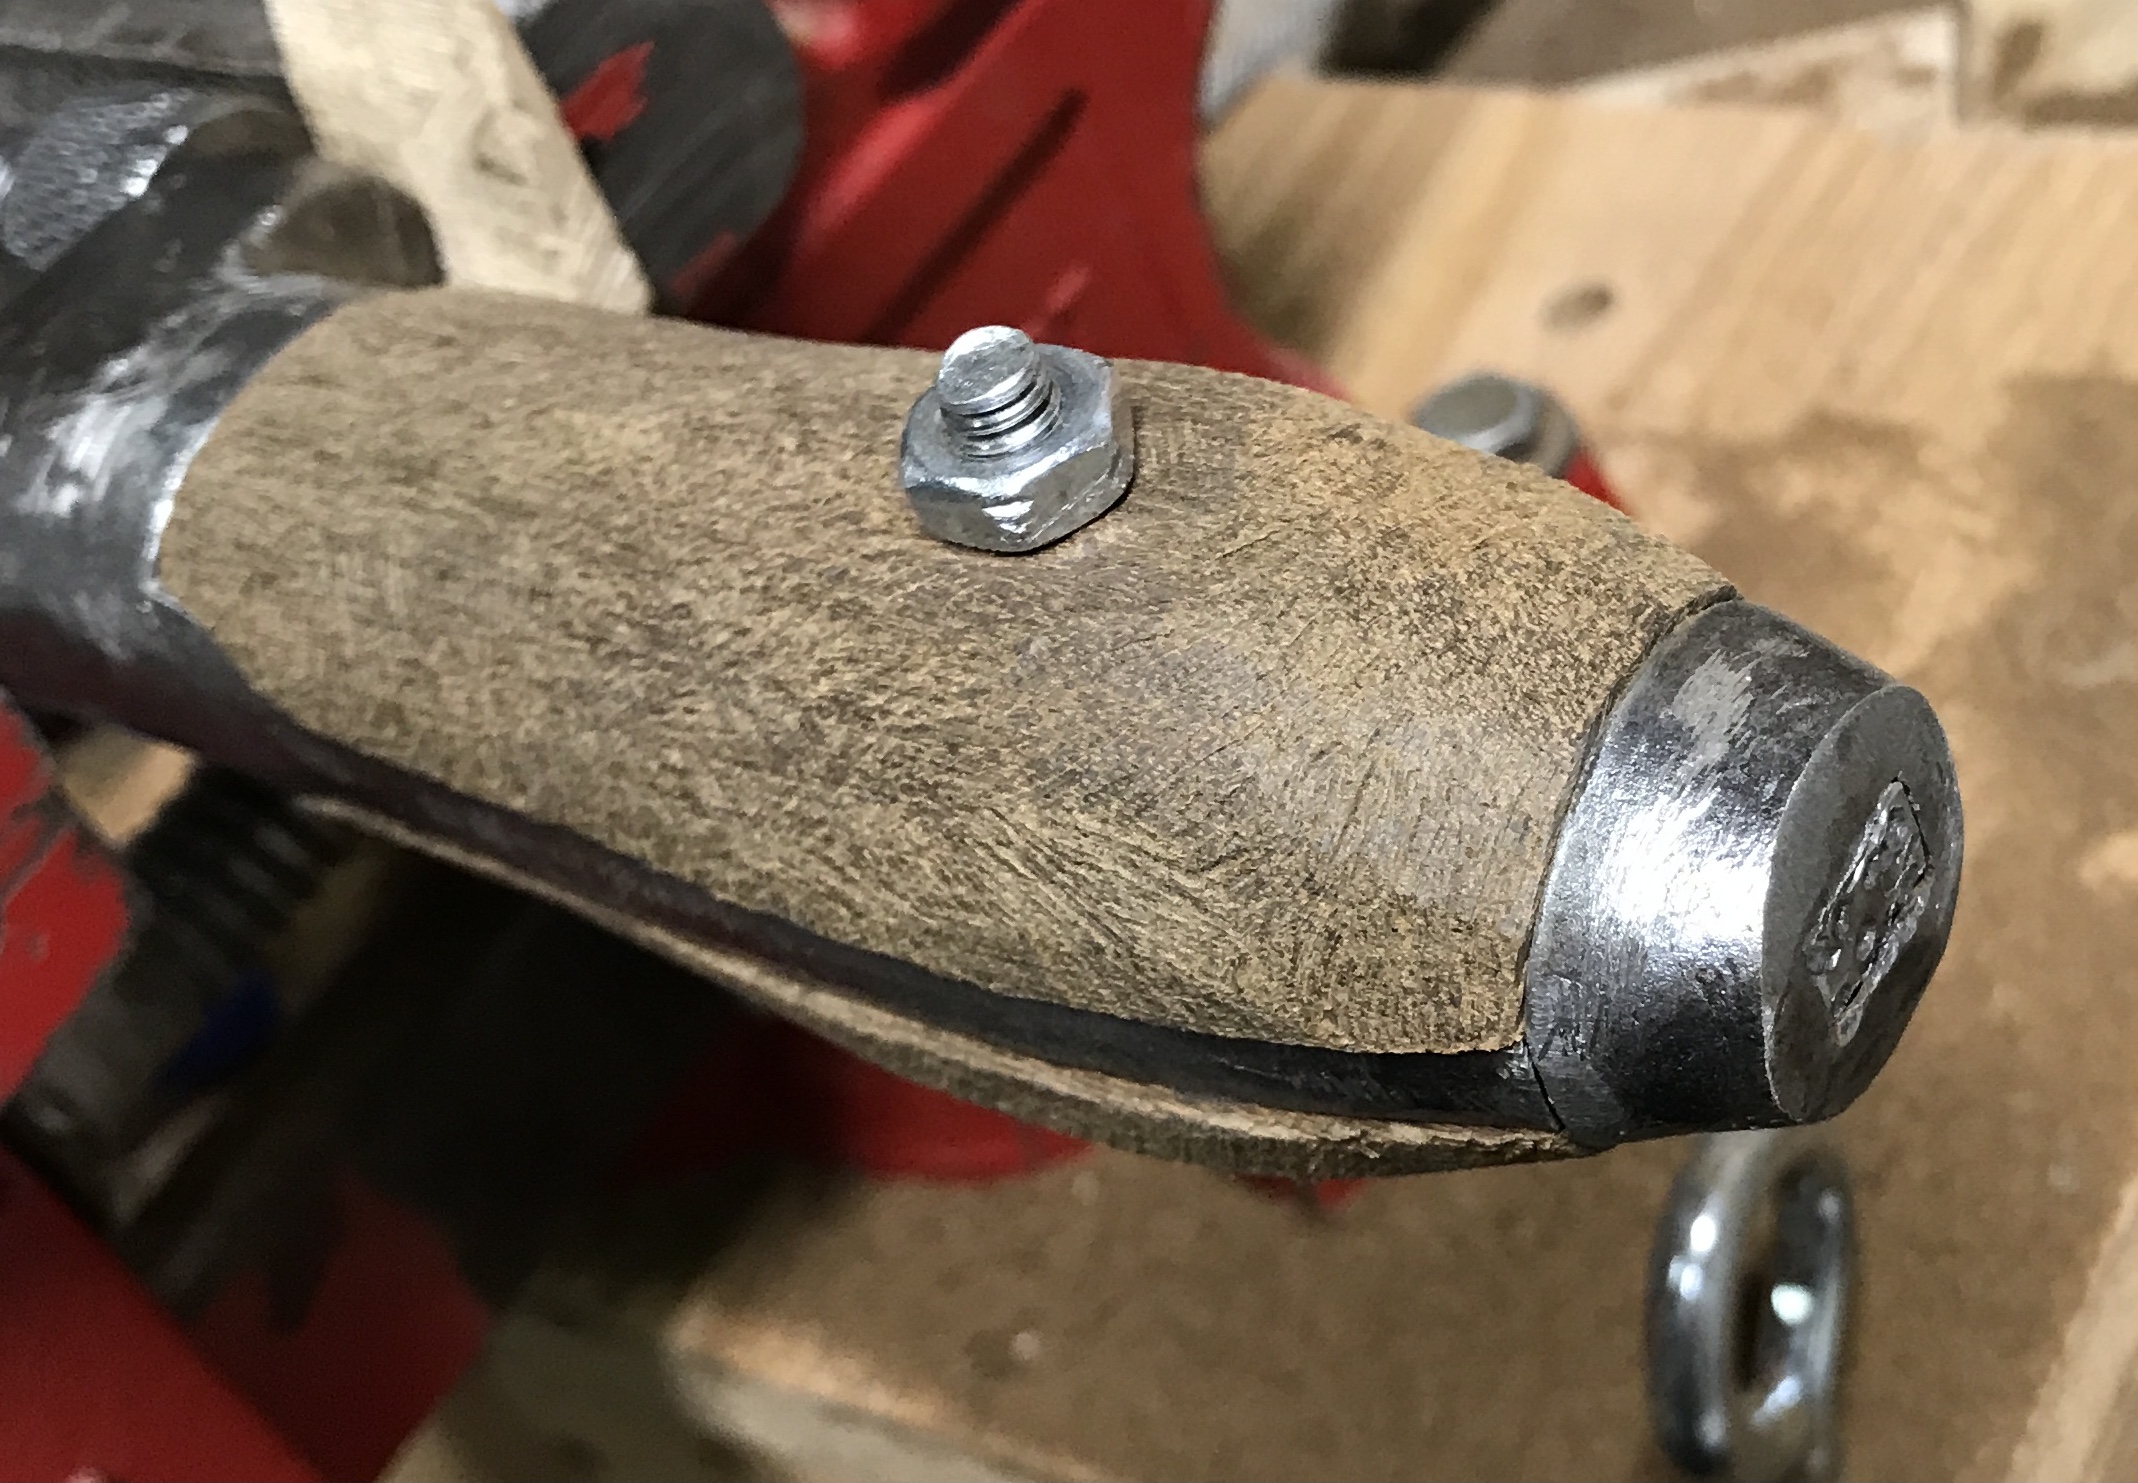
The end of the handle needed to be shaped to fit the end cap. This was done with the carving knife. A line was marked for the depth of the cap around both handle halves. The line was cut and then chips were removed up to this line creating a narrow ellipse on the end. After much work the wood fit inside the cap. The cap was driven on. The tang was not long enough to do a normal peening job. Instead a pointed punch was used to make divits around the edge of the tang, mushrooming it slightly into the cap. The cap is locked on, but the divots looked pretty silly. The wood was further shaped with the rasp to fit around the cap.
It was time to make the rivet. The best scrap I could find was a 9/16" steel round bar. It was chucked in the vise, faced and center drilled. The diameter was reduced to 1/2" for 1 7/8". It was further reduced to 1/4" for 1 3/4". The part was sawed off. It was held in a collet and the sawed end was faced. It is a very tight fit in the holes in the handles so will need to be reduced a bit more.
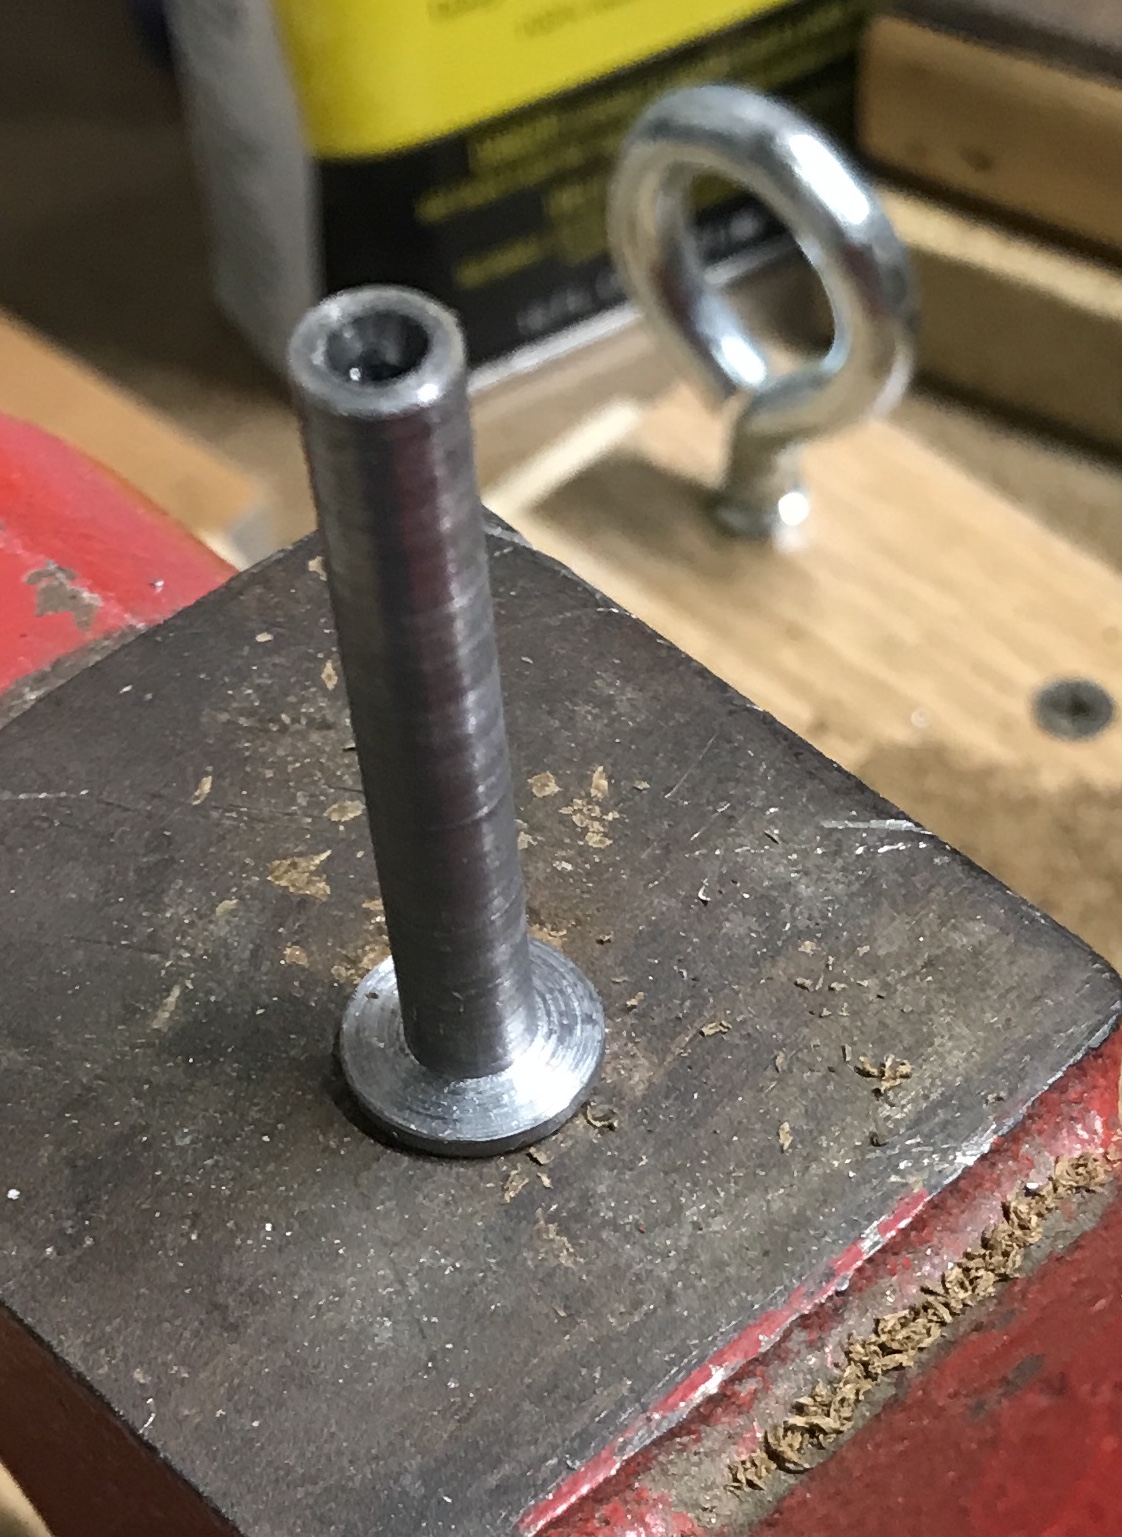
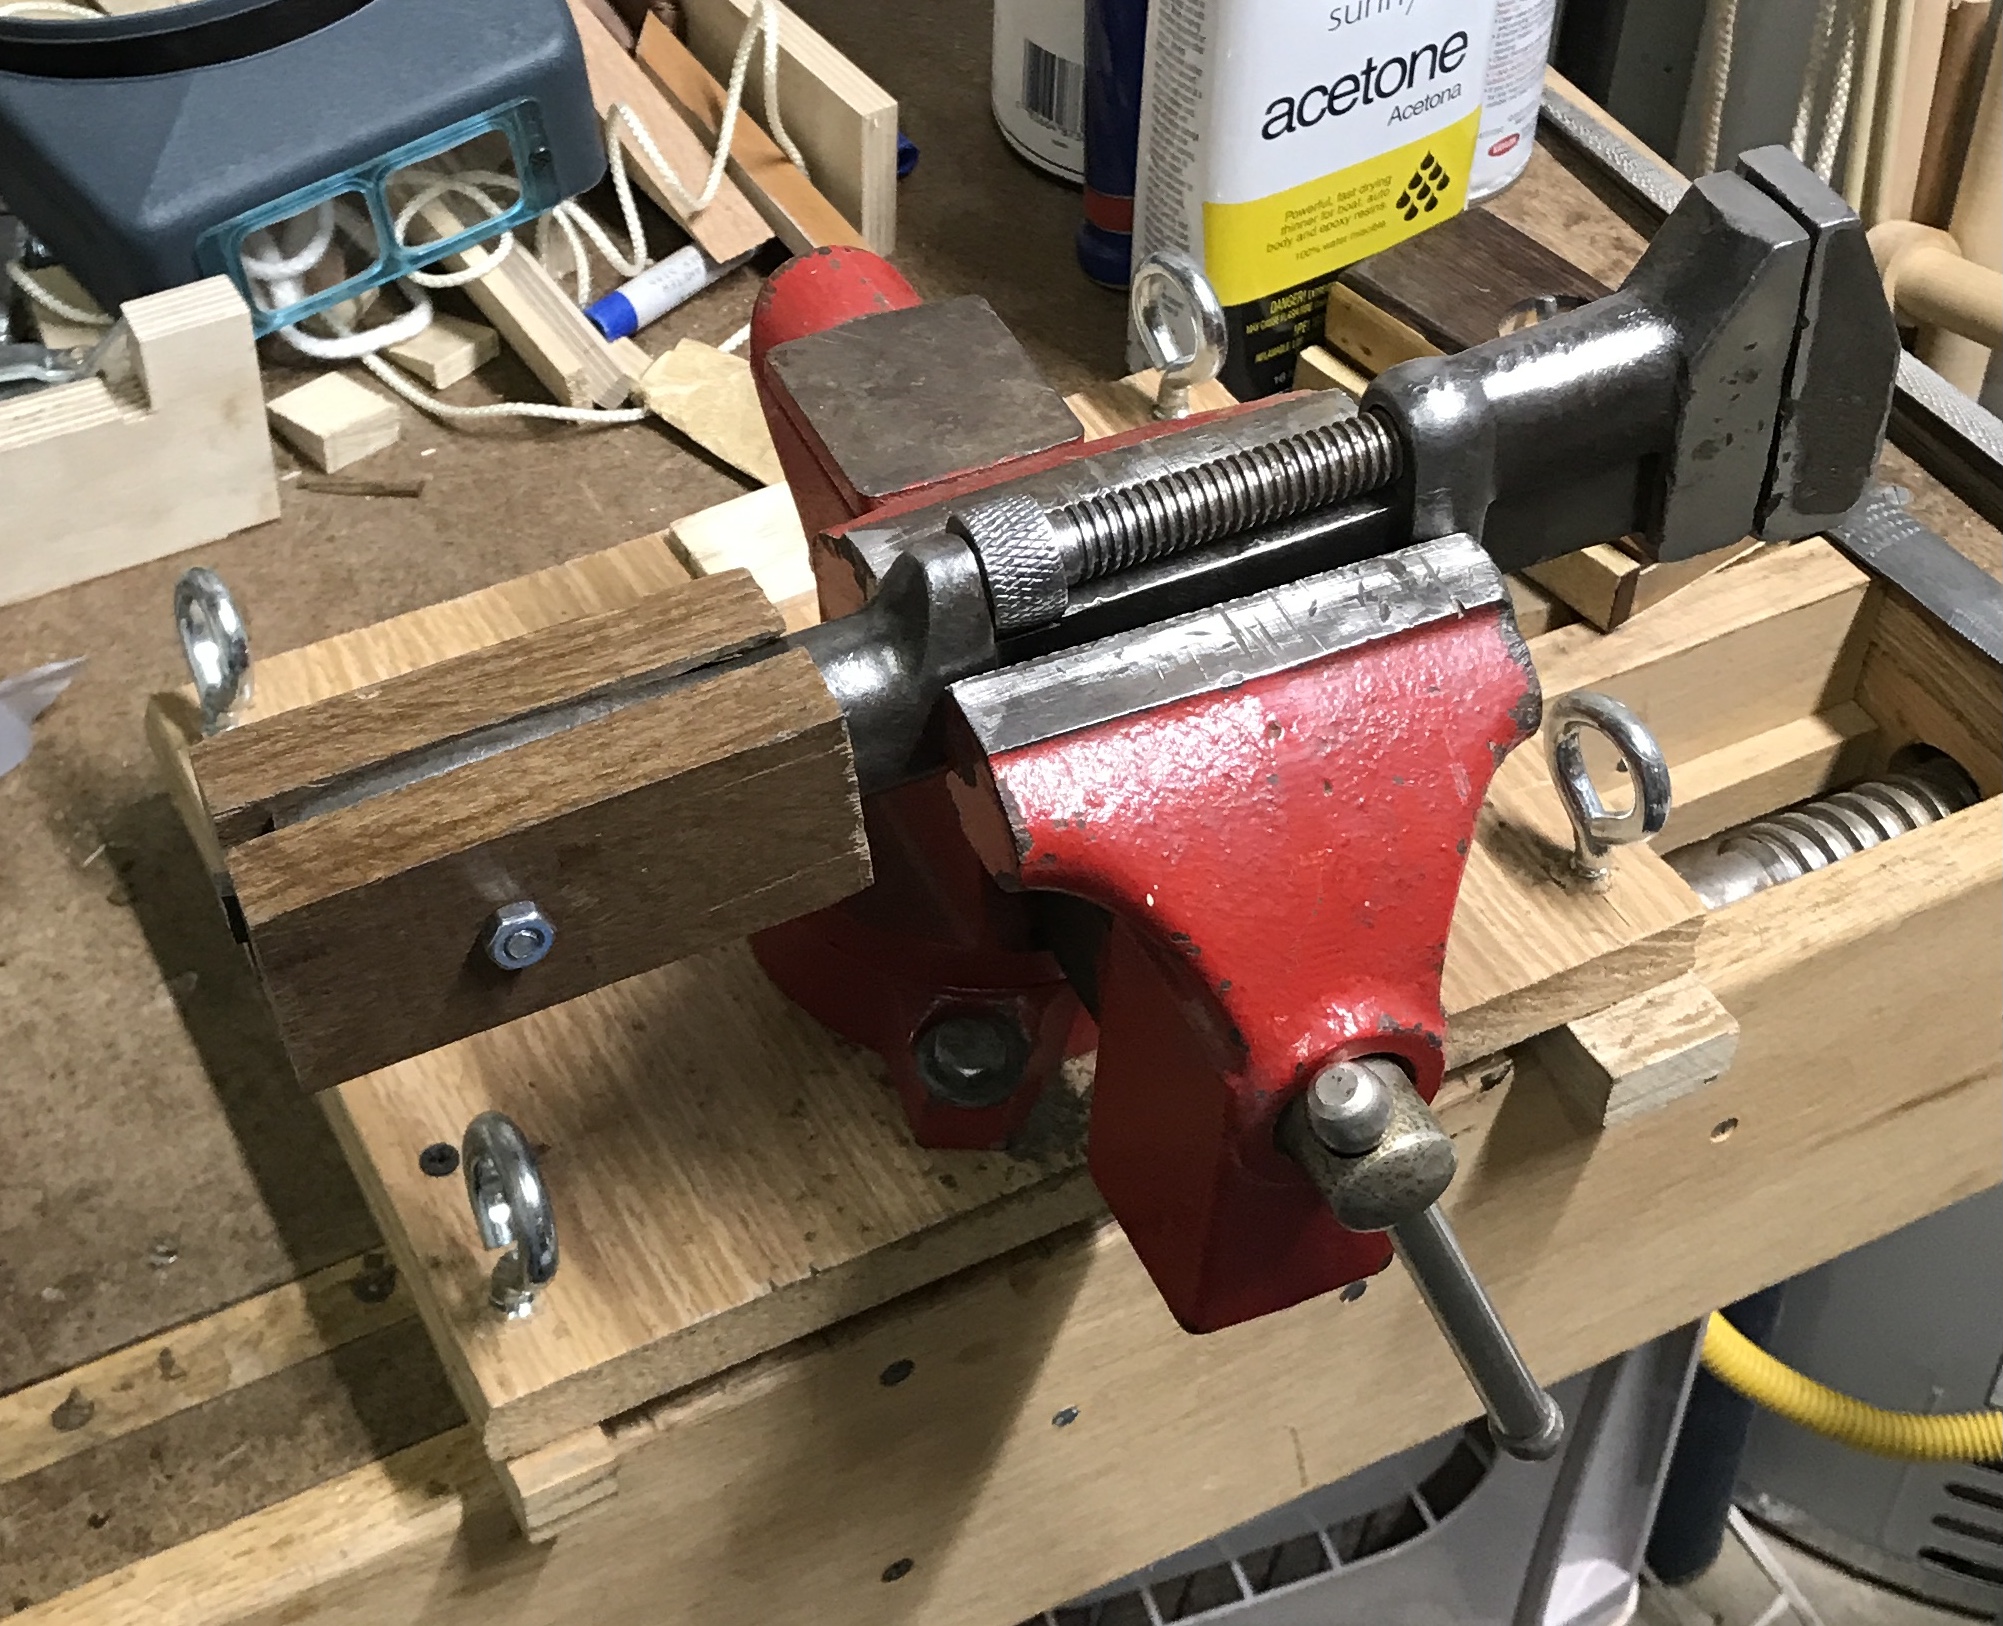
The handle had a few spots that needed repairs and these were fixed with wedges/glue. The rivet was reduced to 0.240" up to the head. The rivet hole was countersunk with a 1/2" end mill about 0.15" deep on both sides. The rivet was inserted into the hole. The nut from the bolt that had held the handle in place was placed under the rivet head on the large garage vise's anvil. The handle was supported with some containers. The largest ball peen hammer was used to flatten the end opposite the head. I tried using a flat tipped punch, but it slipped and split the handle!. The rivet was peened until it was no longer moving in the hole. A wedge was glued into the split.

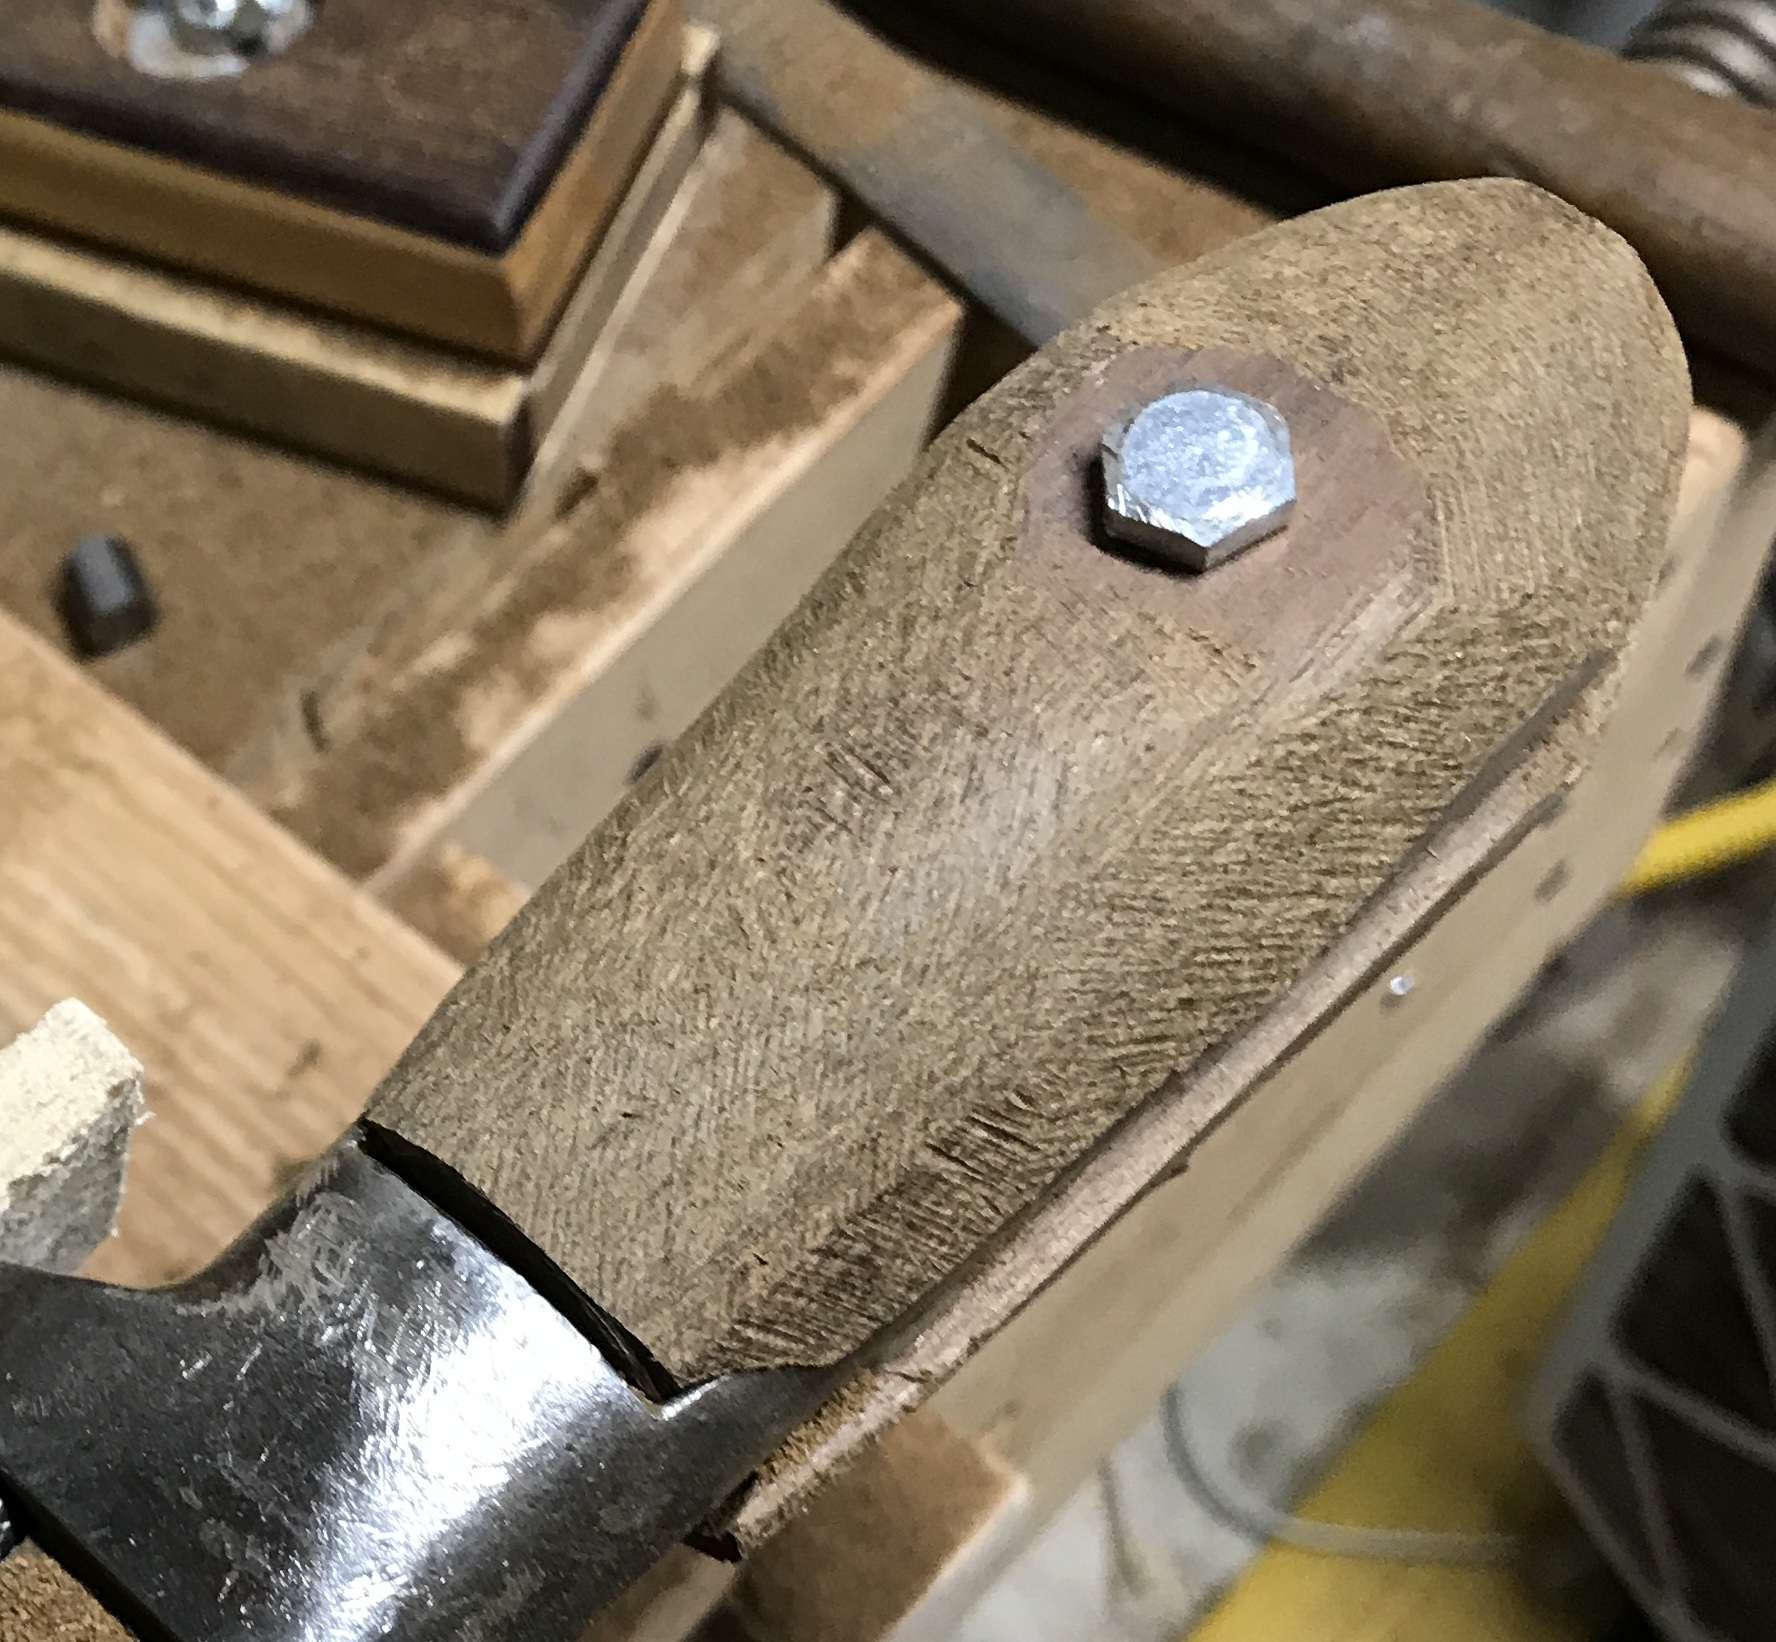
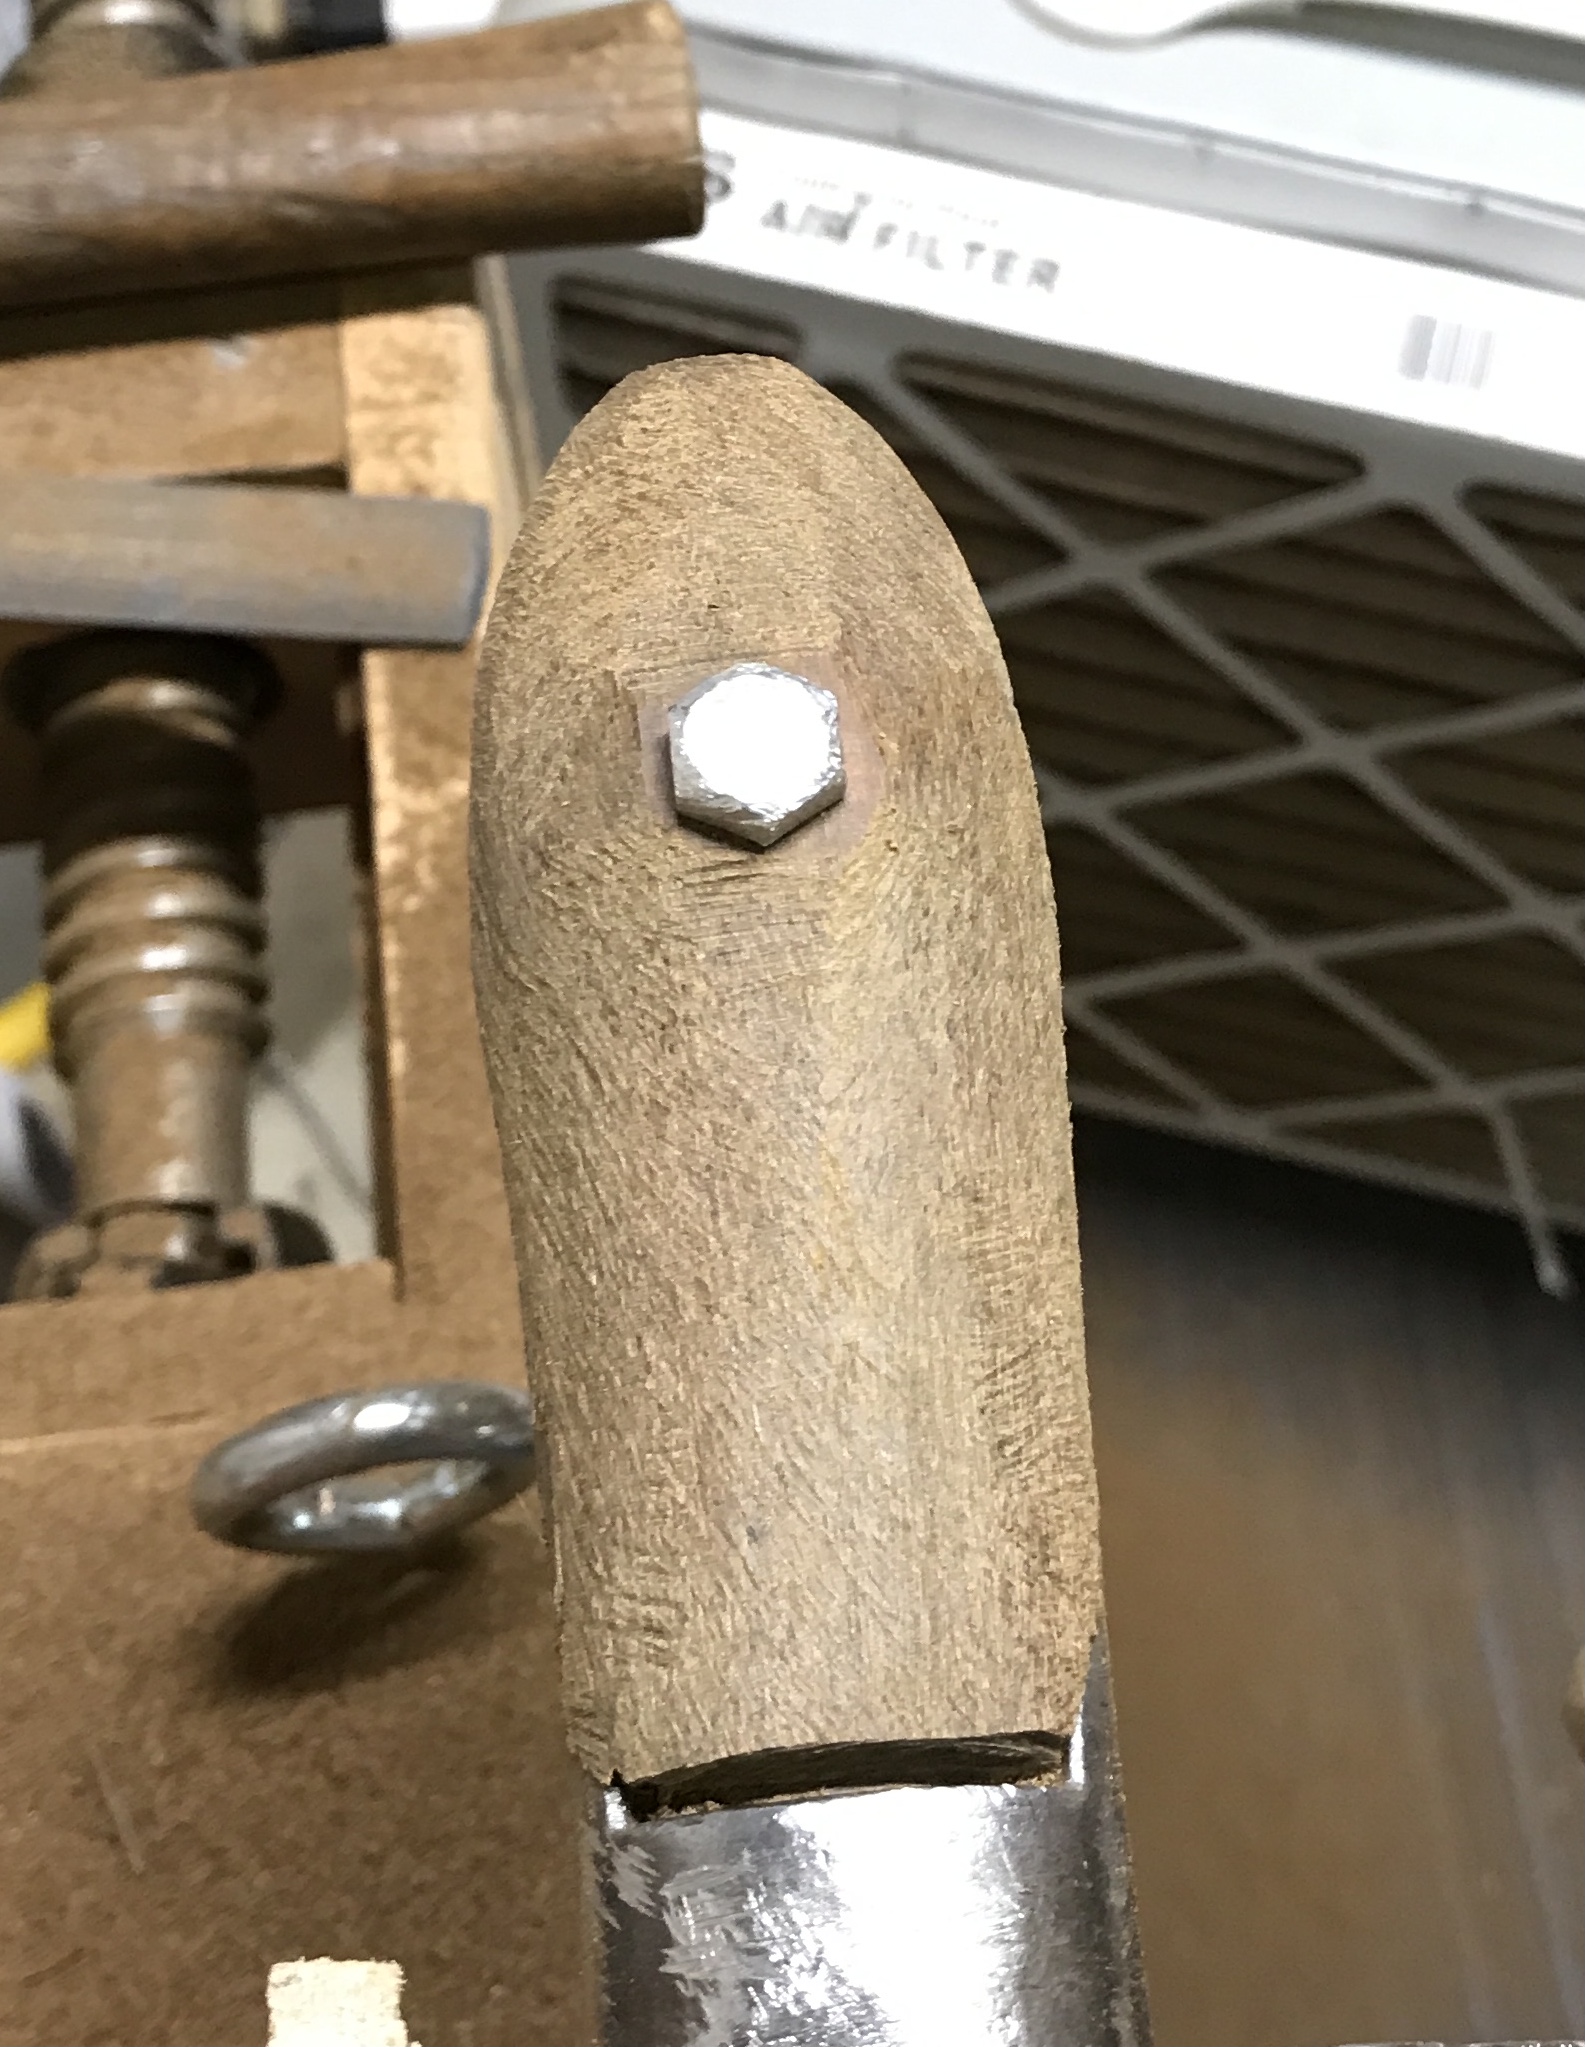
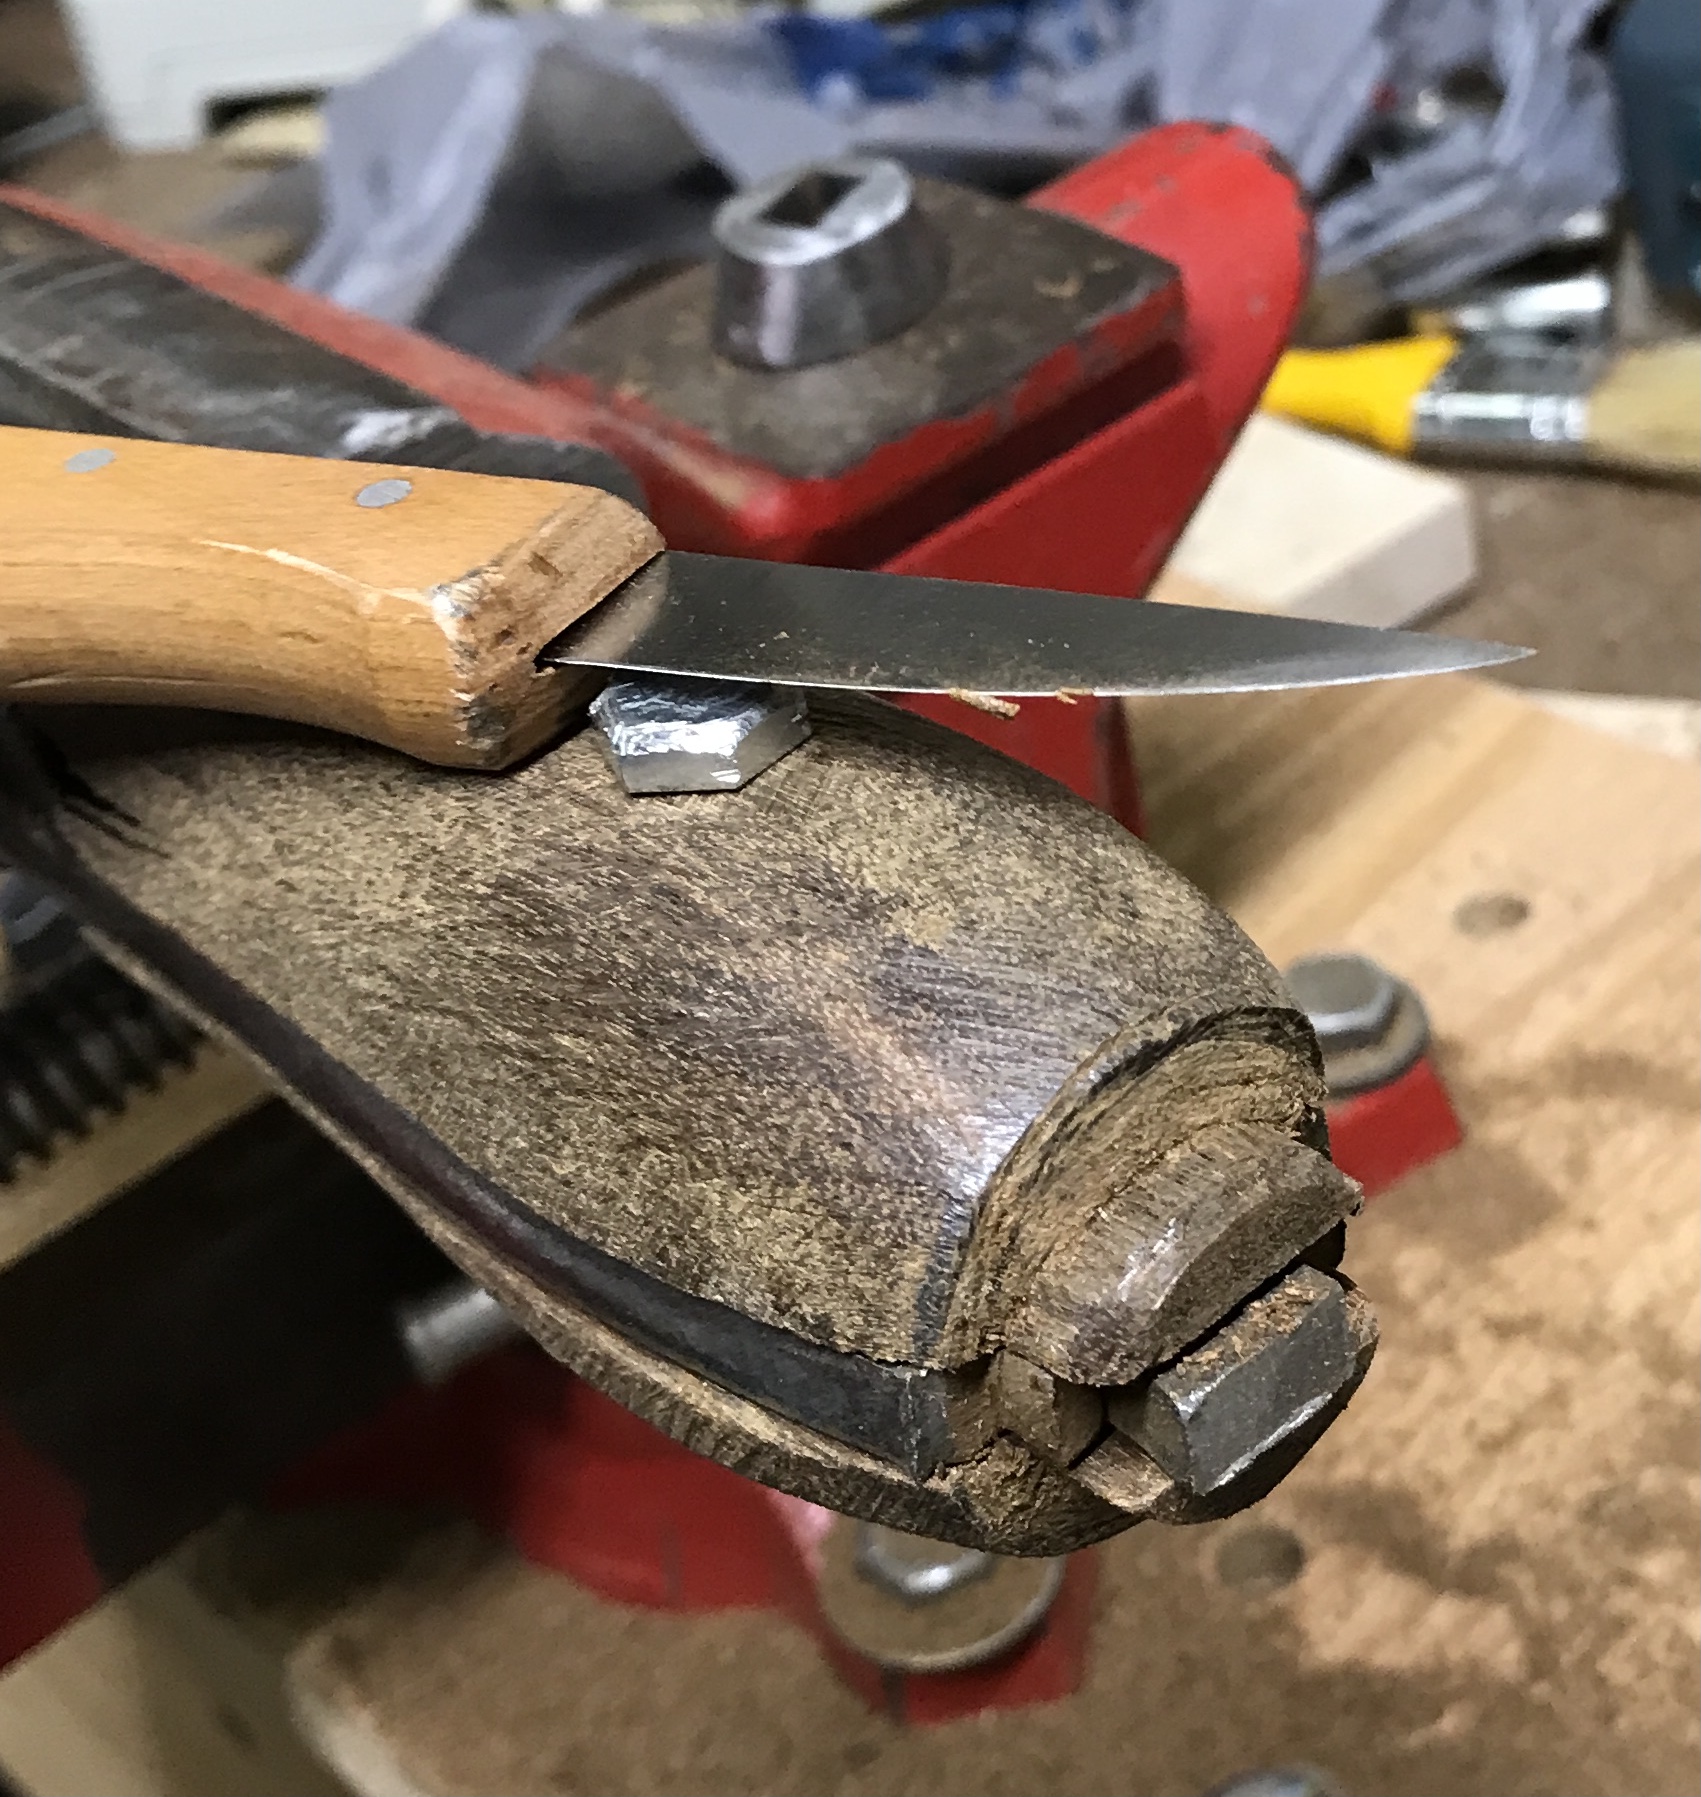
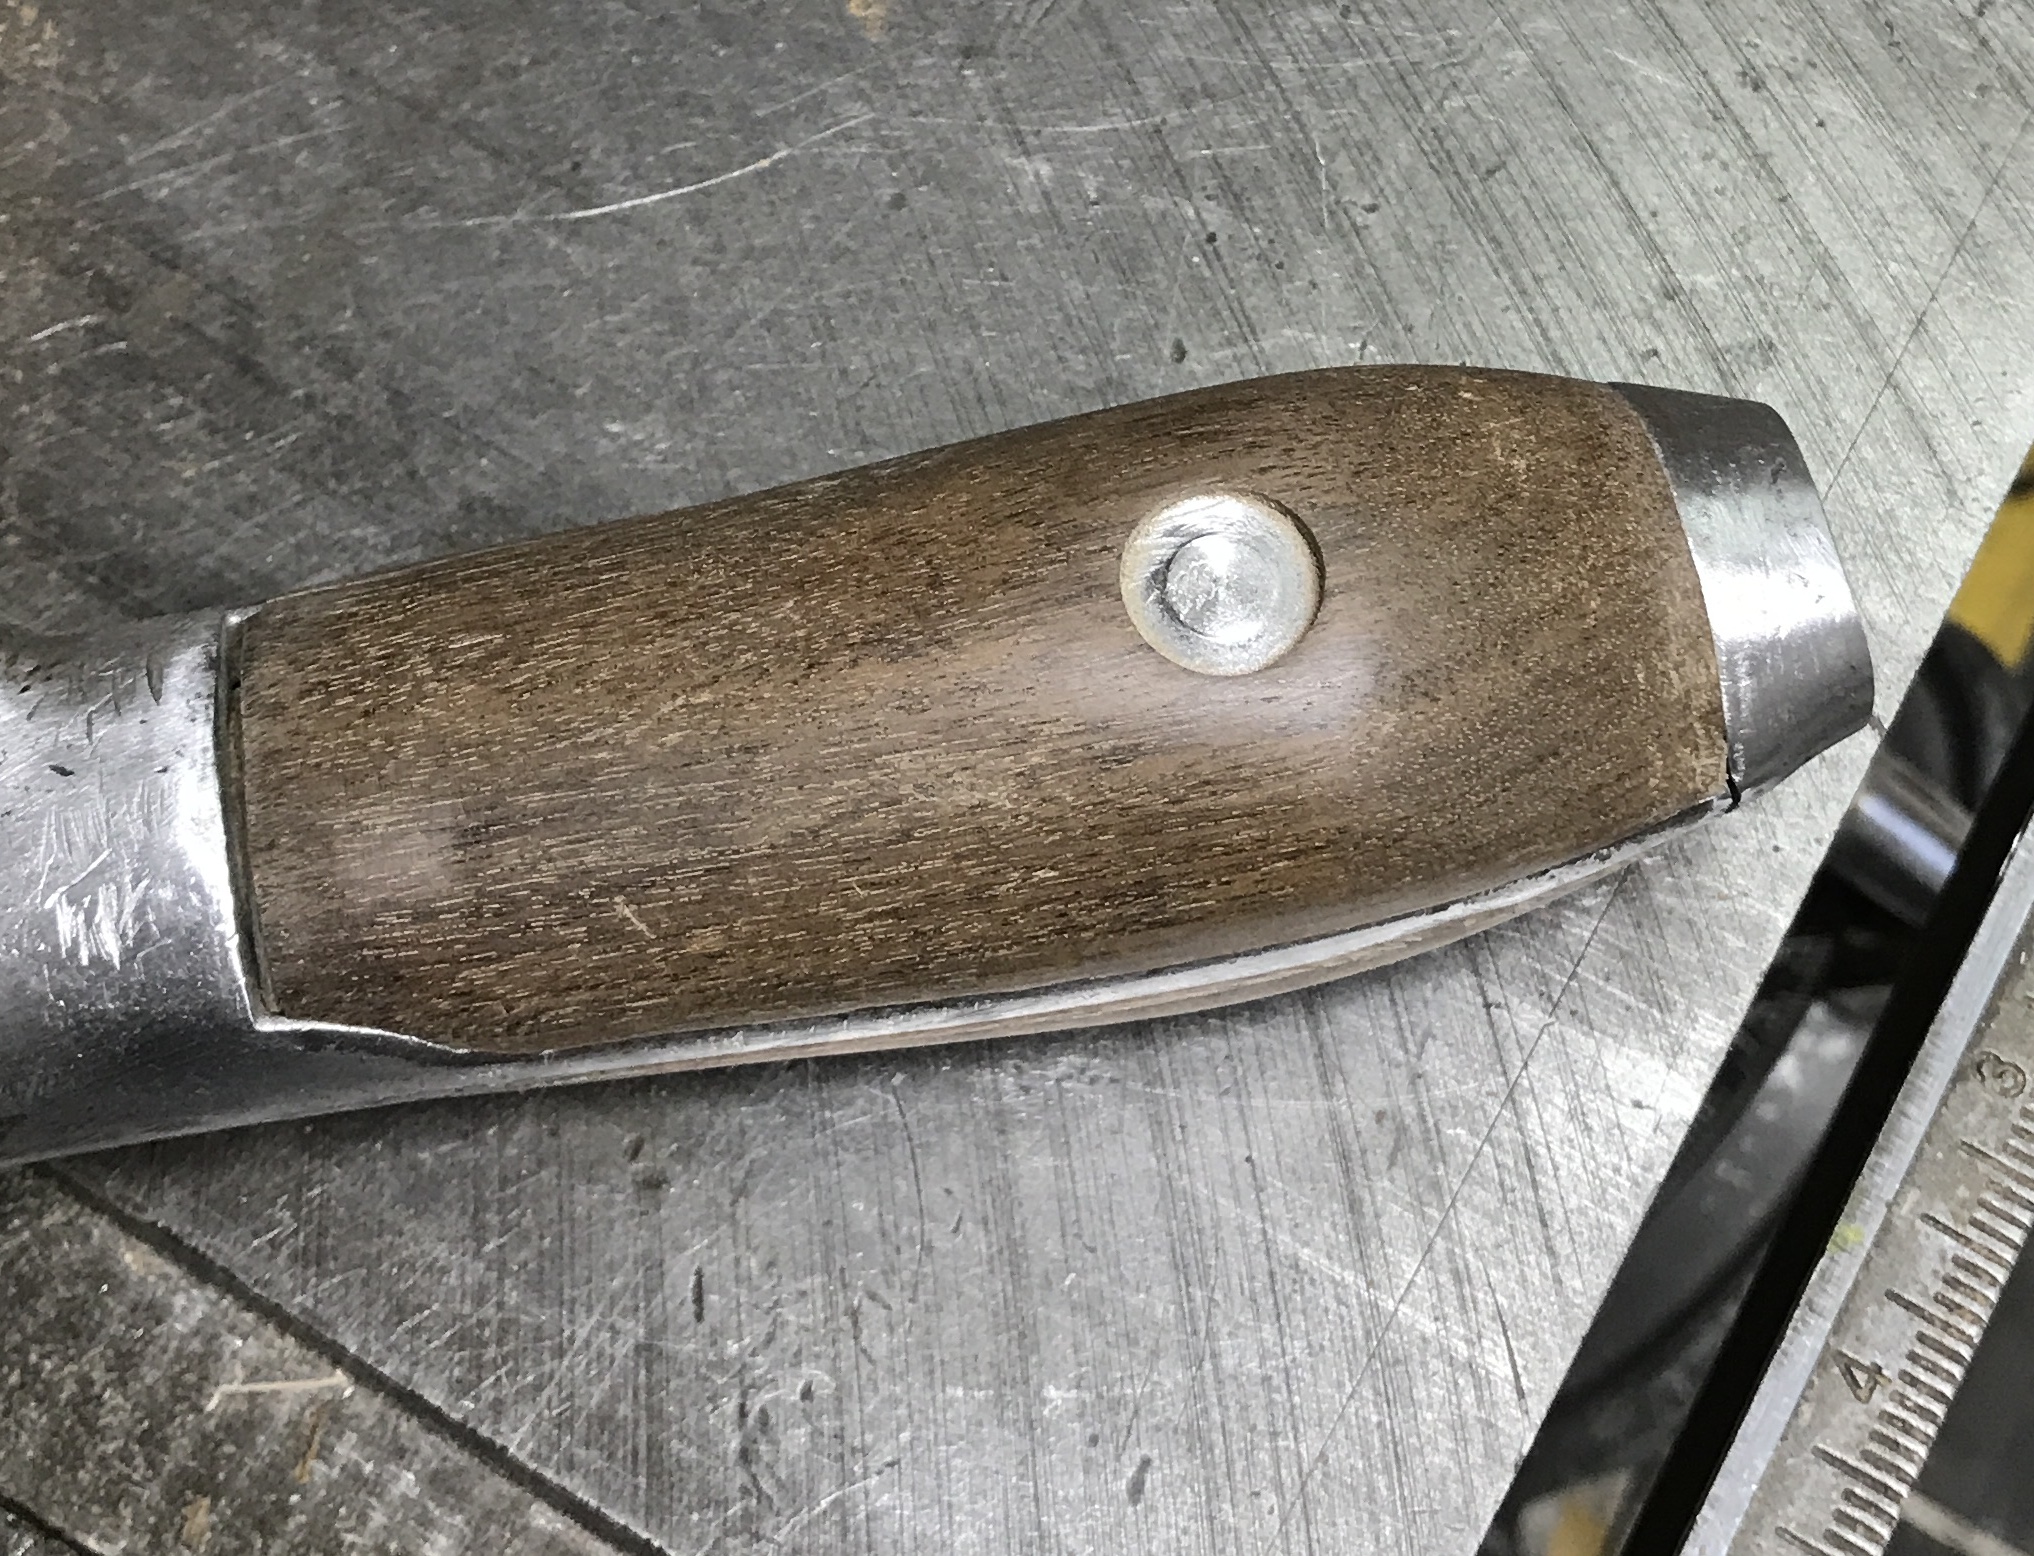
More repairs and more sanding. Finally sanded up to 220 grit and called it a day. Four shots of the sanded handle are below. Put the first coat of tung oil on the handle.
The second coat of tung oil was applied to the handle this morning. A coat of paste wax was applied to most of the steel. The screw was liberally oiled. After the second coat of tung oil dries paste wax will be applied to the handle.